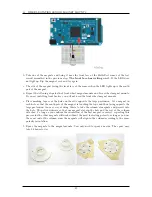


12
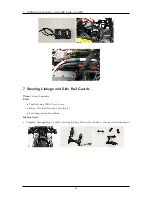
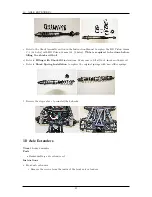
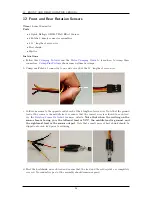
FRONT AND REAR ROTATION SENSORS
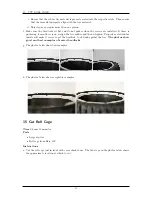
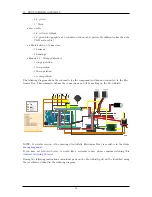
e. Test each of the completed rotation sensor assemblies using the test circuit and the wheel rotation
magnet mounts created in previous steps.
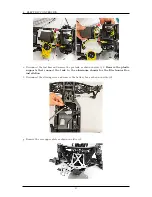
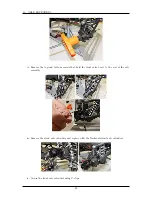
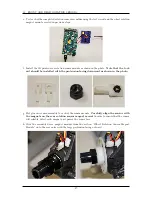
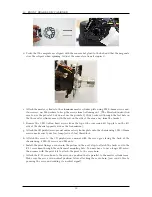
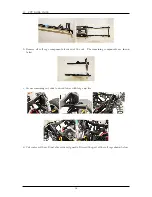
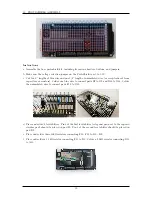
f. Install the 3D printed rear rotation sensor mounts as shown in the photo.
Note that the lock
nut should be installed with the protrusion facing downward as shown in the photo
.
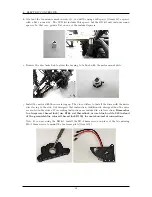
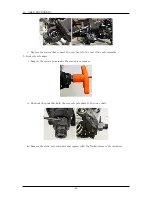
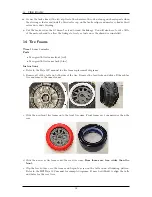
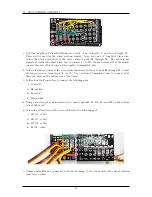
g. Hot glue one sensor assembly to each of the sensor mounts.
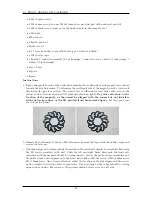
Carefully align the sensor with
the magnets on the rear rotation sensor magnet mount
in order to ensure that the sensor
will reliably detect each magnet as it passes the sensor face.
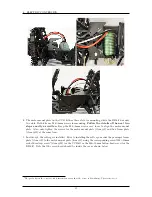
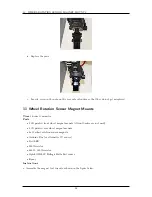
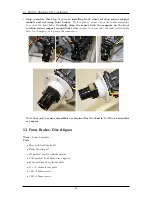
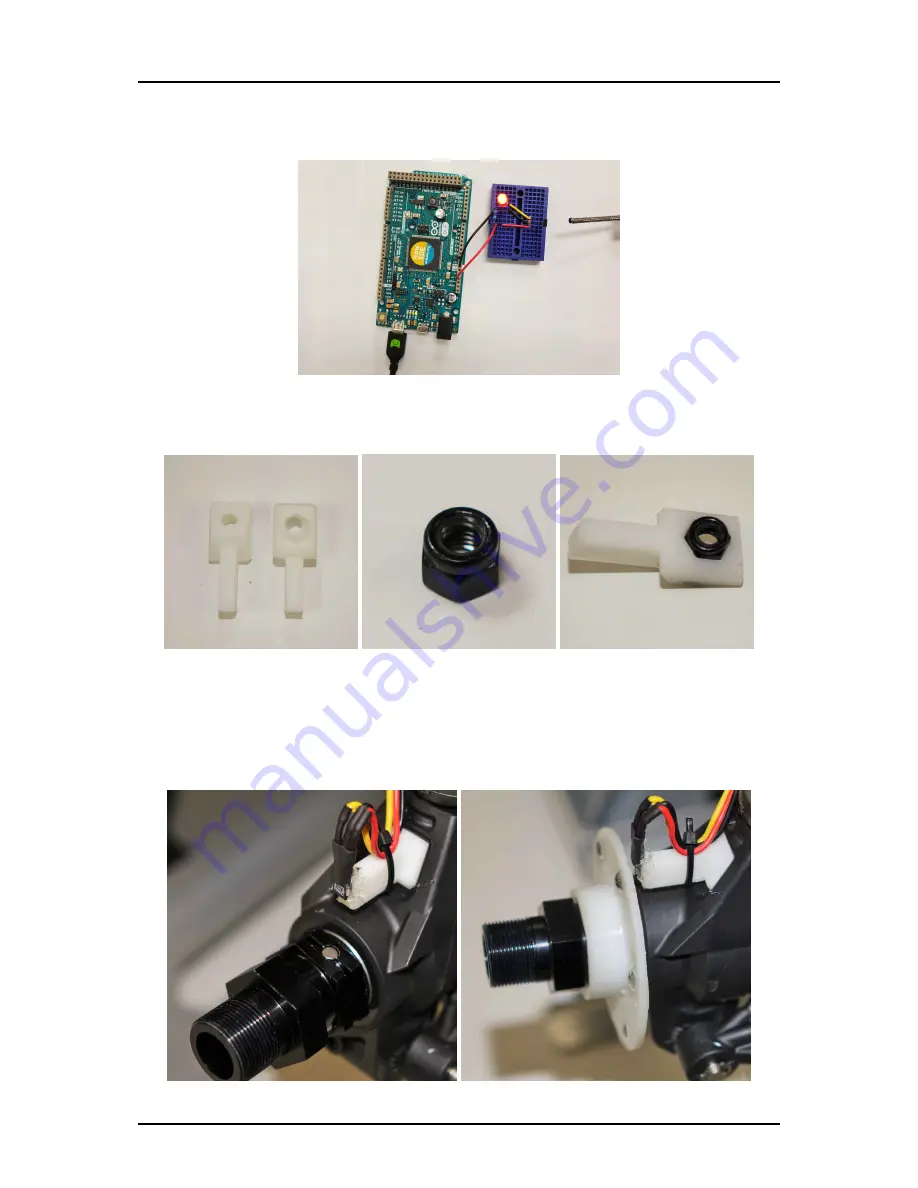
h. Slide the assembled rear magnet mounts from the section “Wheel Rotation Sensor Magnet
Mounts” onto the rear axles with the large protrusion facing outward.
27
Summary of Contents for AutoRally
Page 1: ...AutoRally Chassis Instructions Version 1 4 June 2018 Georgia Institute of Technology...
Page 2: ......
Page 79: ...27 APPENDIX A PARTS Futaba FUTM1725 Charger for Futaba 4PV Glitch Capacitor GPS antenna 75...
Page 80: ...27 APPENDIX A PARTS GPS antenna cable GPS box fan Hallogic OH090U Hall Effect sensors 76...
Page 88: ...27 APPENDIX A PARTS 1 M3 4mm screw 27 7 3 GPS Box 8 M3 8mm screws 4 M3 hex nuts 84...
Page 89: ...27 APPENDIX A PARTS 2 M1 4 fan screws 2 M1 4 fan nuts 2 M3 25mm screws 85...
Page 92: ......


