


43
The list of steps below illustrates the proper way to utilize the “Auto
Record” feature. For the purpose of this example the following is assumed:
•
the hand-held device is connected via Bluetooth to the Remote
Module
•
in System Configuration, the “Stable Indication” parameter is set to
“Visual/Audible”
•
the “Auto Record Data” parameter is set to “Enable” (see Figure 37).
•
at the start of an “Auto Record” sequence, the probe should be down
the casing at the starting level, in the “A+” orientation.
1.
Tapping on the “Live Readings” menu item displays the screen shown
in Figure 43).
2.
As in the normal operation, readings are continuously updated from
the remote. The data set always starts with ‘Dataset 1’ (can be
switched at any time to ‘Dataset 2’). At the start, the “Level” is set to
the “Starting Level”, previously set in the Hole Settings screen (see
section 4.1, Figure 70).
3.
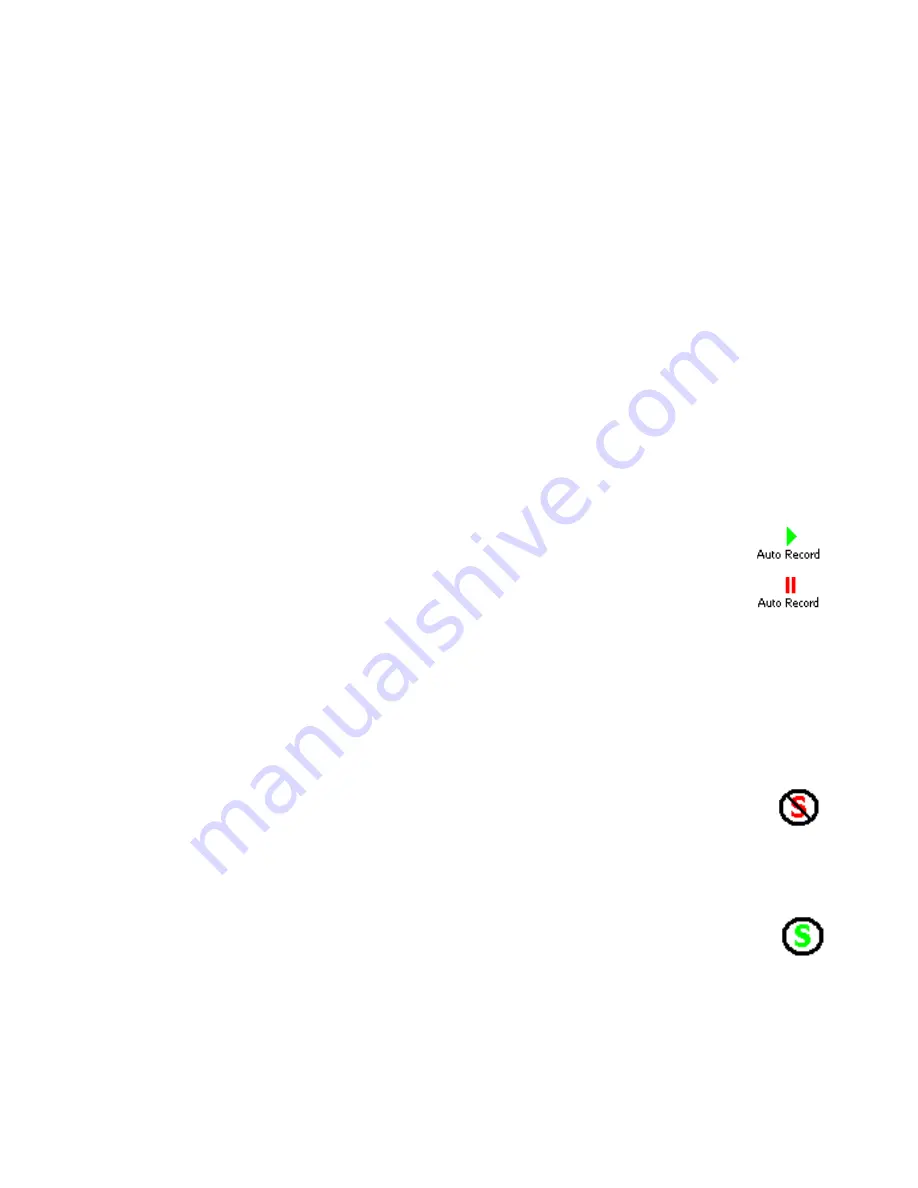
Tap on the “Play” icon to activate the “Auto Record”
feature. The red status text message will change to
“Auto record mode is active” and the green “Play” icon
will change to the red “Pause” icon. If the readings are
stable, the initial A & B readings will be taken and a
“beep” sound should be heard, confirming that the readings have been
stored. If no beep is heard, tap the “volume” control at the top of the
screen and adjust the volume.
4.
By pulling on the inclinometer cable, move the probe to the next level,
ensuring that the cable marker/ferrule sits securely in the cable hold.
Approximately 1 second after moving the probe, the system will
determine that the readings are no longer stable. The
stability icon will be set to its unstable state and the
“Unstable” sound selected in the “System Configuration”
screen (see Figure 40) will be played.
Approximately 2 seconds after the cable marker/ferrule is locked in the
cable hold, the system will determine that the readings are
again stable and respond by setting the stability icon to its
stable state and playing the selected “Stable” sound (see
Figure 41). Immediately following the stable sound, the
current readings are stored, the record “beep” is heard and the level is
decremented by the pre-selected interval.
5.
Repeat step 4 until all the “A+” readings have been taken.
Summary of Contents for GK-604D
Page 2: ......
Page 4: ......
Page 12: ......
Page 16: ...4 Figure 4 6000 6100 type probe Figure 5 GK 604 4 Interface ...
Page 28: ...16 Figure 11 Windows Mobile Device Center ...
Page 46: ...34 Figure 35 Viewing Compass Data ...
Page 52: ...40 Figure 41 Stable Indication Figure 42 Unstable Indication ...


