


Moxi V
™
User Guide
Page 47
Put the Moxi V
TM
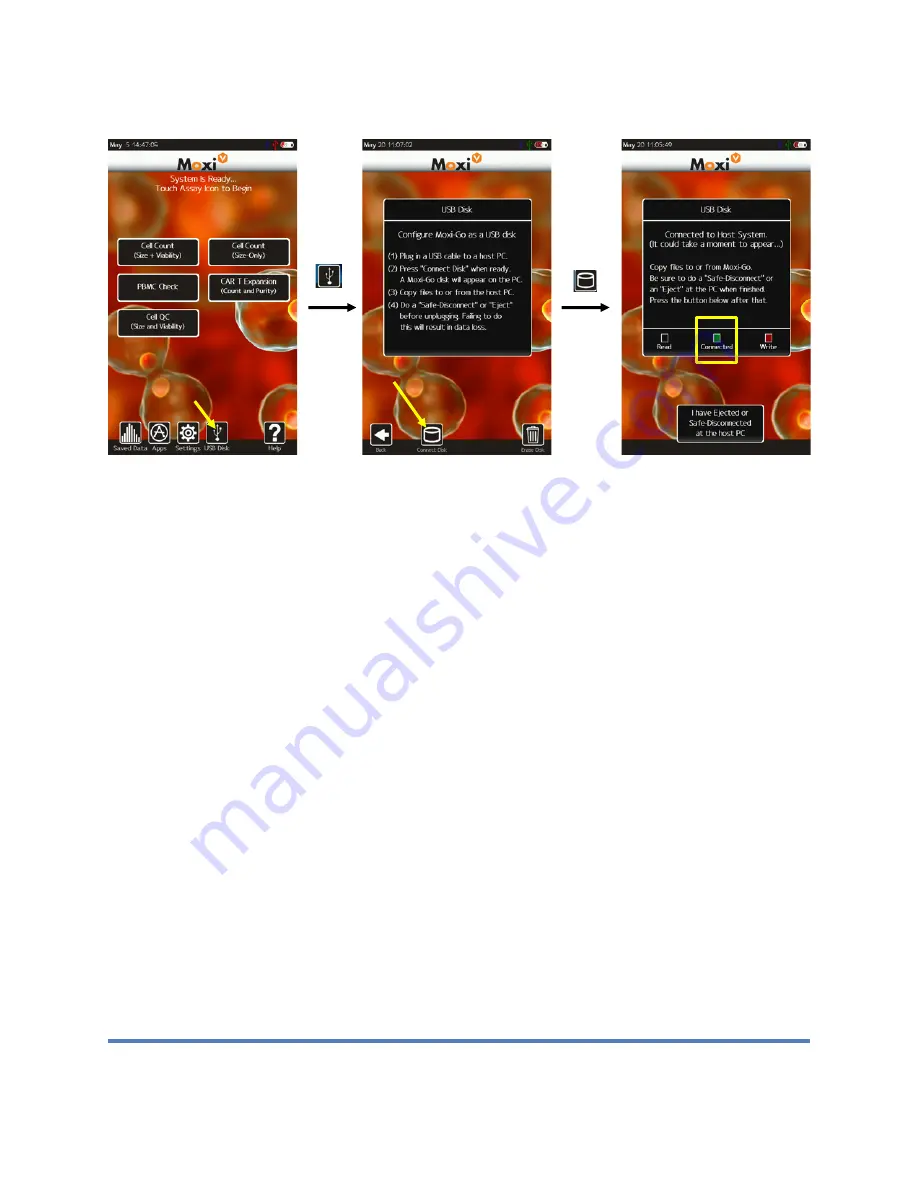
in USB Connect mode
i.
Touch the “USB Disk” icon (image above/left)
ii.
Touch the “Connect Disk” icon (image above/middle)
iii.
Wait for the “Connected” icon to light up (image above/right).
Notes:
•
It may take a couple of minutes to light up.
•
Once that disk is connected, the Moxi V disk will appear as an external drive on
your computer. On Mac’s, the drive will appear in the Mac Finder under
“Devices” as “Moxi V SD”. On Windows computers, it will appear in the File
Explorer as a flash drive (e.g. “E:”)
•
If the Moxi V is not physically connected to the computer, you will receive a
message “USB Connection: Please connect a USB cable to a PC host first”
i. Once connected, the computer will have full control over the Moxi V files. This allows
for:
•
Copying or cut-and-paste of files from the Moxi V to a computer
•
Deleting files from the Moxi V system
•
Adding older FCS data to the Moxi V system by copying them to the “Test-Files”
directory
•
Renaming of test file names
Note: The data and image files are located in the “Test-Files” sub-directory. There is
one FCS file per test. The Cell QC batch runs are saved in sub-folders (named with the
batch name) under the Test-Files directory.


