GE M
EDICAL
S
YSTEMS
- K
RETZTECHNIK
U
LTRASOUND
D
IRECTION
105844, R
EVISION
1
V
OLUSON
® 730 S
ERVICE
M
ANUAL
4-32
Section 4-6 - Peripheral Checks
Section 4-6
Peripheral Checks
Check that peripherals work as described below:
5
General: Check “Store Measurements”
setting assigned as desired by the customer
6
General: Check “Doppler Trace Display Results”
settings assigned as desired by the customer
7
General: Check “Measure Results Display”
setting assigned as desired by the customer
8
OB: Check “Preset Selection”
setting assigned as desired by the customer
9
OB: Check “Pregnancy Weeks”
setting assigned as desired by the customer
10
OB: Check “Ratio Calculations”
settings assigned as desired by the customer
11
OB: Check “GS Measurement Method”
setting assigned as desired by the customer
12
OB: Check “Show Author´s Name at Measure Menu”
setting assigned as desired by the customer
13
Cardiac: Check “2D Circumference and Area Method”
setting assigned as desired by the customer
14
Cardiac: Check “LV Volume Calculation Method”
setting assigned as desired by the customer
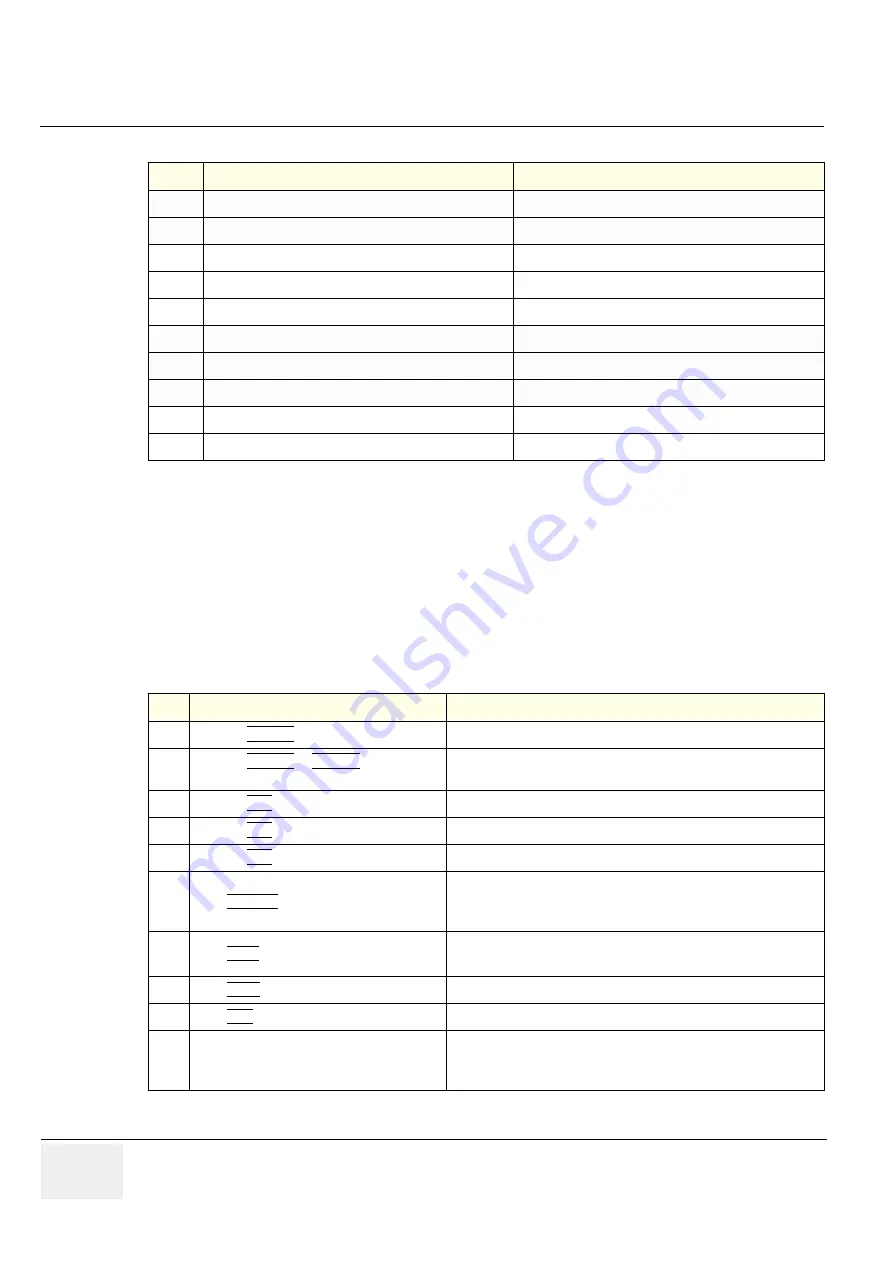
Table 4-13 Peripheral Checks
Step
Task to do
Expected Result(s)
1
Press the
FREEZE
key.
Stop image acquisition.
2
Press the
PRINT A
or
PRINT B
key on the
Control Panel.
The image displayed on the screen is printed on B&W or Color printer,
depending on the key assignment configuration
3
Press the
VCR
key on the Control Panel twice. VCR starts recording (REC - will be displayed on the screen)
4
Press the
VCR
key twice again.
VCR stops recording
5
Press the
VCR
key on the Control Panel once. The VCR Remote Control menu is displayed on the Touch Panel.
6
Press RECORD on the Touch Panel.
to start recording
A red dot is displayed in the
VCR status area
on the
Title bar
to indicate
that recording has begun
7
Press STOP on the Touch Panel.
To Stop recording
The video status icon is changed to (Pause)
8
Press PLAY on the Touch Panel.
To start, Play back an examination
9
Press EXIT on the Touch Panel
to return to the scanning mode
10
Use the
assignable keys
on the Touch Panel
to perform actions on the recorded session, such as stop, pause,
rewind or fast forward.
The video status icon in updated accordingly.
Table 4-12 Measurement Setup Checks
Step
Task
Expected Result(s)


