- 52 -
232001280G(13)
Link/DLink Page
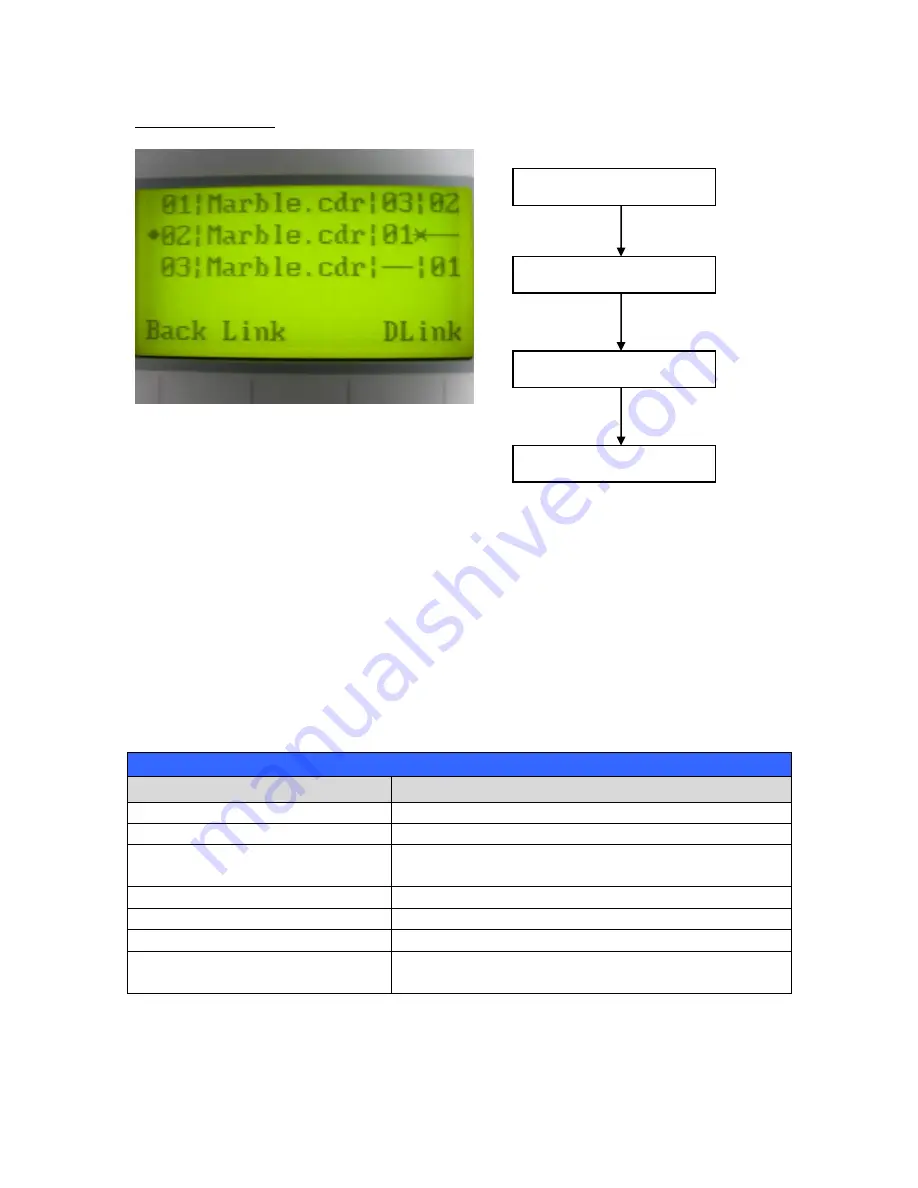
The Link/DLink Page allows you to set, arrange, and remove loaded jobs to and from a job queue
for processing. Use the directional keys to cycle through your loaded jobs, then simply press the
<F2 (Link)> key to add a file to the job queue. The job queue will be set in a sequential order
based on the order you link the files. To remove a job from your job queue, press the <F4
(DLink)> key.
The first column field (before the file name) displays the job number. The sequence for your job
queue is displayed in the two columns to the right of your file names. The first column to the right
of your job file name displays the job number of the previous file in the job queue sequence. The
second column after the file name displays
that job’s next file in the job queue sequence. First
and last jobs in the job sequence you set will have a (---) in the first and second columns
respectively. So according to the image above, the job queue sequence has been set to be
processed in this order: 03:Marble.cdr
01:Marble.cdr
02:Marble.cdr.
Link/DLink Page
Relevant Buttons
Function
F1 (Back)
Back to previous page
F2 (Link)
Add the currently-selected job to the job queue
F4 (DLink)
Remove the currently-selected job from the job
queue
/
Directional
Scroll through your loaded jobs
Start / Stop
Back to Main Work Page
Auto Focus
Initiate the auto focus function
▲ / ▼
Manual Focus Buttons
Manually adjust the height of the work table (Z-
axis)
Main Work Page
Press
F4
☼
Navigating to this page:
Functions Page
Select <
File Management
>
from the menu
File Management Page
Press
F2
Link / DLink Page
Summary of Contents for LaserPro Venus II
Page 1: ......
Page 17: ... 17 232001280G 13 ...
Page 18: ... 18 232001280G 13 ...
Page 23: ... 23 232001280G 13 ...
Page 24: ... 24 232001280G 13 ...
Page 82: ... 82 232001280G 13 ...
Page 92: ... 92 232001280G 13 ...
Page 103: ... 103 232001280G 13 7 Finally Invert the image by selecting Effects Transform Invert ...


