- 109 -
232001280G(13)
Chapter VII Basic Maintenance
Keeping your LaserPro VENUS clean and well maintained will ensure quality output, consistent reliability,
and extended product life. Smoke, dust or residue build-up inside the laser system or the mechanical
components can cause a reduction in the laser power, irregularities in the motion system, reduced
product life cycle, and a host of other avoidable problems. This section will cover how to perform regular
maintenance on the VENUS
’s worktable, motion system, mirrors, and focal lens.
The frequency of the cleaning schedule will depend on number of variables such as the types of material
you work with, the immediate work environment, the frequency of use, the quality of the exhaust system,
etc. Clean the work table, optics and moving rails on weekly base for normal usage case.
WARNING
Electrical Shock may occur if you do not turn off and unplug the VENUS before
cleaning.
Damage may occur to the system if you do not turn off and unplug the VENUS
before cleaning.
Always turn off and unplug the VENUS before cleaning!
7.1 Suggested Cleaning and Maintenance Supplies
Cleaning / Maintenance Tool
Special notes
Soap Solution or All-Purpose Cleaner
Paper Towels
Cotton Cloth
Denatured Alcohol
DO NOT use alcohol on any painted surface,
plastic, or the laser system!
Acetone
ONLY to be used on the working table
Vacuum Cleaner with a Flexible Nozzle
Only to be used in and around the worktable
and motion system
Light Grade Machine Oil
Cotton Swabs
Supplied
Lens Cleaner
1pc supplied; suggest search locally*
Lint Free Lens Tissue
Supplied
#2 Phillips Screwdriver
Allen Wrench .050”
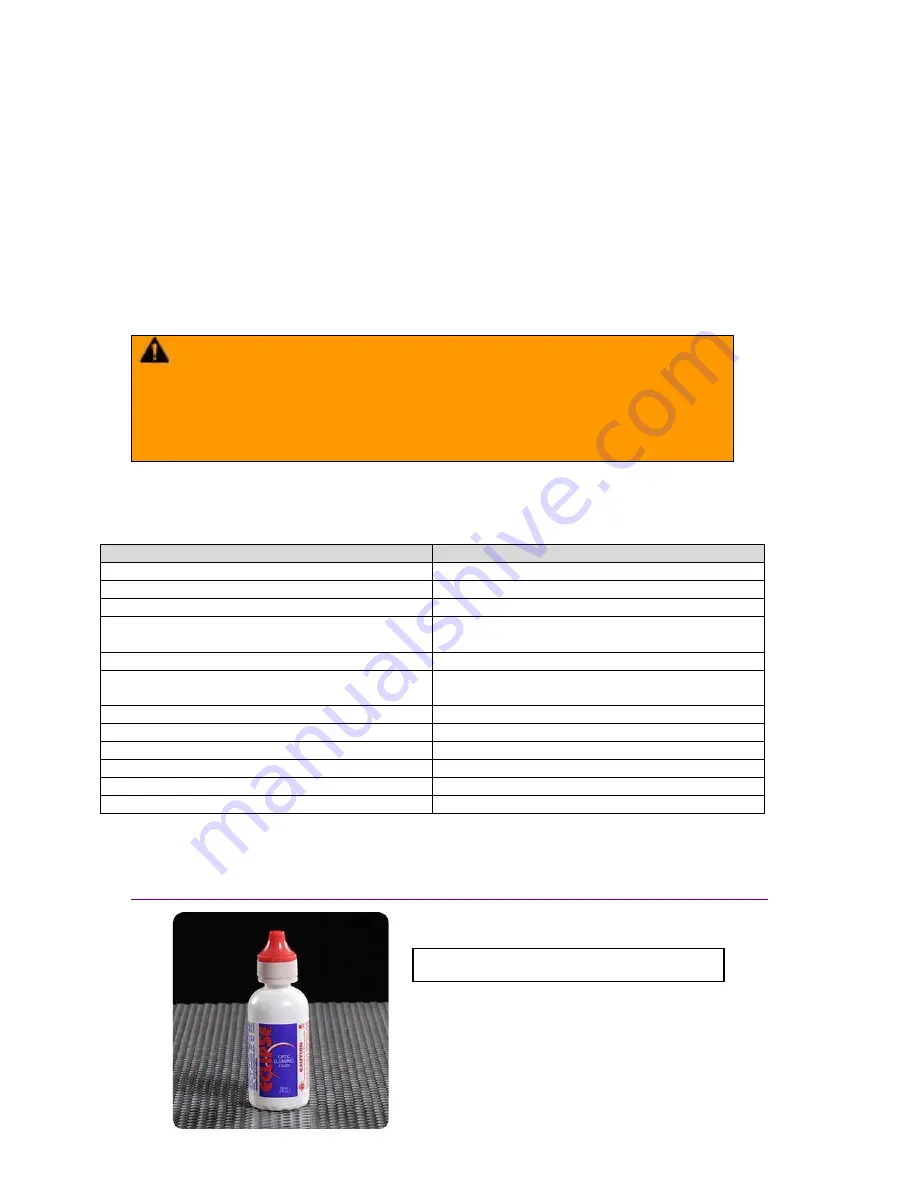
*The recommended lens cleaner is Eclipse Cleaning System Solution from Photographic
Solutions or HPLC grade Methanol. Search
“Eclipse Cleaning System Solution” on Amazon or
eBay to get the solution locally.
http://www.amazon.com/Photographic-Solutions-ECDCS-Cleaning-Solution/dp/B0000AUR1I
Eclipse Cleaning
System Solution
Summary of Contents for LaserPro Venus II
Page 1: ......
Page 17: ... 17 232001280G 13 ...
Page 18: ... 18 232001280G 13 ...
Page 23: ... 23 232001280G 13 ...
Page 24: ... 24 232001280G 13 ...
Page 82: ... 82 232001280G 13 ...
Page 92: ... 92 232001280G 13 ...
Page 103: ... 103 232001280G 13 7 Finally Invert the image by selecting Effects Transform Invert ...


