JF-2418UV User Manual
44
Step 5. Place print media on platen of JF-2418UV.
Step 6.
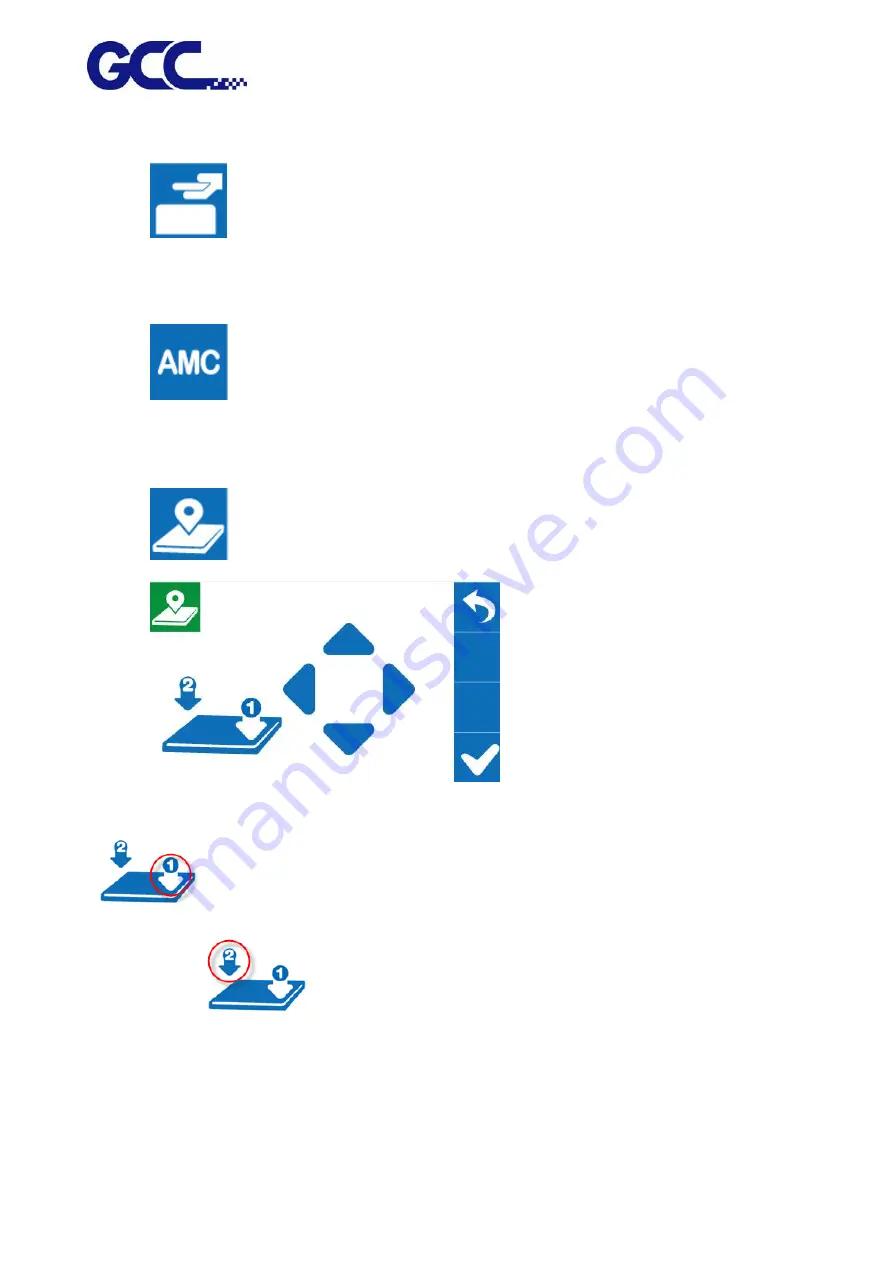
Select LOAD MADIA, and then adjust the height of platen of JF-240 to proper
position.
(Note: the printing side should always be adjusted BELOW the print head.)
Step 7.
Select AMC to autamatically detect the height between print media and print
head.
(Note: It is suggested to apply AMC onto the highest position of the media.)
Step 8.
Select SmartPOSITION.
Step 9.
Press the Arrow Keys to move the
cartridge to the lower right corner of the print material and then press Position 1 icon
; then move cartridge again to the upper left corner of the print material and press
Position 2 icon
Step 10. Send the file from FlexiPRINT GCC Edition RIP software, and printing is complete.
Summary of Contents for JF-2418UV
Page 1: ...JF 2418UV User Manual http www GCCworld com V 1 2022 Mar GCC GCC Club...
Page 3: ...JF 2418UV User Manual 2 Release Note Version Change V 1 2021 Nov Add JF 2418UV User Manual...
Page 24: ...JF 2418UV User Manual 23 Control panel flow...
Page 25: ...JF 2418UV User Manual 24 Operating work flow...
Page 27: ...JF 2418UV User Manual 26 Operating work flow...
Page 28: ...JF 2418UV User Manual 27 Control panel flow O N FRONT REAR O N O N OFF OFF...
Page 42: ...JF 2418UV User Manual 41 B Set the PH Gap Auto Adjustment to be OFF on the control panel...
Page 57: ...JF 2418UV User Manual 56 Step 4 The settings is completed and open FlexiPRINT GCC Edition...
Page 88: ...JF 2418UV User Manual 87 8 Select Advanced...
Page 169: ...JF 2418UV User Manual 168 Step 2 Enter the password caldera Step 3 Click Next...
Page 170: ...JF 2418UV User Manual 169...


