4-5
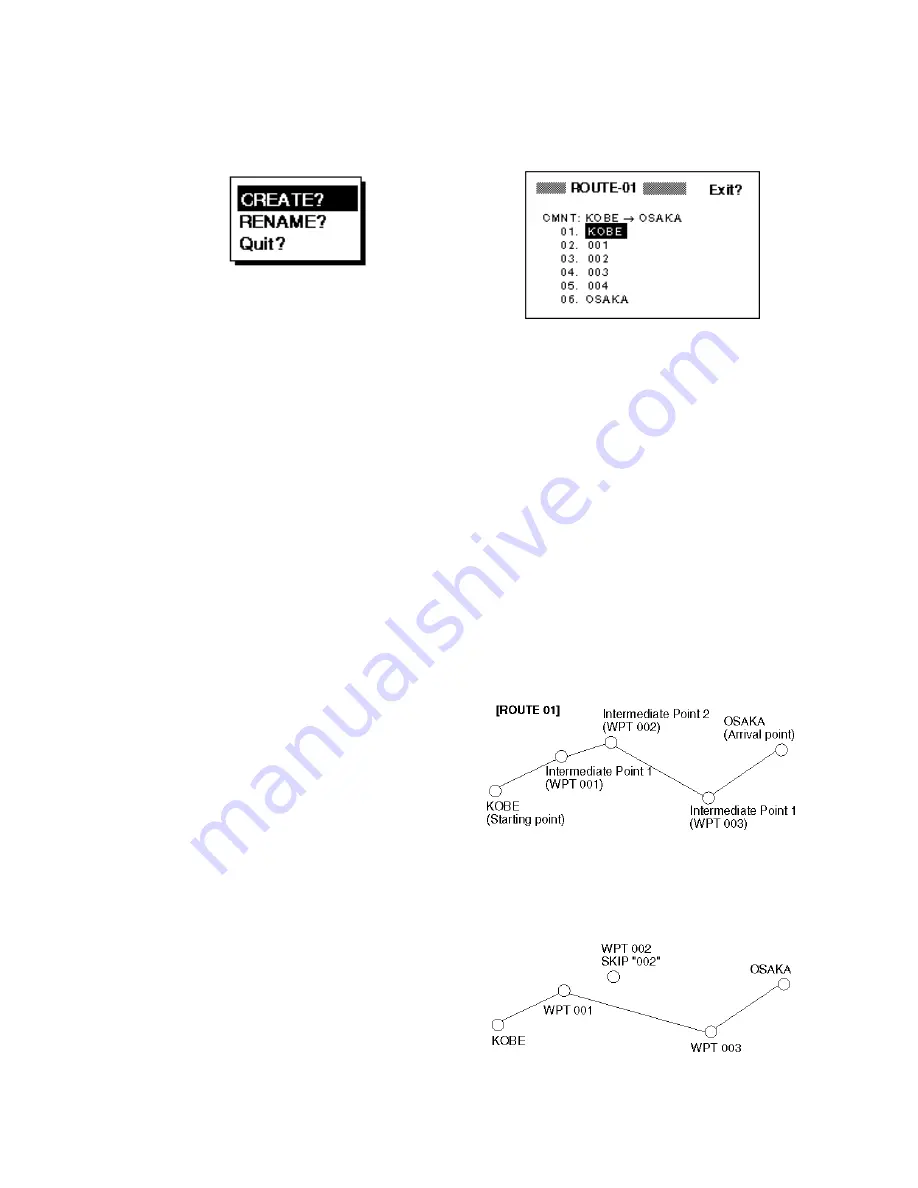
Note: If the name selected at step 8
has not been used, the window shown
in Figure 4-19 appears. Select
“CREATE?” or “RENAME?” as
appropriate and press the [ENT] key.
Figure 4-20 CREATE, RENAME prompt
10.Select “Exit?.”
11.Press the [ENT] key.
12.Press the [MENU] key twice to finish.
Permanently deleting a waypoint
from a route
1. Press the [MENU] key or twice to dis-
play the menu.
2. Select ROUTES and press the [ENT]
key.
3. Select the route from the ROUTES list.
4. Press the [ENT] key.
5. Select the waypoint you want to delete.
6. Press the [ENT] key.
7. Select “REMOVE?.”
8. Press the [ENT] key.
9. Press the [MENU] key twice to finish.
Inserting a waypoint in a route
To insert a waypoint in a route, do the fol-
lowing:
1. Press the [MENU] key once or twice to
display the menu.
2. Select ROUTES and press the [ENT]
key.
3. Select the route from the ROUTES list.
4. Press the [ENT] key.
5. Select the waypoint which will come af-
ter the waypoint to be inserted. In Fig-
ure 4-20, for example, if you want to
insert a waypoint between KOBE and
001, select 001.
Figure 4-21 ROUTE screen
6. Press the [ENT] key.
7. Select “INSERT?.”
8. Press the [ENT] key.
9. Use the cursor pad to select waypoint.
10.Press the [ENT] key.
11.Press the [MENU] key twice to finish.
Temporarily deselecting a waypoint
in a route
You can temporarily deselect an unneces-
sary waypoint from a route. Using the route
created in Figure 4-21 as an example, de-
select the 2nd intermediate waypoint.
Figure 4-22 Sample route
If you reconstruct the route without the 2nd
intermediate point it would look like Figure
4-22.
Figure 4-23 Route in Figure 4-21
reconstructed without 2nd
intermediate waypoint
Summary of Contents for GP-31
Page 1: ...GPS NAVIGATOR DGPS NAVIGATOR GP 31 GP 36...
Page 7: ...v SYSTEM CONFIGURATION GP 36 System configuration GP 31 System configuration...
Page 18: ...This page is intentionally left blank...
Page 22: ...This page is intentionally left blank...
Page 28: ...This page is intentionally left blank...
Page 63: ...AP 1 Menu Tree Default settings shown in boldface italic...
Page 64: ...AP 2...
Page 70: ......
Page 71: ......
Page 72: ......
Page 73: ......
Page 74: ......
Page 75: ......
Page 76: ......
Page 77: ......
Page 80: ......
Page 81: ......


