1-8
5. Press
▲
to display “–”.
6. Press
to send the cursor to the next
digit.
7. Press
▲
or
▼
to display 0.
8. Press
to send the cursor to the next
digit.
9. Press
▲
or
▼
to display 6.
10.Press
to send the cursor to the next
digit.
11.Press
▲
or
▼
to display 3.
12.Press
to send the cursor to the last
digit.
13.Press
▲
or
▼
to display 0.
14.Press the [ENT] key.
15.Press the [MENU] key twice to finish.
1.6 Simulator Display
The simulator display provides simulated
operation of this unit. You may set the speed
manually and the course manually or auto-
matically. All controls are operative – you
may enter marks, set destination, etc.
1. Press the [MENU] key twice to display
the menu.
2. Select SYS SETUP and press the [ENT]
key.
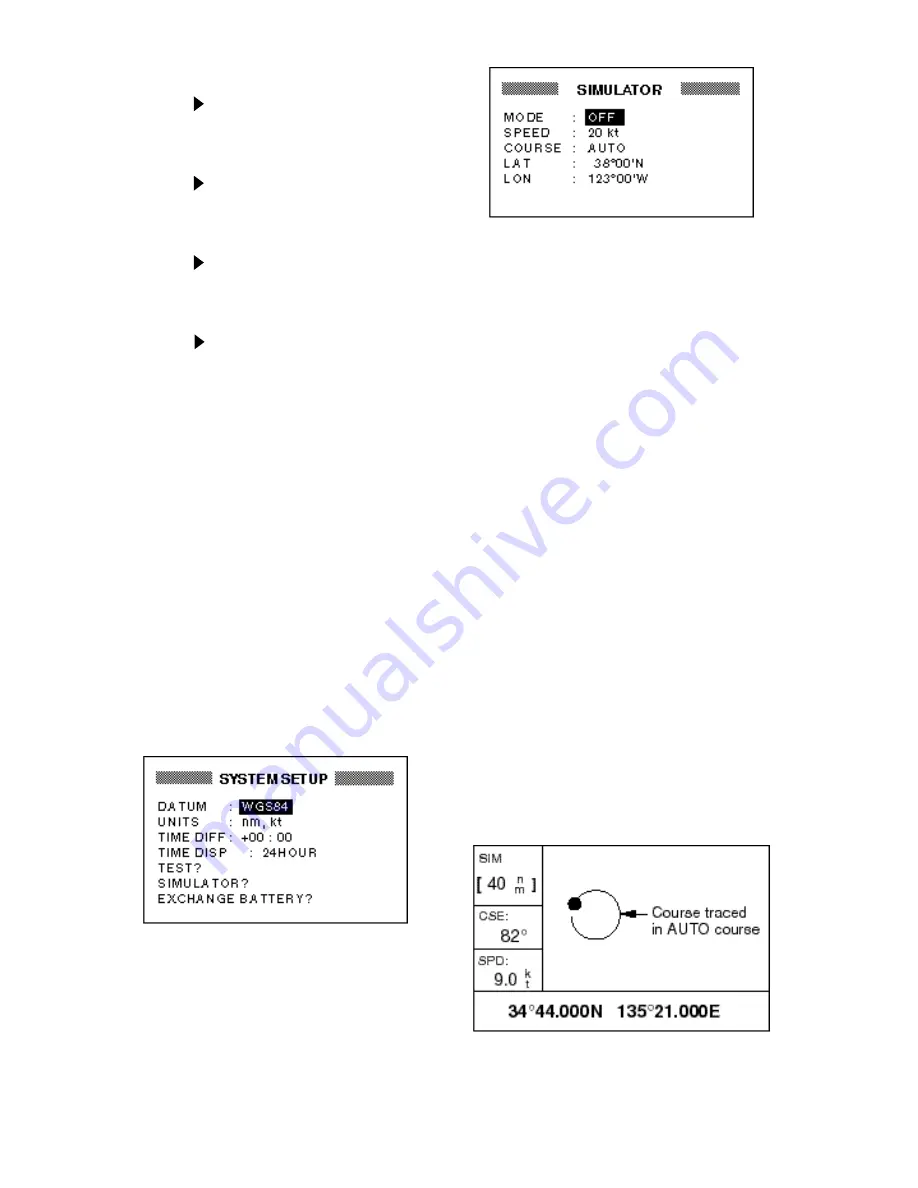
Figure 1-15 SYSTEM SETUP menu
3. Select “SIMULATOR?” and press the
[ENT] key.
Figure 1-16 SIMULATOR menu
4. Press the [ENT] key. A window appears
which shows the choices ON or OFF.
5. Select ON and press the [ENT] key.
6. Press the [ENT] key, enter speed to use
for the simulation with the cursor pad,
and press the [ENT] key.
7. Press the [ENT] key.
8. Select course entry method (AUTO or
MANU) and press the [ENT] key. For
manual entry of course, press the [ENT]
key again, enter course with the cursor
pad, and press the [ENT] key again.
(The AUTO course tracks a circular
course.)
9. Press the [ENT] key, enter latitude (usu-
ally current latitude) with the cursor pad,
and press the [ENT] key.
10.Press the [ENT] key, enter longitude
(usually current longitude), and press
the [ENT] key.
11.Press the [MENU] key twice.
12.Select the PLOTTER display with the
[DISP] key. SIM appears at the upper
left-hand corner when the simulator dis-
play is active.
Figure 1-17 Simulator display,
auto course selected
Summary of Contents for GP-31
Page 1: ...GPS NAVIGATOR DGPS NAVIGATOR GP 31 GP 36...
Page 7: ...v SYSTEM CONFIGURATION GP 36 System configuration GP 31 System configuration...
Page 18: ...This page is intentionally left blank...
Page 22: ...This page is intentionally left blank...
Page 28: ...This page is intentionally left blank...
Page 63: ...AP 1 Menu Tree Default settings shown in boldface italic...
Page 64: ...AP 2...
Page 70: ......
Page 71: ......
Page 72: ......
Page 73: ......
Page 74: ......
Page 75: ......
Page 76: ......
Page 77: ......
Page 80: ......
Page 81: ......


