175
PRIMERGY TX120 User’s Guide
Inst
a
llin
g hardw
are option
s
7
Notes
Note the following points to avoid failures:
• Inside the hard disk unit, the disk for storing data is rotating at high speed to read and write data.
Because this server is very delicate, do not move, strike, or shake it when it is turned on.
• Do not use or store the device in a location affected by extreme temperature changes.
• Keep the device away from direct sunlight and from radiators or other heat source.
• Use or store the device on a shock-and-vibration free surface.
• Do not use or store the device in a humid or dusty place.
• Do not use or store the device near magnets or devices that generate magnetic fields.
• Do not disassemble or take the device apart.
• Keep the disk away from condensation or water droplets.
`
Mishandling could result in destruction of the data stored in the disk. Make sure to keep a backup of
important data.
Even if the hard disk is of the same type, there could be a slight difference in storage capacity. We
recommend backing up data on the basis of files or sectors rather than hard disks.
Slot Number
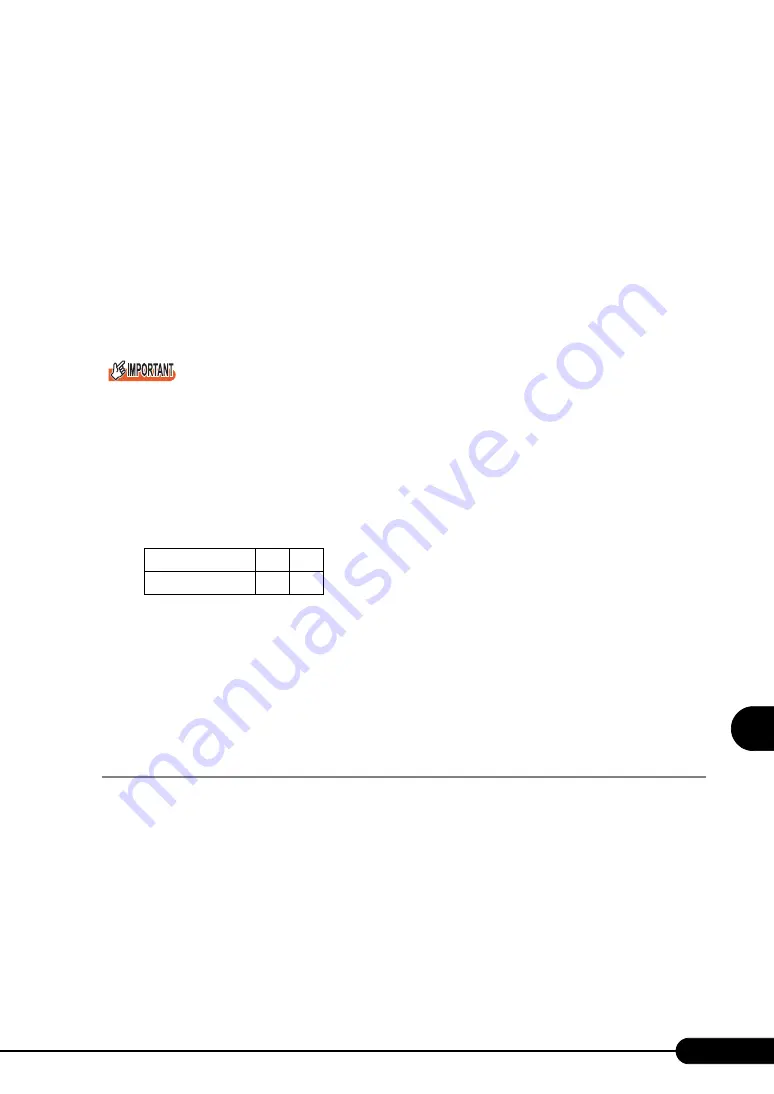
The slot numbers which are displayed on the software such as RAID Management tool correspond to the
hard disk bay numbers as follows.
Replacing the Failed Internal Hard Disk Unit
When the hard disk is failed, it can be replaced and repaired without turning off the server and peripheral
devices (hot-swappable/hot-pluggable).
For details about the array system and replacing the failed hard disk unit, refer to "Integrated Mirroring
SAS User’s Guide" in the Array Controller Document & Tool CD.
7.5.3 How to Install the Internal Hard Disk Unit
1
Turn off the server and connected devices, and unplug all power cables from
the outlet.
2
Remove the drive cover.
"1.4.1 Opening the Drive Cover" (pg.29)
3
Touch a metal part of the server to discharge static electricity.
Bay Number
1
2
Slot Number
0
1
Summary of Contents for Primergy TX120
Page 6: ...6 ...
Page 12: ...12 ...
Page 122: ...122 Chapter 4 Manual OS Installation ...
Page 152: ...152 Chapter 5 Operations after OS Installation ...
Page 188: ...188 Chapter 7 Installing Hardware Options ...
Page 210: ...210 Chapter 8 Configuring Hardware and Utilities ...
Page 262: ...262 ...


