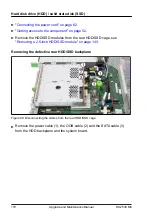
▶
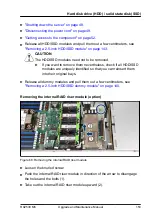
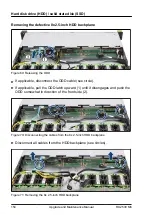
Release the two screws (see circles).
▶
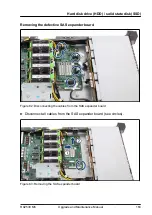
Pull the HDD backplane upward until the 10 hooks disengage.
▶
Take out the HDD backplane.
Installing the new 8x 2.5-inch HDD backplane
A
A
A
Figure 72: Hooks and guide pins
▶
Notice the hooks (see circles) and guide pins (A).
Figure 73: Installing the 8x 2.5-inch HDD backplane
▶
Position the HDD backplane on the 10 hooks.
▶
Push the HDD backplane downward. Make sure that the HDD backplane fits
behind the guide pins.
CAUTION
▶
Ensure that none of the cables are strained or damaged!
▶
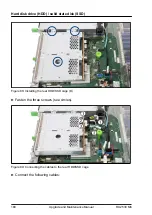
Fasten the two screws (see circles).
Hard disk drive (HDD) / solid state disk (SSD)
RX2530 M6
Upgrade and Maintenance Manual
155
Summary of Contents for PRIMERGY RX2530 M5
Page 18: ...Content Upgrade and Maintenance Manual RX2530 M6 ...
Page 194: ...Fans 194 Upgrade and Maintenance Manual RX2530 M6 ...
Page 262: ...Expansion cards and backup units 262 Upgrade and Maintenance Manual RX2530 M6 ...
Page 278: ...Main memory 278 Upgrade and Maintenance Manual RX2530 M6 ...
Page 324: ...Accessible drives 324 Upgrade and Maintenance Manual RX2530 M6 ...
Page 336: ...Front panel 336 Upgrade and Maintenance Manual RX2530 M6 ...
Page 344: ...Serial interface 344 Upgrade and Maintenance Manual RX2530 M6 ...
Page 480: ...List of all used screws for PRIMERGY Servers Assembled in Germany and Japan February 2019 ...


