E-38
OTHER SETTINGS (FEATURES MENU) (Continued)
Adjusting the settings so that the standby state automatically
starts up if the display remains in no signal state for an
extended amount of time.
Selecting the background setting to indicate when the display
is in the no signal state.
Time
(1) Press
C
or
D
to select the "Time".
(2) Press
E
or
F
to select the amount of time before the
standby state starts.
<
Off
<
1 min.
<
15 min.
<
45 min.
<
60 min.
<
Press
<
to store.
* The numerical value is the approximate amount of time
before the standby state starts.
Background
(3) Press
C
or
D
to select the "Background".
(4) Press
E
or
F
to select the display background color.
<
Black
<
White
<
Press
<
to store.
* The background color changes to assigned color state
after approximately 20 seconds in the no signal state.
Selecting the available terminals to receive audio from the
input equipment .
(1) Press
C
or
D
to select video input terminal.
(2) Select a related audio input terminal.
Each time you press
E
or
F
, one of the available choices
appears in the following sequence:
<
No Audio
<
Audio1
<
Audio2
<
• • • • •
<
[No Audio]
: No audio in the corresponding mode. (No
audio is output even when this video input
mode is selected.)
[Audio 1-3]
: Selects Audio 1 through 3 for receiving
audio in the corresponding mode.
[Audio 4-5]
: HDMI
* There is also "Audio Input" that cannot be selected.
(3) Press
<
to store.
* For the audio input terminals, see "CONNECTING TO
EXTERNAL EQUIPMENT" (P. E-17) and EXAMPLE OF
CONNECTING EXTERNAL EQUIPMENT" (P. E-18).
* AUDIO menu will not be displayed when "No Audio" is
selected.
You can select the audio format for the signal output from
AUDIO OUTPUT DIGITAL terminal.
Switches as below by pressing
E
or
F
.
<
PCM
<
Dolby Digital
<
Press
<
to store.
* When a program featuring Dolby Digital audio is selected,
the sound comes from the AUDIO OUTPUT DIGITAL
terminal.
* To receive programs available in Dolby Digital sound, set the
"D Audio Format" of the on-screen menu to Dolby Digital.
• Programs that are not available in Dolby Digital sound will
be output in PCM, even if the AUDIO OUTPUT DIGITAL is
set to "Dolby Digital".
You can use this option to move the screen position to
minimize phosphor-induced "burn-in".
Mode/Time
(1) Press
C
or
D
to select "Mode/Time".
(2) Select a desired pattern.
Each time you press
E
or
F
, one of the available choices
appears in the following sequence:
<
Off
<
Time
<
Mode
<
[Off]
: Disables Screen Orbiter.
[Time]
: Moves the pattern approximately every one hour.
[Mode]
: Moves the pattern when the power is turned ON
or when you switch between modes.
Moving Area
(3) Press
C
or
D
to select "Moving Area".
(4) Press
E
or
F
to select the range for moving the pattern.
Each time you press
E
or
F
, one of the available choices
appears in the following sequence:
<
Min.
<
Std.
<
Max.
<
[Min.]
: Pattern moves in small range. (About 5 pixels)
[Std.]
: Pattern moves in moderate range. (About 10 pixels)
[Max.]
: Pattern moves in wide range. (About 15 pixels)
(5) Press
<
to store.
* When the Screen Orbiter function is operated, some
screen contents. at the top, bottom, right or left of the
screen may move offscreen.
SETTING OTHERS
Auto Off-NO SIG.
Audio Input
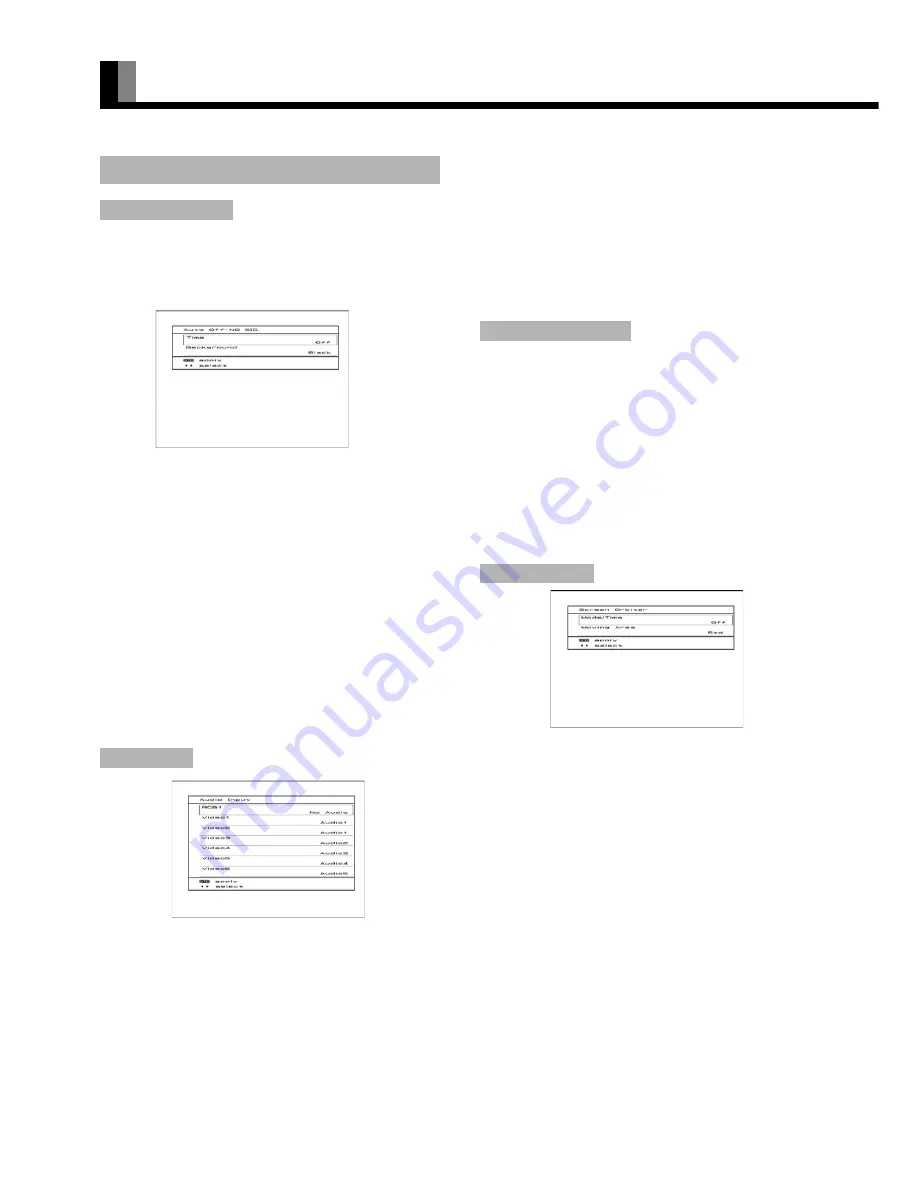
"Auto Off-NO SIG." selection screen
"Audio Input" settings screen
Digital Audio Format
Screen Orbiter
for RGB


