60
4 Printing
4
Printing
4.1
Printing from a Computer
The following section shows the basic procedure to print from a Windows application.
Refer
For more information about the print driver features, refer to the print driver help.
1.
Open the file to print.
2.
Select [Print] from the [File] menu.
Note
The menu name may differ depending on the application.
3.
Select the machine from [Select Printer] and click [Preferences].
4.
Change the setting as needed and click [OK].
5.
Click [Print].
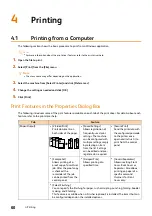
Print Features in the Properties Dialog Box
The following introduces some of the print features available on each tab of the print driver. For details about each
feature, refer to the print driver help.
Tab
Feature
[Paper/Output]
[2-Sided Print]
Prints documents on
both sides of the paper.
[Saved Settings]
Allows registration of
frequently-used print
settings. The machine
can be configured with
multiple settings simply
by selecting an item
from the list. Settings
can be edited and pre-
registered as required.
[Secure Print]
Send the print data with
the configured passcode
to the printer once
again and instruct it to
print from the control
panel.
[Sample Set]
Allows printing of a
proof copy of a multi-set
job. After the proof copy
is checked, the
remainder of the job
can be printed from the
control panel.
[Delayed Print]
Allows printing at a
specified time.
[Covers/Separators]
Allows inserting Front
Cover, Back Cover or
Separator. Also allows
printing on paper of a
specific color and
thickness for Front
Cover only.
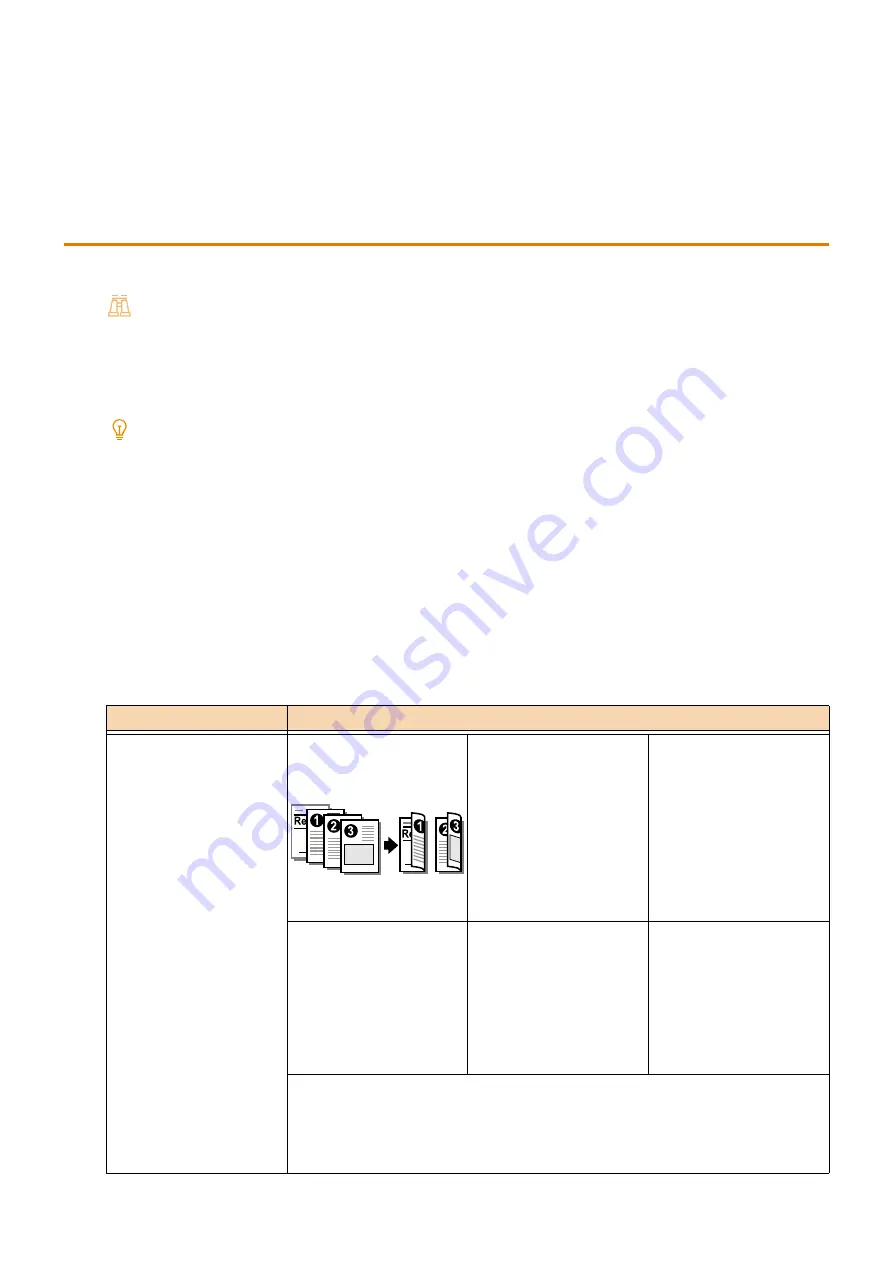
[Select Finishing]
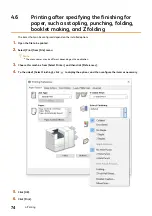
You can specify the finishing for paper, such as stapling, punching, folding, booklet
making, and Z folding.
This feature is available when a Finisher (optional) is installed. The items that can
be configured depend on the installed options.


