18
4-2
Turning on the X2S Remote
After installing batteries as indicated in Section 1 (pg. 11), you can turn on the X2S remote by
pushing and holding the power button for approximately 1-2 seconds. An initial startup screen
will appear showing the FOXPRO logo and remote version information. After the startup screen
clears, the main sound selection screen will appear.
4-3
Navigating the X2S Remote
The X2S remote has a scroll up and scroll down button for cycling through the on-screen
display. A selected menu item is highlighted with a horizontal bar and, by pressing the scroll up
or down arrow button, that horizontal bar will move up or down through the menu items list.
To make menu selections, use the “Play/Select” button. The “Back/Menu” button allows you to
access the X2S Remote menu configuration and step back one level in the menu system.
4-4
Understanding the X2S Remote Display
The X2S remote control screen can be viewed in three main segments: top status line, primary
display area, and bottom status line. The top and bottom status lines are static—meaning that
they will always be present. The primary display area is dynamic and will change depending
upon the operation that you are performing.
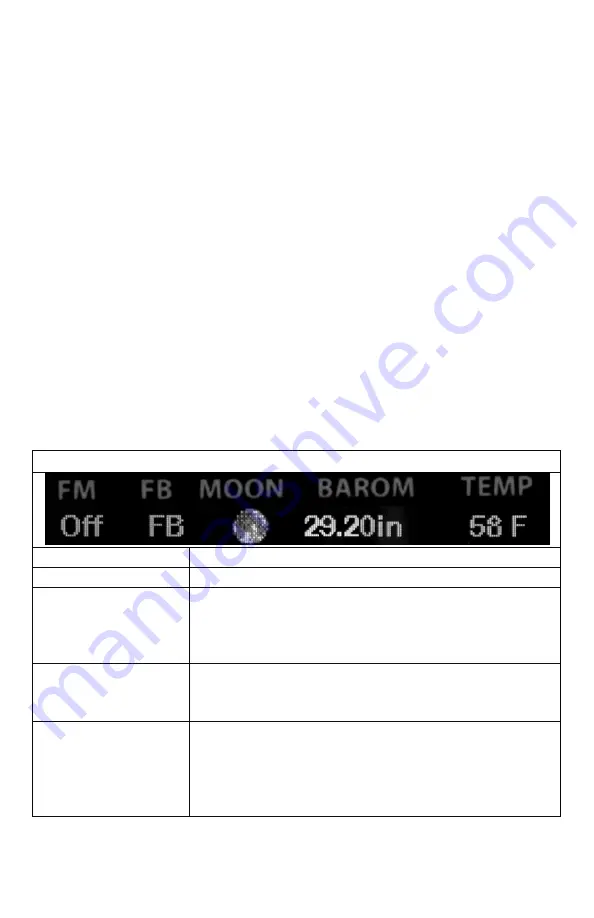
Top Status Line Overview
Name
Details
FM
FOXMOTION status indicator. Displays either On or Off.
FB
FOXBANG status indicator / FOXGRIP status indicator. Displays
“FB” if FOXBANG is activated. Displays “FG” if FOXGRIP is
activated. Displays “FB/FG” if both FOXBANG and FOXGRIP are
activated.
MOON
Moon phase indicator. Displays an icon depicting the current
moon phase. Correct moon phase display requires proper date
and time configuration.
BAROM
Barometer. Displays the barometric pressure in either inches or
millimeters depending upon configuration. When enough
measurements have been taken, an arrow showing trend
(up/down) will appear. When elevation is set correctly, this
value is automatically corrected.
Summary of Contents for X2S Series
Page 1: ......
Page 59: ...59 Notes...


