


-35-
Model UR-2 <Recording>
You can set a CUE point at the desired position of
a file by using two methods described below.
A CUE point can be used as a marker which you
can easily skip to, as well as used as the start or
end point of a file in the chain play list or timer
play list.
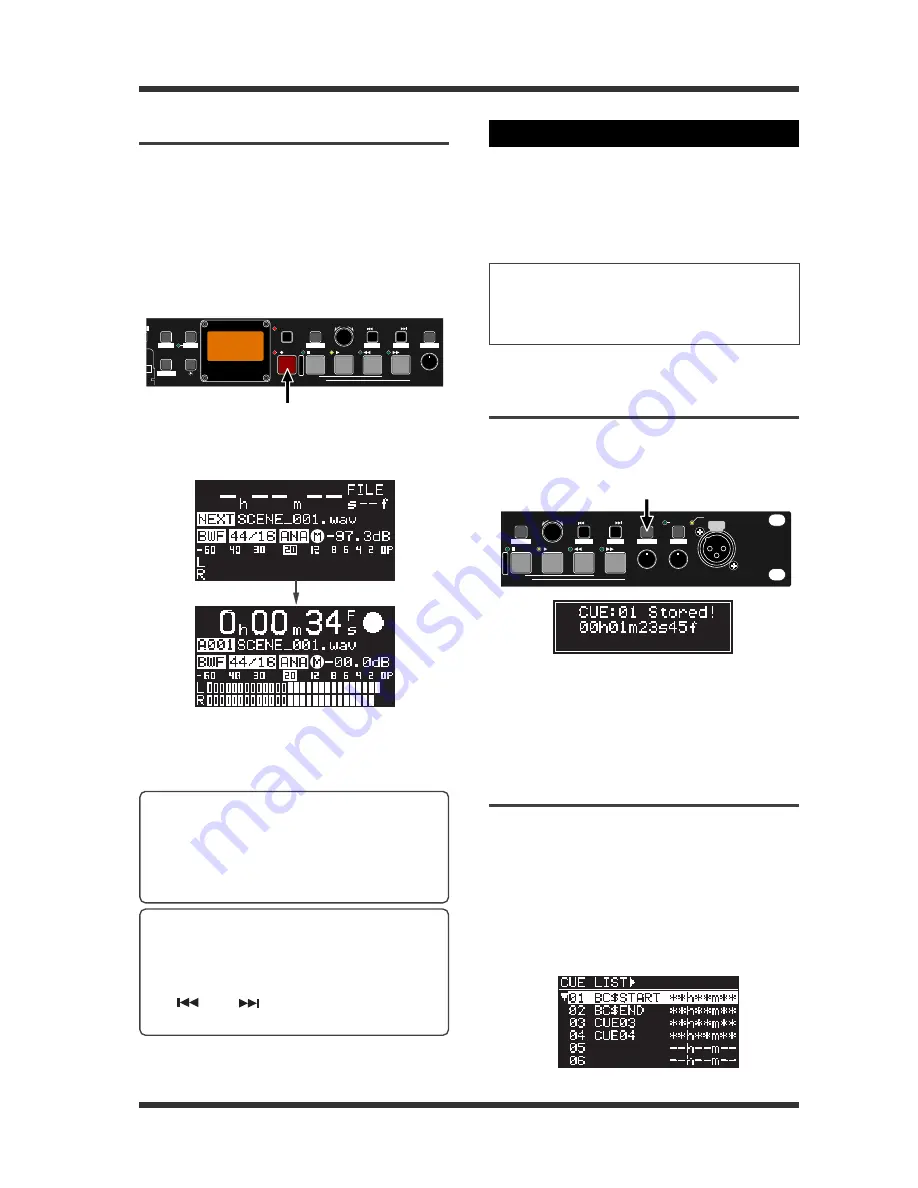
Setting a CUE point on-the-fly during re-
cording
By pressing the [CUE/LOCATE] key at the desired
position during recording, a new CUE point is set.
You can set up to 99 CUE points for each file.
[CUE/LOCATE] key
When you set a CUE point on-the-fly, the popup
window as above briefly appears. Each time you set
a CUE point, the CUE number is counted up by one.
Viewing CUE points
Pressing the [CUE/LOCATE] key while the unit is
stopped brings up the CUE LIST screen, on which
you can view the existing CUE points.
In the following example, CUE 01 through CUE 04
are set.
A CUE label is automatically set. CUE labels for
CUE01 and CUE02 are "BC$START" and "BC$END"
respectively, which are reserved by the BWF-J speci-
fications.
MAX
MIN
MAX
MIN
MIC GAIN
MIC IN
INPUT LEVEL
ABS 0
REC END
EXIT
MIC IN
PHANTOM
MIC SET
FILE/CURSOR
MENU / ENTER
STOP
PLAY
REW
F FWD
MRGN RST
CUE
PREV
NEXT
CUE/LOCATE
TIME EDIT
<Popup window wexample>
1) While recording an audio signal, you can set a
CUE point on-the-fly at the desired position.
2) Using the CUE list screen, you can set a CUE
point.
Starting recording
While the unit is in the input monitor mode, press
the [REC] key to start recording. The [REC RDY] in-
dicator changes from flashing to lighting, while the
[REC] indicator lights.
When you start recording for the first time, the unit
creates the "BWFF" folder, in which the recorded
files are stored. Each time you make recording, a
new file is created. (You cannot overwrite an exist-
ing file.)
MAX
MIN
INPUT LEVEL
ABS 0
REC END
T
MODE
PLAY
TIME
REC RDY
EXIT
EDIT
REPEAT
FILE SEL
DISPLAY
FILE/CURSOR
MENU / ENTER
REC
STOP
PLAY
REW
F FWD
MRGN RST
STRG SEL
CUE
PREV
NEXT
CUE/LOCATE
TIME EDIT
UR-2
STEREO RACK MEMORY RECORDER
[REC] key
After recording starts, the display changes as fol-
lows.
To stop recording, press the [STOP] key.
To exit the input monitor mode, press the [REC RDY]
key.
<Memo>:
To play back the recorded audio file
after recording, press the [REW] key while hold-
ing down the [STOP] key to skip to the begin-
ning of the file, and press the [PLAY] key.
To select a desired file from multiple files, use
the [
] and [
] keys or use the file selection
screen (see page 42).
<Memo>:
With the default settings. each time you
make recording, the unit creates a file with the
file name including the counted-up take num-
ber, as follows.
(Example): SCENE_001.wav, SCENE_002.wav
Setting a CUE point
Summary of Contents for UR-2
Page 95: ......


