User Manual X8400 sc
12
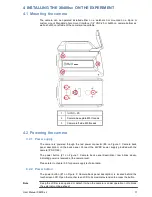
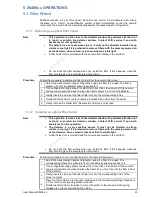
Press the power button shortly to start the camera.
When the camera is running,
o
A short press on the power button starts the camera shutdown procedure.
The camera is switched off some seconds later.
o
A long press on the power button forces the camera to stop immediately,
bypassing the shutdown procedure.
4.2.3 Camera boot-up and Cooling down
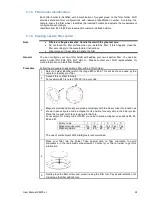
When starting up, the embedded Stirling cooler starts first. Stirling coolers produce noise
which is typical to advanced cooled science cameras. A high volume of noise is normal.
The camera requires up to 7 minutes reaching the detector temperature of 77K. In parallel,
the camera performs a built-in test of its components and initializes the internal software and
interfaces.
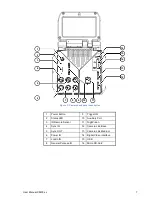
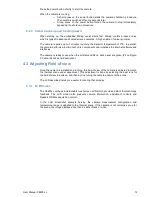
The camera is ready to use when the all status LEDs on back panel are green (#2 on Figure
2: Camera back panel description).
4.3 Adjusting Field of view
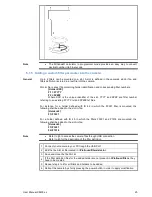
Once the camera is installed and running, the field of view of the camera is adjusted to match
the thermal scene under experiment. This adjustment is done by selecting the best lens for
the field of view to achieve, and then by fine tuning the camera position to the scene.
The LCD described hereby is a useful tool during that process.
4.3.1 LCD Screen
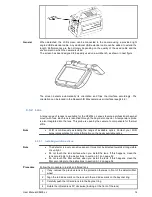
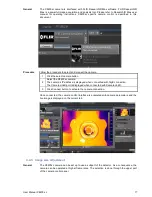
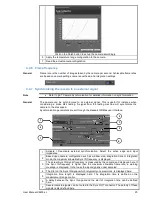
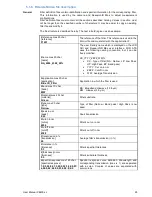
The X8400sc embeds a detachable touchscreen LCD which provides instant thermal image
feedback. The LCD screen also presents camera information, adjustment controls and
ResearchIR Max acquisition control.
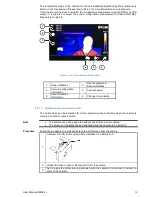
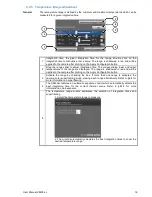
In the LCD screenshot example hereby, the camera measurement configuration and
temperature range is adapted to the thermal scene. If the camera is not correctly set up for
the scene, the image displayed can then be either black or white.


