English
- 33 -
Environmental Information
This television is designed to be environment friendly.
To reduce energy consumption, you can follow these
steps:
If you set the
Energy Saving
to
Minimum
,
Medium,
Maximum
or
Auto
the TV will reduce the energy
consumption accordingly. If you like to set the
Backlight
WRD¿[HGYDOXHVHWDV
Custom
and adjust
the
Backlight
(located under the
Energy Saving
setting) manually using Left or Right buttons on the
remote. Set as
2ႇ
WRWXUQWKLVVHWWLQJRႇ
Note: Available Energy Saving
RSWLRQVPD\GL௺HUGHSHQGLQJ
on the selected Mode in the System>Picture menu.
The
Energy Saving
settings can be found in the
System>Picture
menu. Note that some picture
settings will be unavailable to be changed.
If pressed Right button while
Auto
option is selected or
Left button while
Custom
option is selected, “
Screen
ZඈOOEHRႇඈQVHFRQGV
´PHVVDJHZඈOOEHGඈVSOD\HG
on the screen. Select
Proceed
and press
OK
to turn
WKH VFUHHQ Rႇ LPPHGLDWHO\
If you don’t press any
EXWWRQ WKH VFUHHQ ZLOO EH Rႇ LQ VHFRQGV
. Press
any button on the remote or on the TV to turn the
screen on again.
1RWH6FUHHQ2௺
option is not available if the Mode is set
to Game.
When the TV is not in use, please switch off or
disconnect the TV from the mains plug. This will also
reduce energy consumption.
Features
Remote controlled colour TV
Fully integrated digital terrestrial/cable/satellite TV
(DVB-T-TC)
HDMI inputs to connect other devices with HDMI
sockets
USB input
OSD menu system
Stereo sound system
Teletext
Headphone connection
Automatic programming system
Manual tuning
Automatic power down after up to eight hours.
Sleep timer
Child lock
Automatic sound mute when no transmission.
NTSC playback
AVL (Automatic Volume Limiting)
PLL (Frequency Search)
PC input
Game Mode (Optional)
3LFWXUHRႇIXQFWLRQ
Programme recording
Programme timeshifting
Ethernet (LAN) for Internet connectivity and service
802.11 a/b/g/n WIFI Support via USB dongle (not
supplied)
Audio Video Sharing
HbbTV
Accessories Included
Remote Control
Batteries: 2 x AAA
Instruction Book
Quick Start Guide
6WDQGE\1RWL¿FDWLRQV
If the TV does not receive any input signal (e.g. from
an
aerial or HDMI source) fo
r 3 m
inutes, it will go
into standby. When you next switch-on, the following
message will be displayed:
“
TV switched to stand-by
mode automatically because there was no signal
for a long time.
”
Press
OK
to continue.
If the TV is on and it isn’t being operated for a while
it will go into standby. When you next switch-on, the
following message will be displayed.
“
TV switched to
stand-by mode automatically because no operation
was made for a long time.
”
Press
OK
to continue.
English
- 34 -
TV Control Switch & Operation
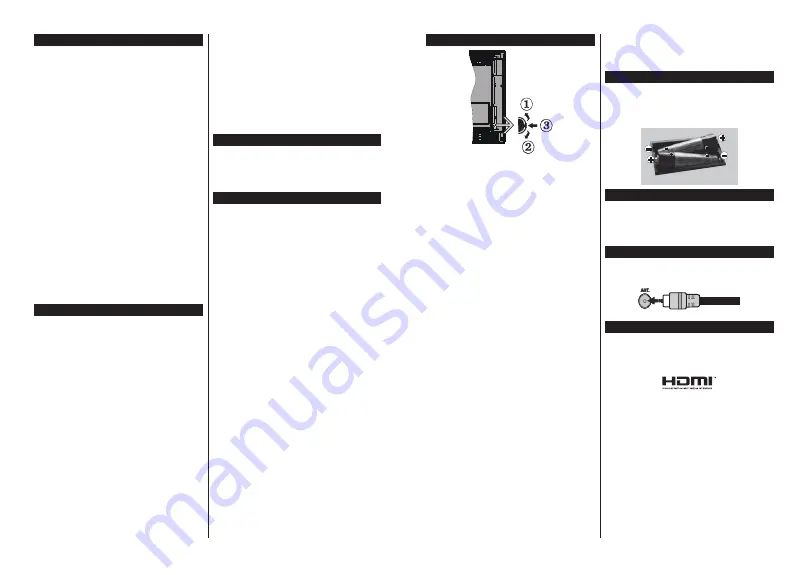
1.
Up direction
2.
Down direction
3.
9ROXPH ,QIR 6RXUFHV /ඈVW VHOHFWඈRQ DQG
6WDQGE\2QVZඈWFK
The Control button allows you to control the Volume
/ Programme / Source and Standby-On functions of
the TV.
To change volume:
Increase the volume by pushing
the button up. Decrease the volume by pushing the
button down.
To change channel:
Press the middle of the button,
the information banner will appear on the screen.
Scroll through the stored channels by pushing the
button up or down.
To change source:
Press the middle of the button
twice(for the second time in total), the source list will
appear on the screen. Scroll through the available
sources by pushing the button up or down.
7R WXUQ WKH 79 Rႇ
Press the middle of the button
down and hold it down for a few seconds, the TV will
turn into standby mode.
Notes:
,I\RXWXUQWKH79RႇWKLVFLUFOHVWDUWVDJDLQEHJLQQLQJ
with the volume setting.
Main menu OSD cannot be displayed via control
button.
Operation with the Remote Control
Press the
Menu
button on your remote control to
display main menu screen. Use the directional buttons
to select a menu tab and press
OK
to enter. Use the
directional buttons again to select or set an item. Press
Return/Back
or
Menu
button to quit a menu screen.
Input Selection
Once you have connected external systems to your
79\RXFDQVZLWFKWRGLႇHUHQWLQSXWVRXUFHV3UHVV
the
Source
button on your remote control consecutively
WRVHOHFWWKHGLႇHUHQWVRXUFHV
Changing Channels and Volume
You can change the channel and adjust the volume
by using the
/-
and
Programme
+/-
buttons
on the remote.
Inserting the Batteries into the Remote
Lift the cover on the back of the remote gently. Insert
two
AAA
batteries. Make sure the (+) and (-) signs
match (observe correct polarity). Place the cover
back on.
Connect Power
IMPORTANT
: The TV set is designed to operate on
9$&+]
socket. After unpacking, allow the
TV set to reach the ambient room temperature before
you connect the set to the mains. Plug the power cable
to the mains socket outlet.
Antenna Connection
Connect the aerial or cable TV plug to the AERIAL
INPUT (ANT) socket located on the back of the TV.
/LFHQVH1RWL¿FDWLRQ
7'0,DQG+'0,+LJK'H¿QLWLRQ0XOWLPHGLD
Interface, and the HDMI Logo are trademarks or
registered trademarks of HDMI Licensing Administrator,
Inc. in the United States and other countries.
Manufactured under license from Dolby Laboratories.
Dolby, Dolby Audio and the double-D symbol are
trademarks of Dolby Laboratories.
YouTube and the YouTube logo are trademarks of
Google Inc.
This product contains technology subject to certain
intellectual property rights of Microsoft. Use or
distribution of this technology outside of this product
is prohibited without the appropriate license(s) from
Microsoft.
Content owners use Microsoft PlayReady™ content
access technology to protect their intellectual property,
including copyrighted content. This device uses
PlayReady technology to access PlayReady-protected
content and/or WMDRM-protected content. If the


