The following section provides step by step procedures for some of the most common
operations performed with the IP Intercom system. For details about operations not shown here,
see the
IP Intercom HelpDesk Help File
, which can be accessed by clicking
Help
in the
Help
menu or by pressing <F1> from within the HelpDesk program.
Configuring the IP Intercom System
This section takes you through the step-by-step procedures for carrying out certain basic tasks.
The examples in this chapter specifically describe the IPI 204 devices but apply to all IP Intercom
models.
For information about more advanced setup and configuration, consult the
IP Intercom HelpDesk
Help File
, which can be accessed by clicking
Help
in the
Help
menu or by pressing <F1> from
within the HelpDesk program.
Basic Configuration
Using the Configuration Utility
1.
In the
Tools
menu, select
Configuration
Utility
. The first time the utility is used after
opening the program a
Password
pop-up box appears. Enter a password. The default
password is extron (all lower case letters).
2.
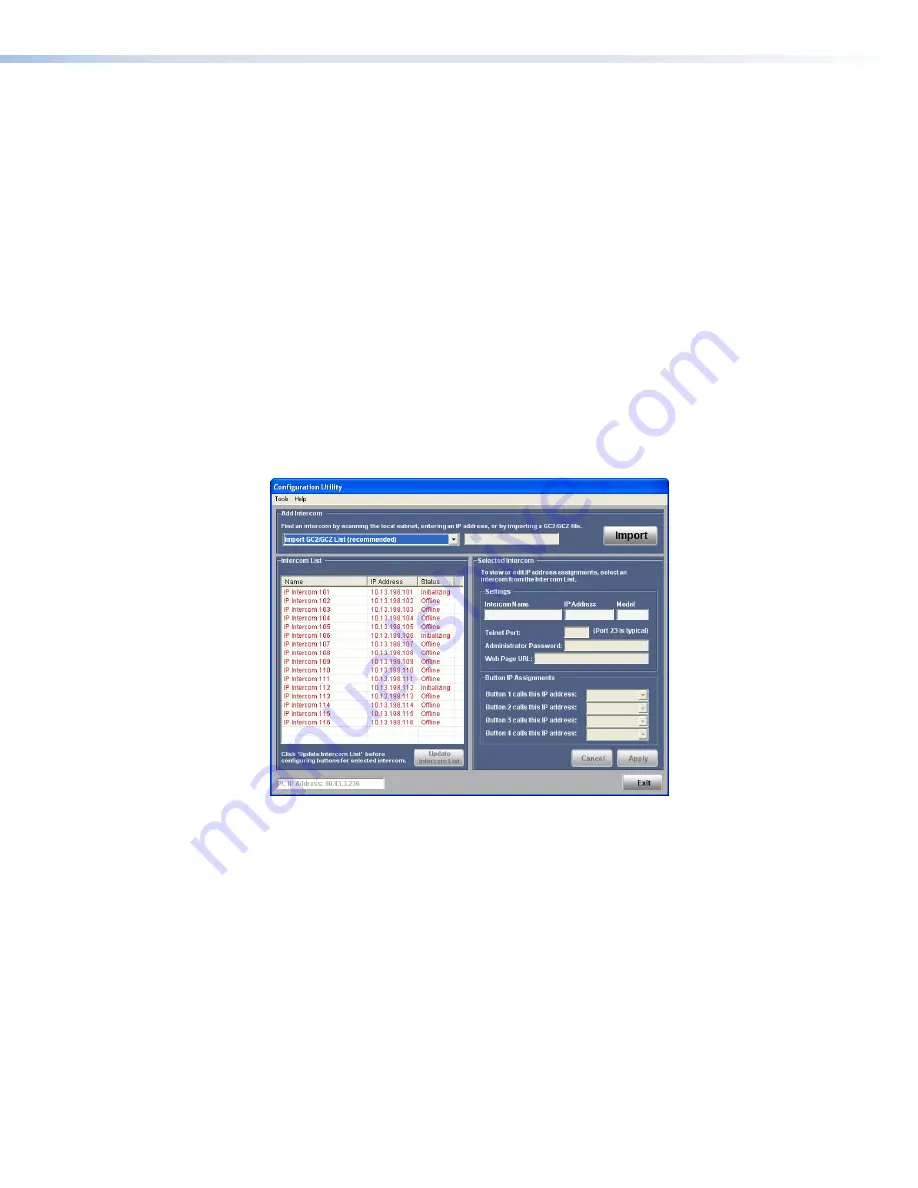
The
Configuration
Utility
window opens:
Figure 20.
Configuration Utility
3.
Create a list of intercom devices. This can be done by:
•
Importing a GC2/GCZ file
on page 25, using Global Configurator
•
Entering the IP addresses manually
on page 25
•
Automatically scanning the local subnet
on page 26
Use the drop-down menu to select the appropriate option.
IPI 100 and IPI 200 Series • Help Desk Software
24


