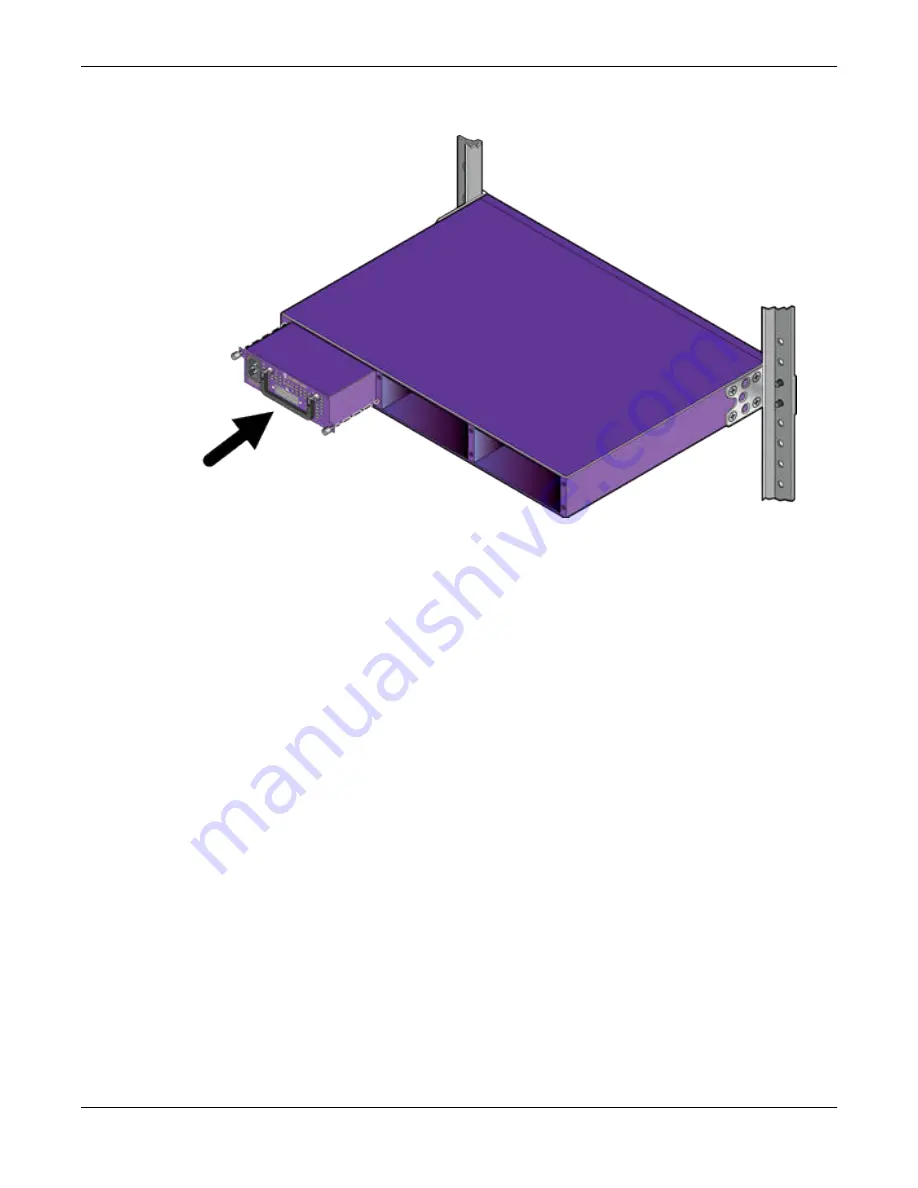
3. Slide a power supply into an empty bay in the shelf, as shown in
Figure 233: Inserting a VX-RPS-1000 Power Supply into the Shelf
4. Tighten the two retaining screws until the power supply is firmly attached to the shelf.
5. Connect a power cable (included with the power supply) to the output socket on the power supply
and the RPS input connector on the rear of the V400 unit.
6. Connect an AC power cord (not included) to the AC power input socket on the power supply and to
an AC power outlet.
When power is connected, verify that the power supply’s DC OK LED turns green. Verify that the
port extender’s PWR LED turns green.
7. Secure the power supply to the shelf using two captive screws on the front panel of the power
supply.
8. Optionally, install additional power supplies on the shelf – up to three in all.
Installing External Power Supplies
Installing up to Three VX-RPS-1000 Power Supplies on a
Shelf
ExtremeSwitching Hardware Installation Guide 293


