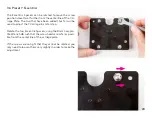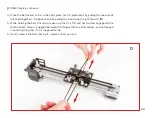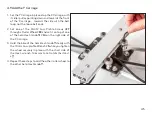
4.5 Y Endcap and Pre-threading
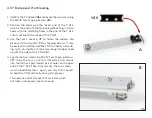
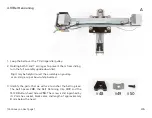
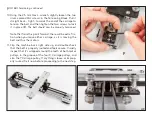
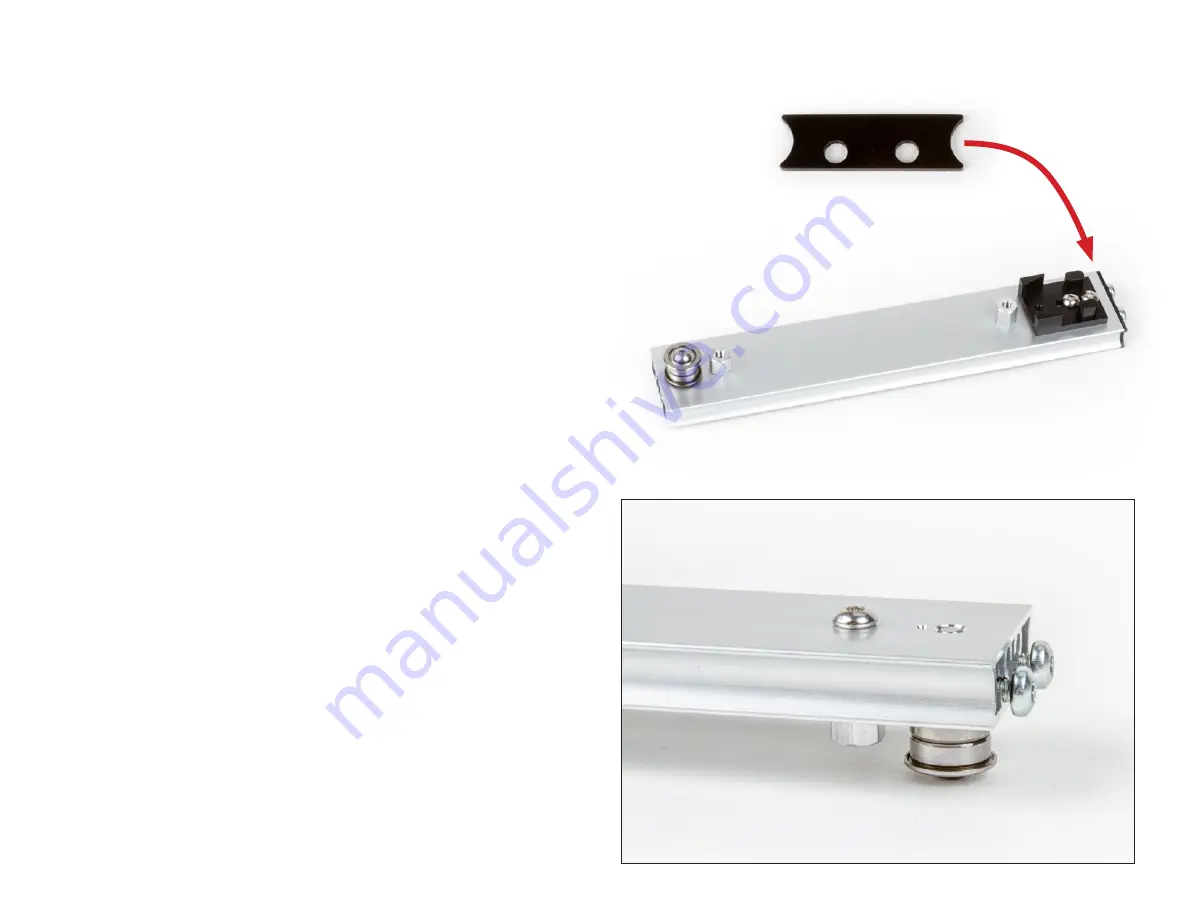
1. Identify the Y Endcap
#46
and locate the two remaining
the M4×8 Torx Tapping Screws
#24
.
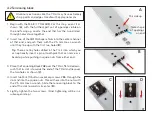
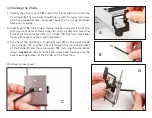
2. Position the endcap on the “back” end of the Y Rail,
which is the end with the Tensioning Block. Align its two
holes with the matching holes in the end of the Y Rail,
and its outline to the shape of the Y Rail.
3. Use the Torx L-wrench,
#2
, to fasten the endcap into
place with the two M4×8 Torx Tapping Screws. It may
be easiest to hold the hold the Y Rail vertically while do-
ing so. As you tighten it into place, keep its edges lined
up with the sides of the Y Rail (
A
).
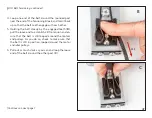
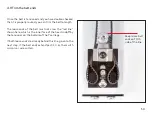
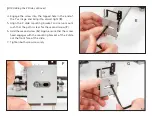
4. Locate the two remaining M4×12 Torx Tapping Screws,
#17
. Using the Torx L-wrench, thread the two screws
into the further-apart (lower) pair of holes on the open
end of the Y Rail. Then, fully remove the two screws –
we will need them later. Again, you may find it easiest
to hold the Y Rail vertically during this process.
A
#46
B
This operation adds threads to these holes, which
will make a subsequent step much easier.
40
Summary of Contents for AxiDraw MiniKit 2
Page 5: ...Part 1 Tools 5...
Page 8: ...Part 2 The Base 8...
Page 20: ...Part 3 The X Carriage 20...
Page 35: ...Part 4 Y Belt and Z 35...
Page 55: ...Part 5 Servo and wiring 55...


