


(Continues on next page)
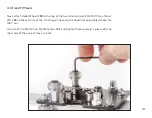
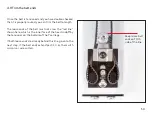
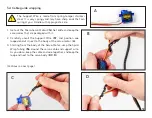
§4.10 Belt tensioning, continued
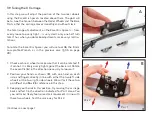
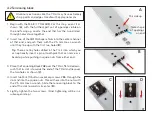
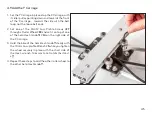
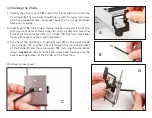
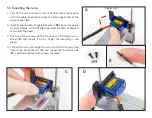
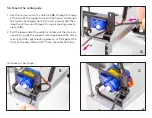
4. Loop one end of the belt around the rounded post
near the end of the Tensioning Block, and fold it back
up so that the belt teeth engage with each other.
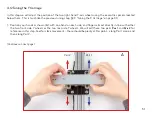
5. Holding the belt steady by the engaged teeth (
B
),
pull the loose end to establish a little tension and en-
sure that the belt is still looped around the motors
and pulleys. As you do so, check to make sure that
the belt is still in position, looped around the motor
and idler pulleys.
6. Pull out as much slack as you can and loop the loose
end of the belt around the other post (
C
).
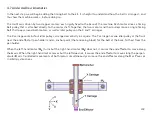
B
C
Pull
47
Summary of Contents for AxiDraw MiniKit 2
Page 5: ...Part 1 Tools 5...
Page 8: ...Part 2 The Base 8...
Page 20: ...Part 3 The X Carriage 20...
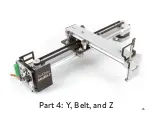
Page 35: ...Part 4 Y Belt and Z 35...
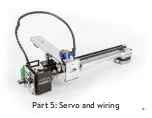
Page 55: ...Part 5 Servo and wiring 55...