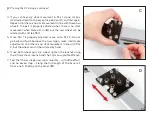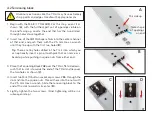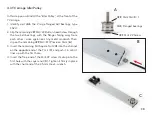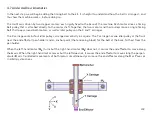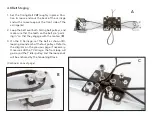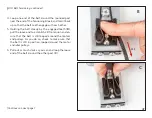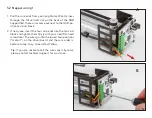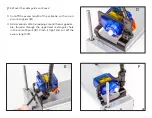
7. Insert the Belt Spacer, with its recessed side facing up, into
the gap in the middle of the Tensioning Block (
D
). Its func-
tion is to pinch the two looped ends of the belt, and thus
anchor the belt.
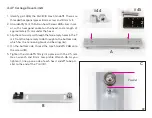
8. The Belt Spacer is wedge shaped and adjustable. If you pull
it towards the back of the Y Carriage, it will release the belt,
and if you push it forward it will pinch the belt tightly in
place. Keep it pushed forward, so that it pinches the belt
ends together in place.
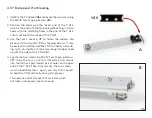
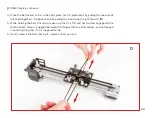
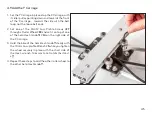
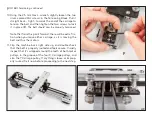
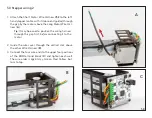
9. To fix the belt spacer in place, use the Belt Retaining Clip
#49
and the M3×8 Button-head Screw
#50
. The retaining
clip has little wings that go up and over the edges of the
belt to keep it from falling out vertically. Push the belt spac-
er forward (towards the center of the carriage) and tighten
the screw with the 2 mm Hex L-wrench (
E
).
(Continues on next page)
§4.10 Belt tensioning, continued
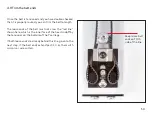
D
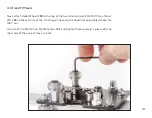
Tip:
Use your 2 mm Hex L-wrench to help pull the belt
out of the way while you add the spacer.
E
48
Summary of Contents for AxiDraw MiniKit 2
Page 5: ...Part 1 Tools 5...
Page 8: ...Part 2 The Base 8...
Page 20: ...Part 3 The X Carriage 20...
Page 35: ...Part 4 Y Belt and Z 35...
Page 55: ...Part 5 Servo and wiring 55...

