§2.6 Mounting the EBB, continued
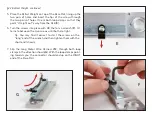
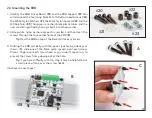
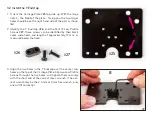
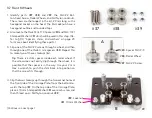
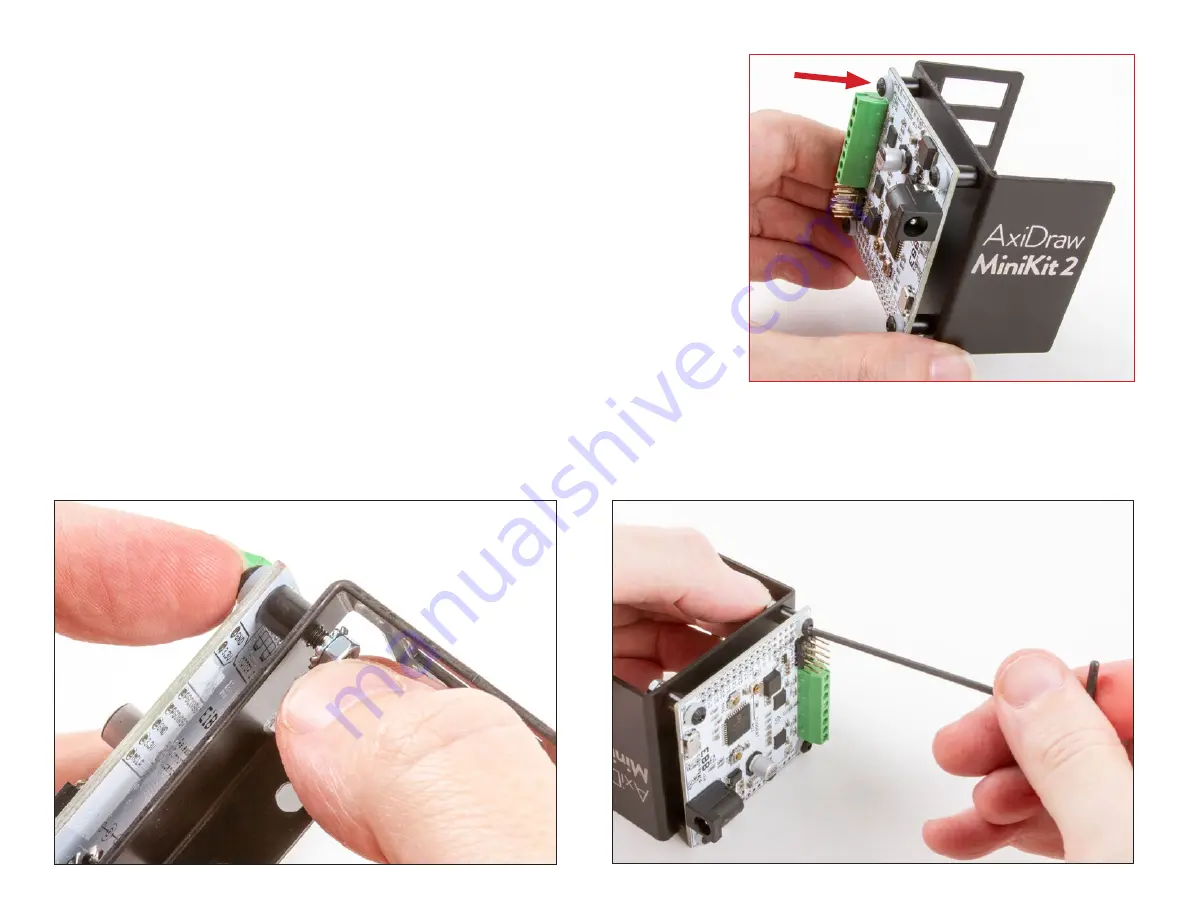
4. Orient the EBB Support such that the power jack and USB port face
towards the “Axidraw MiniKit 2” logo. Then, two at a time, guide the
four screws into the corner holes of the EBB support (
D
).
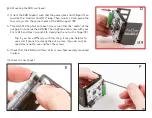
5. Thread an M3 Kep Nut onto each screw, such that the “teeth” of the
nut point in towards the EBB (
E
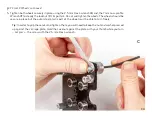
). Then, tighten each screw with your
2 mm Ball-end Hex L-wrench
#3
, steadying the nut with a finger (
F
).
6. Check that the EBB and all four of its screws feel securely mounted
in place.
D
E
F
(Continues on next page)
#19
Tip:
If you have difficulty with this step, it may be helpful to
use a small wrench to steady the nut in place. If you do so, take
special care not to over-tighten the screws.
18
Summary of Contents for AxiDraw MiniKit 2
Page 5: ...Part 1 Tools 5...
Page 8: ...Part 2 The Base 8...
Page 20: ...Part 3 The X Carriage 20...
Page 35: ...Part 4 Y Belt and Z 35...
Page 55: ...Part 5 Servo and wiring 55...

