
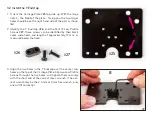

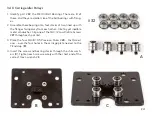


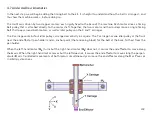
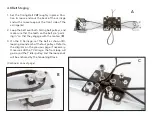
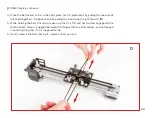
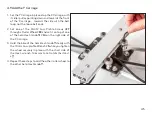
§3.8 Rear X Wheels, continued
D
E
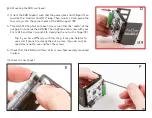
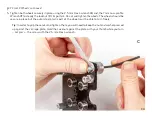
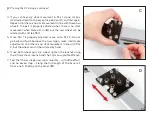
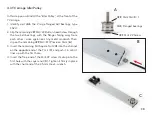
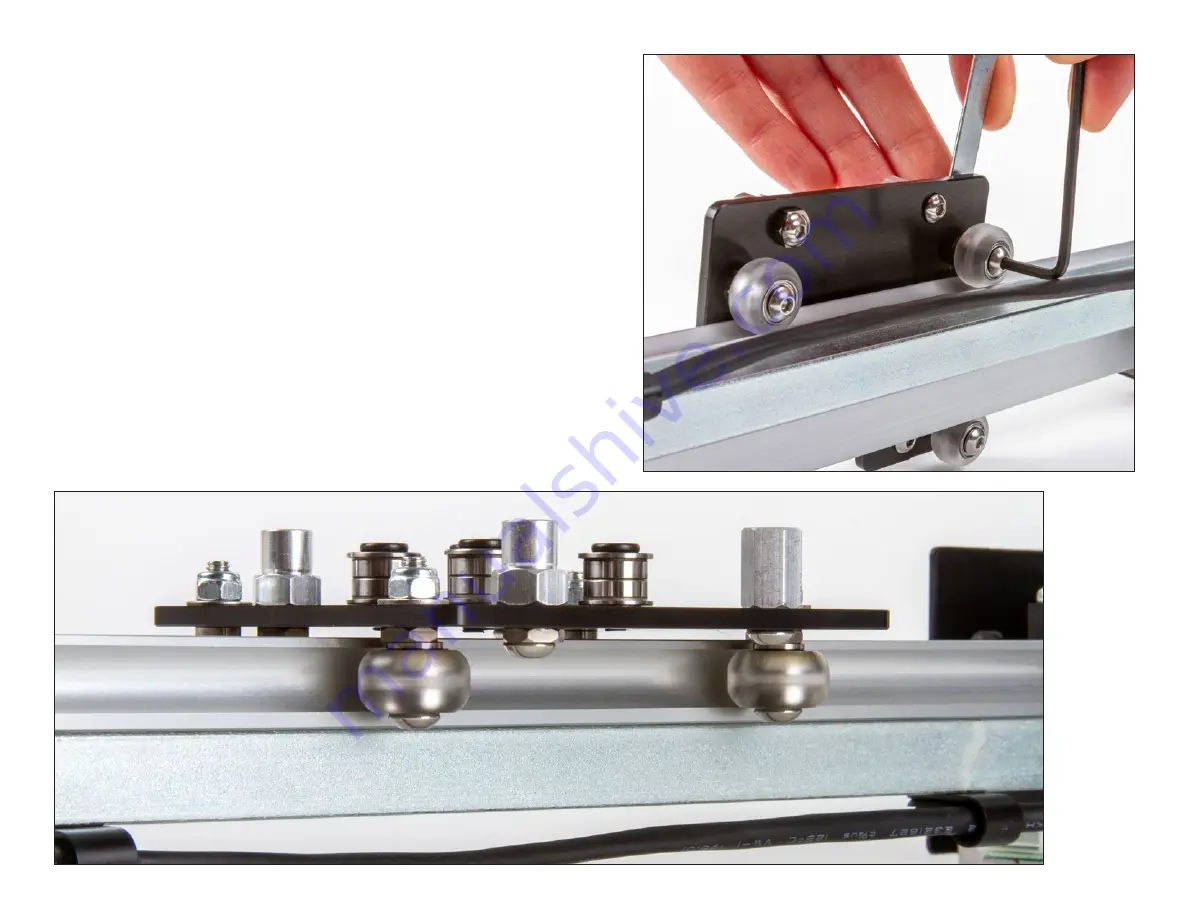
5. Now, tighten both wheels – only until barely tight – us-
ing the 2.5 mm Hex L-wrench and the 7 mm Low-profile
Wrench
#7
to steady the locknut. It is easiest to tilt the
assembly forward while doing so (
D
). Final tightening will
be in a subsequent step.
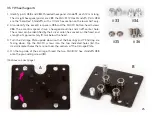
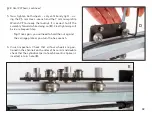
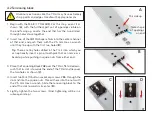
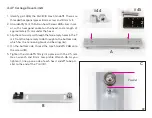
6. Visual inspection: Check that all four wheels are posi-
tioned in the channels on the sides of base rail, and double
check that the cylindrical part of each Eccentric Spacer is
inserted into its hole (
E
).
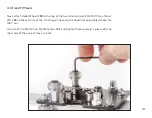
Tip:
Once again, you will need to hold the nut against
the carriage plate as you turn the hex wrench.
32
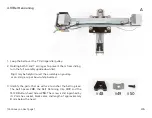
Summary of Contents for AxiDraw MiniKit 2
Page 5: ...Part 1 Tools 5...
Page 8: ...Part 2 The Base 8...
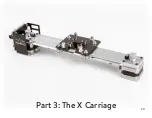
Page 20: ...Part 3 The X Carriage 20...
Page 35: ...Part 4 Y Belt and Z 35...
Page 55: ...Part 5 Servo and wiring 55...