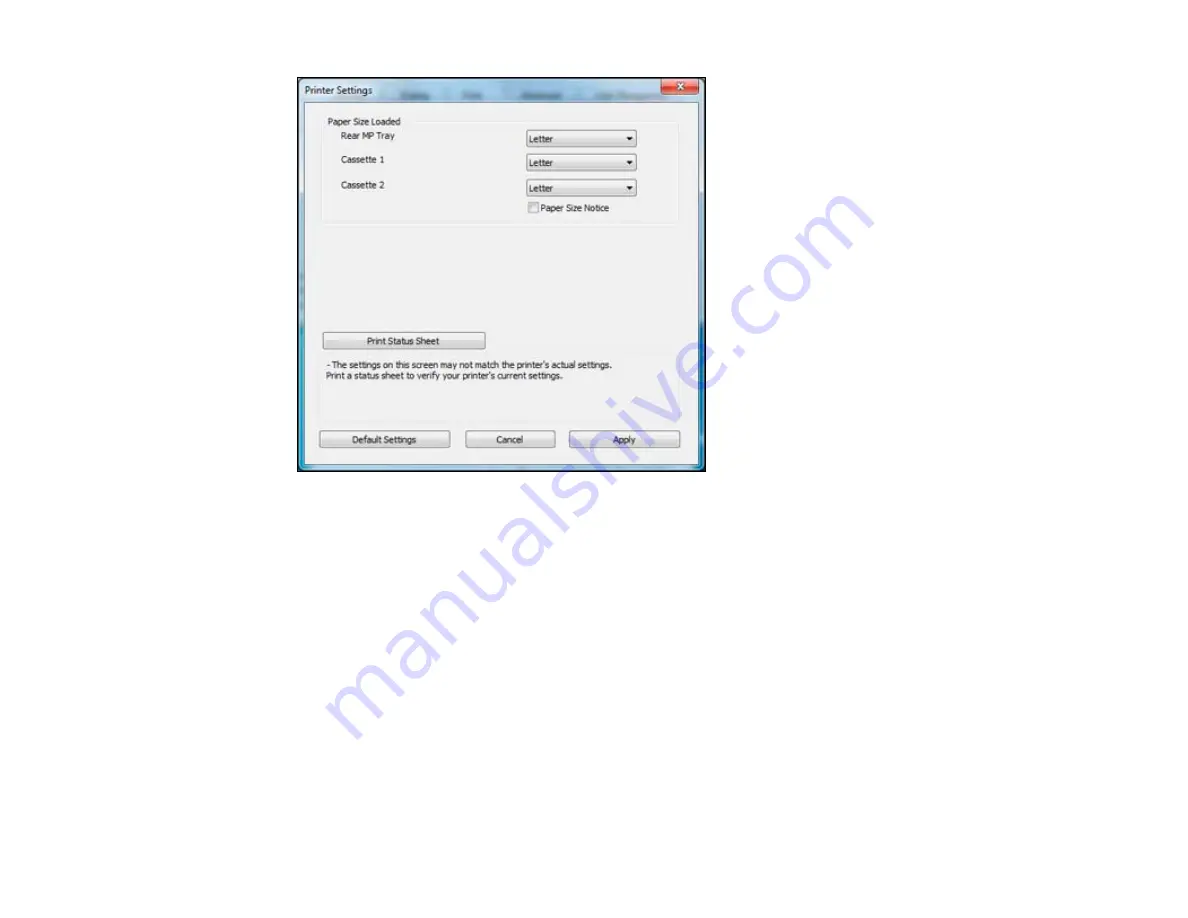
4.
Select the paper size you loaded in each paper source as the
Paper Size Loaded
. If your paper
doesn't match any of the sizes listed for the rear MP tray, select
Others
. This setting is
recommended for the rear tray.
Note:
If you have not installed a second paper cassette, you cannot change the settings for
Cassette 2.
5.
If you want the printer software to warn you if you try to print with the wrong paper size, select the
Paper Size Notice
checkbox.
Note:
If you turn on
Paper Size Notice
, the printer will prevent you from printing with the wrong
paper size settings. If you turn this option off and you try to print with the wrong settings, the printer
will print even if the image size exceeds the printable area, and your printout may be smudged.
6.
Click
Apply
.
7.
When you see the confirmation message, click
Yes
.
39
Summary of Contents for WF-BM4590
Page 1: ...WF BM4590 User s Guide ...
Page 2: ......
Page 10: ......
Page 11: ...WF BM4590 User s Guide Welcome to the WF BM4590 User s Guide 11 ...
Page 18: ...Printer Parts Inside 1 Front cover 2 Print head Parent topic Product Parts Locations 18 ...
Page 21: ...5 Print from your mobile device to your Epson product Parent topic Product Basics 21 ...
Page 24: ...4 Load a stack of paper printable side down in the cassette as shown 24 ...
Page 42: ...3 Select the Paper Source 4 Click the Advanced button You see this window 42 ...
Page 47: ...47 ...
Page 52: ...Parent topic Placing Originals on the Product 52 ...
Page 73: ...73 ...
Page 91: ...Parent topic Starting a Scan Related topics Selecting Epson Scan Settings 91 ...
Page 110: ...110 ...
Page 130: ...Related topics Starting a Scan Selecting Epson Scan Settings 130 ...
Page 173: ...6 Lower the document cover 7 Raise the ADF input tray 8 Carefully remove the jammed pages 173 ...


