4.
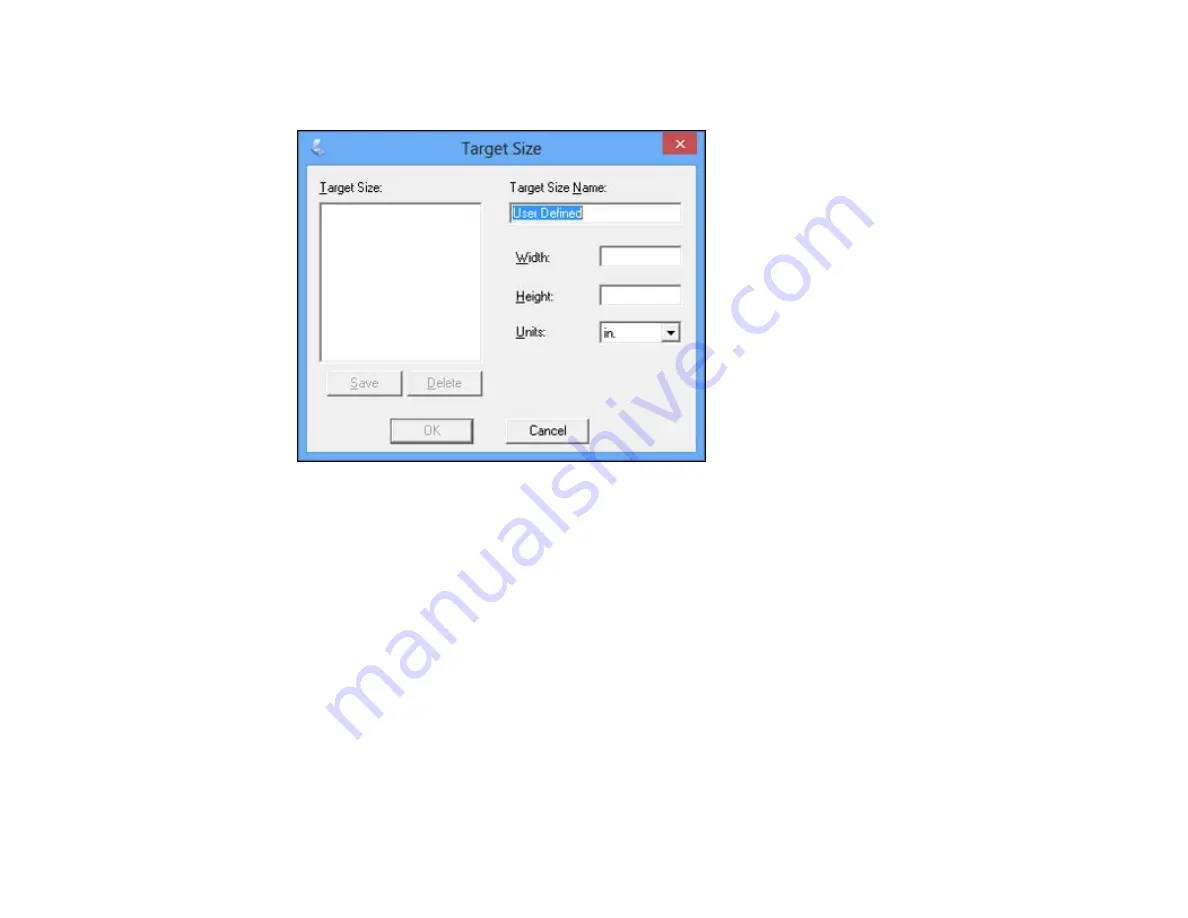
To create a scanned image size that is not available in the Target Size list, click the
Customize
option.
5.
Name the custom size, enter the size, click
Save
, and click
OK
. Then create a scan area on the
preview image.
The marquee is automatically proportioned for your custom scan size.
Parent topic:
Scanning in Office Mode
When you scan in Office Mode, Epson Scan automatically saves your scanned file in JPEG format in
your operating system's Pictures or My Pictures folder, or opens it in your scanning program. You can
select settings, preview, and change the scanned file settings as necessary.
1.
Start Epson Scan and select
Office Mode
as the Mode setting.
You see this window:
104
Summary of Contents for WF-BM4590
Page 1: ...WF BM4590 User s Guide ...
Page 2: ......
Page 10: ......
Page 11: ...WF BM4590 User s Guide Welcome to the WF BM4590 User s Guide 11 ...
Page 18: ...Printer Parts Inside 1 Front cover 2 Print head Parent topic Product Parts Locations 18 ...
Page 21: ...5 Print from your mobile device to your Epson product Parent topic Product Basics 21 ...
Page 24: ...4 Load a stack of paper printable side down in the cassette as shown 24 ...
Page 42: ...3 Select the Paper Source 4 Click the Advanced button You see this window 42 ...
Page 47: ...47 ...
Page 52: ...Parent topic Placing Originals on the Product 52 ...
Page 73: ...73 ...
Page 91: ...Parent topic Starting a Scan Related topics Selecting Epson Scan Settings 91 ...
Page 110: ...110 ...
Page 130: ...Related topics Starting a Scan Selecting Epson Scan Settings 130 ...
Page 173: ...6 Lower the document cover 7 Raise the ADF input tray 8 Carefully remove the jammed pages 173 ...


