32
Making Prints From Slides or Negatives
2.
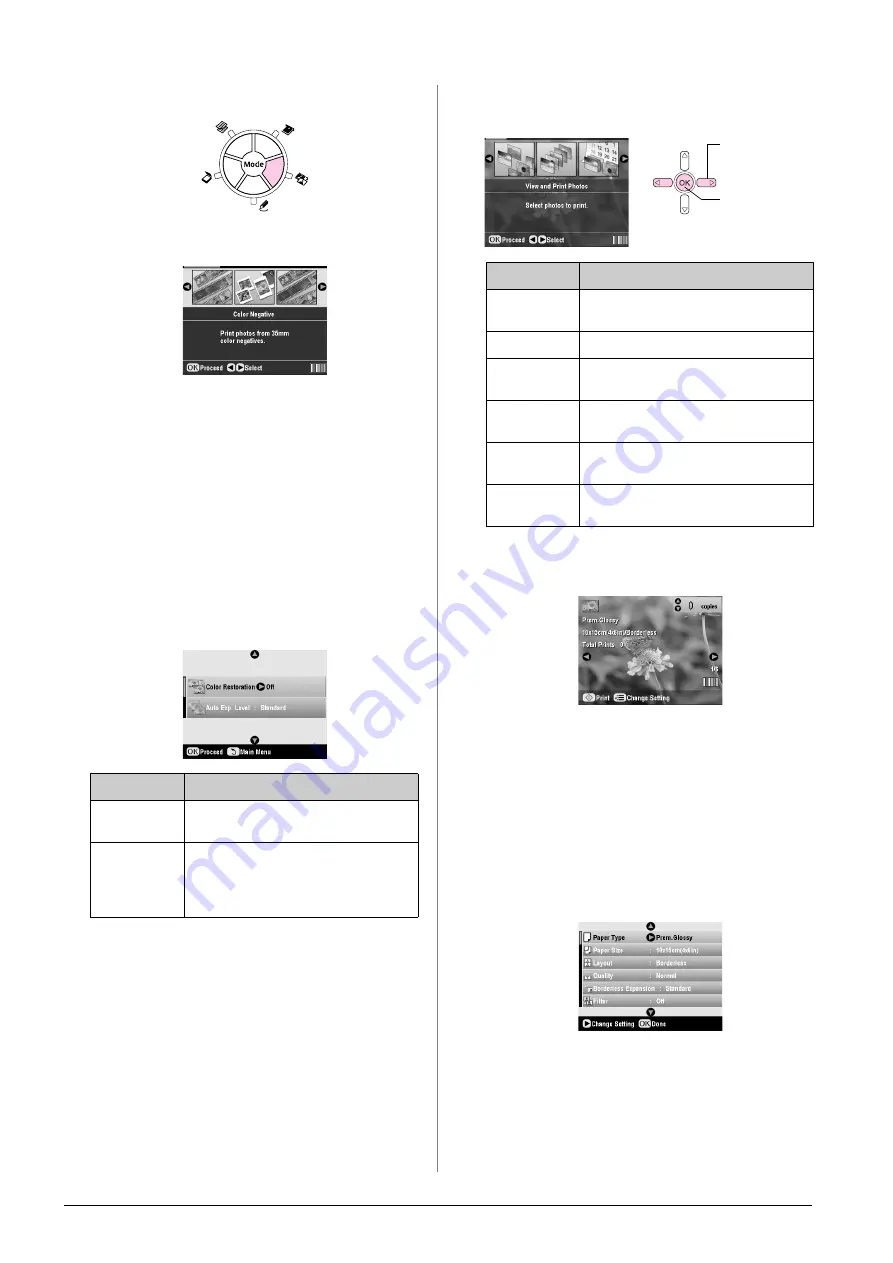
Press the
t
Slide/Negative
mode button.
3.
Select the film type.
If you are scanning slides, select
Color
Positive(slide)
. If you are scanning a film strip,
select one of these options:
■
Color Negative
(used in most cases)
■
BW Negative
■
Color Positive(strip)
Press
OK
after making your selection.
4.
Use the
u
or
d
button to select
Color Restoration
or
Auto Exp. Level
, then press the
r
button to
select the setting item.
5.
Press
OK
. The EPSON STYLUS PHOTO RX starts
previewing your slides.
6.
Press
OK
if the photo is previewed the way you
want it.
If you want to scan again, press the
y
Back button.
7.
Use the
l
or
r
button to select one of the options
for choosing your photos, then press
OK
.
Depending on your selection, you see a screen like
this:
8.
Follow the instructions at the bottom of the screen
to select the photos you want to print and the
number of copies.
Use the
u
,
d
,
l
, and
r
buttons to select a photo;
use the
u
or
d
button to set the number of copies.
9.
Press the
x
Print Settings button.
10. Use the
u
or
d
button to select the menu item, then
press the
r
button.
Setting
Description
Color
Restoration
Select
On
to restore the original color of
faded slides, negatives, or film.
Auto Exp.
Level
Lower
: Decrease exposure level
Standard
: Standard exposure level
Higher
: Increase exposure level
Setting
Description
View and
Print Photos
Prints only the photos that you choose.
Print All
Prints all the photos.
Print Range
Prints a sequence of photos, for example
3 through 8.
Print Crop
Prints only the part of the photo that you
crop (
&
Save to
Memory Card
Save the photos to a memory card (
&
Rescan
Scan the slides, film, or negative one
more time.
1. Select the
option.
2. Press the
OK
button.
Summary of Contents for Stylus Photo RX640 series
Page 51: ...51 English Memo ...


