Making Prints From Your Memory Card
21
En
g
lis
h
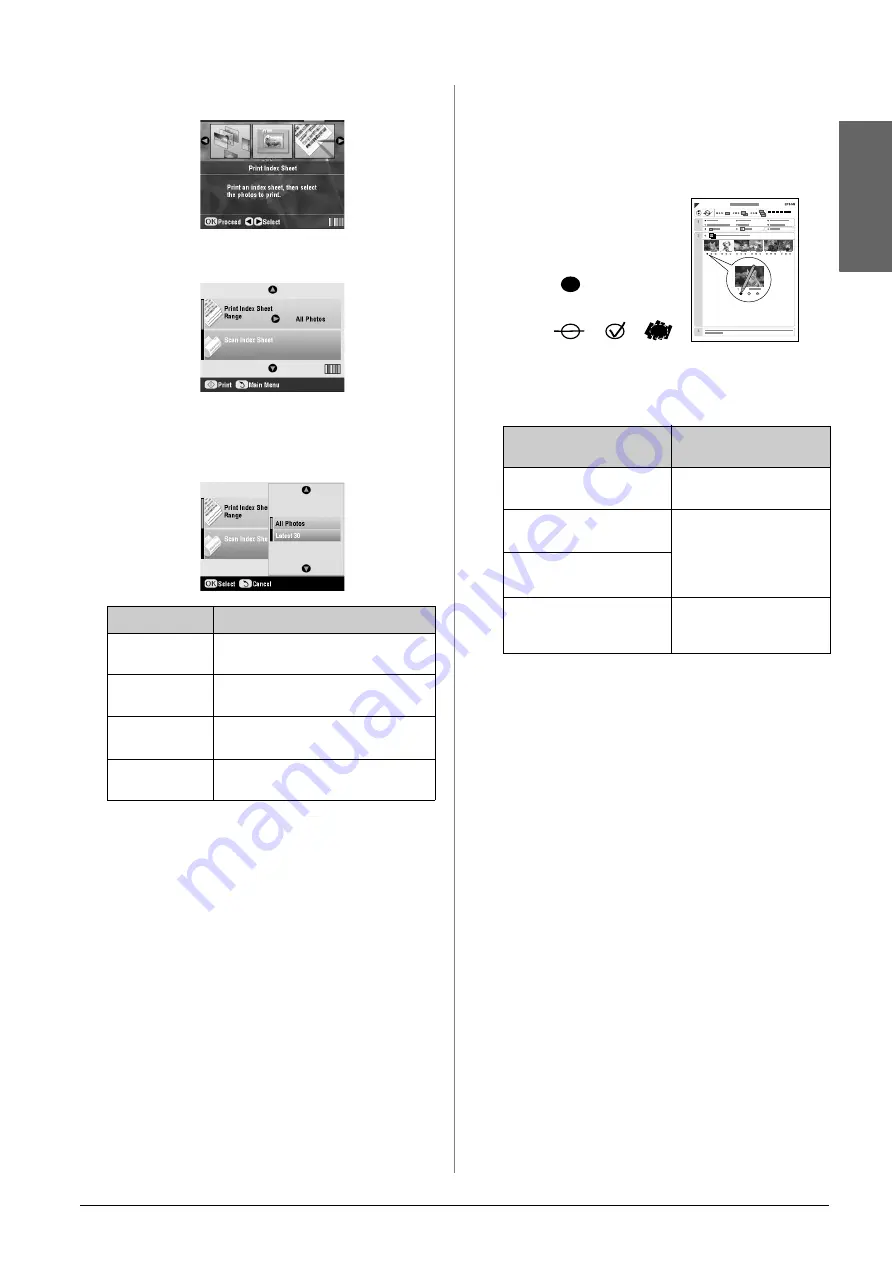
4.
Select
Print Index Sheet
, and then press
OK
.
5.
Select
Print Index Sheet Range
.
6.
Press the
r
button and then use the
u
or
d
button
to select the range of photos you want to print on
the index sheet. Then press
OK
.
7.
Press the
x
Start
button to print the index sheet.
Note:
If you need to cancel printing, press the
y
Stop/Clear Settings
button. If there are a lot of photos on your card, allow time for
them to be processed before printing begins.
Selecting photos from the index
sheet
On the index sheet, use a dark pen or pencil to fill in
the ovals and make your selections.
1.
In section 1, select the size and type of paper you
want to print on as listed below. Fill in the oval to
the left of your selection.
2.
Select whether to print your photos with or
without borders.
3.
Fill in the
Date
oval to include an optional data
stamp.
4.
In section 2, select
All
to print one copy of each
photo, or fill in the number beneath each photo to
select 1, 2, or 3 copies.
Scanning the index sheet and
printing the selected photos
1.
Load the type of paper you selected. Load enough
sheets for the number of photos you want to print.
Range
Description
All Photos
Prints all the photos stored on a
memory card.
Latest 30
Prints 30 photos from the latest one in
order of the file name.
Latest 60
Prints 60 photos from the latest one in
order of the file name.
Latest 90
Prints 90 photos from the latest one in
order of the file name.
If you want to print on this
paper …
Choose one of these
options
Epson Matte Paper
Heavyweight
Matte - A4
Epson Premium Glossy
Photo Paper
Prem./Ultra Glossy -
10
×
15 cm (4
×
6 in)
Prem./Ultra Glossy -
13
×
18 cm (5
×
7 in)
Prem./Ultra Glossy - A4
Epson Ultra Glossy Photo
Paper
Epson Premium Semigloss
Photo Paper
SemiGloss - 10
×
15 cm
(4
×
6 in)
SemiGloss - A4
OK:
No
good:
Summary of Contents for Stylus Photo RX640 series
Page 51: ...51 English Memo ...


