146
4.
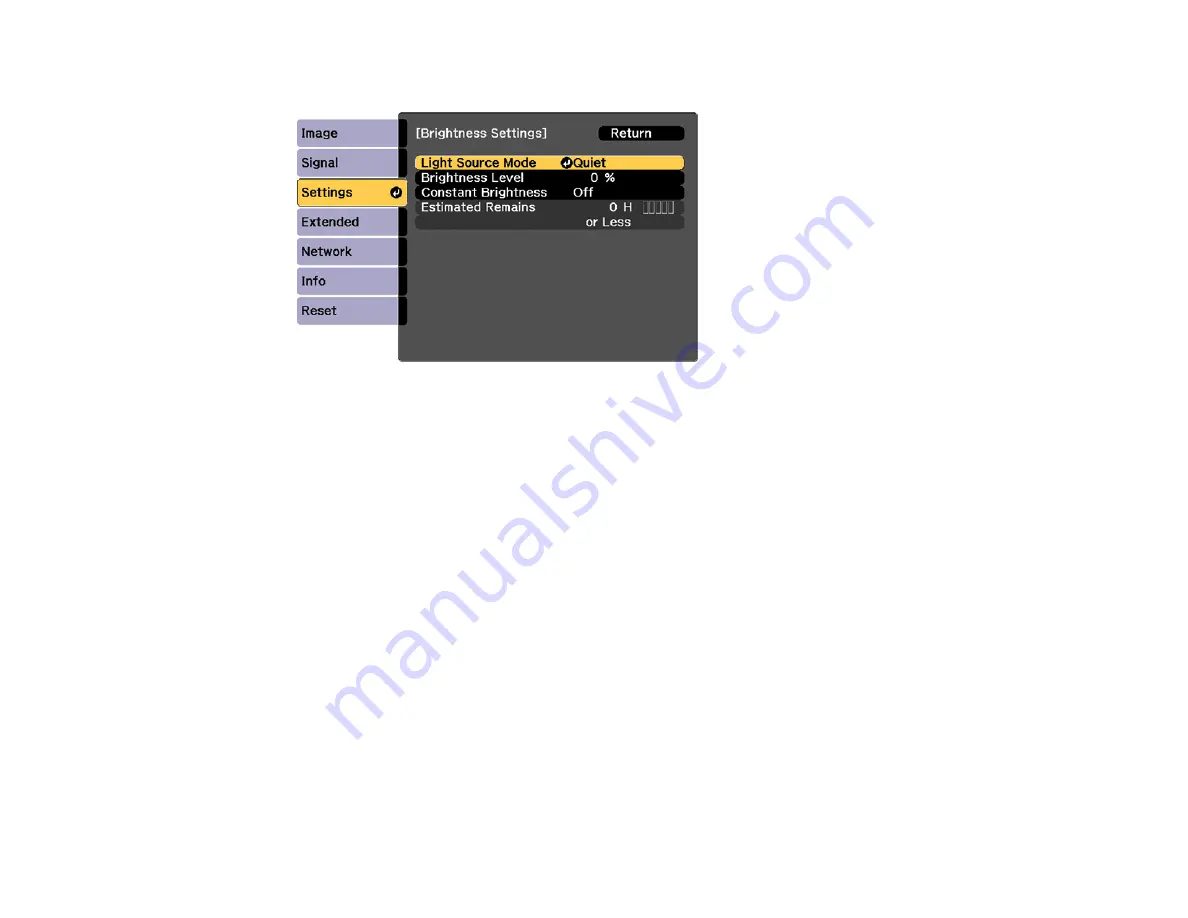
Select the
Brightness Settings
setting and press
Enter
.
5.
Select the
Light Source Mode
setting and press
Enter
.
6.
Select one of the following options:
•
Normal
: Sets brightness to the maximum level (ideal for conference rooms, auditoriums, and
lecture halls)
•
Medium
: Sets brightness to 85% and reduces fan noise
•
Quiet
: Sets brightness to 70% and reduces fan noise (ideal for libraries, theaters, museums, and
art galleries)
•
Extended
: Sets brightness to 70% and extends the life expectancy of the light source (ideal for
darker environments with ambient light, such as museums and art galleries, where a reduced
maintenance cycle is desired)
•
Custom
: Allows you to select a custom brightness level between 30 to 100%
7.
If you selected
Custom
, select
Brightness Level
from the Brightness Settings screen and use the
left and right arrow buttons to select the brightness.
8.
If you selected
Custom
and want to maintain consistent brightness, turn on the
Constant
Brightness
setting.
Note:
If you turn on
Constant Brightness
, you cannot change the
Light Source Mode
and
Brightness Level
settings. If you turn off
Constant Brightness
, the
Brightness Level
setting
changes according to the status of the light source.
Summary of Contents for Pro L1060U
Page 2: ......
Page 10: ...10 A Note Concerning Responsible Use of Copyrighted Materials 315 Copyright Attribution 315 ...
Page 29: ...29 Rear Front ceiling Rear ceiling ...
Page 49: ...49 3 Pull the lens cover off of the projector 4 Remove the stopper if necessary ...
Page 252: ...252 Parent topic Adjusting the Menu Settings Related tasks Running Light Source Calibration ...


