126
Related tasks
Displaying a Test Pattern
Correcting Image Shape with Quick Corner
Correcting Image Shape with Point Correction
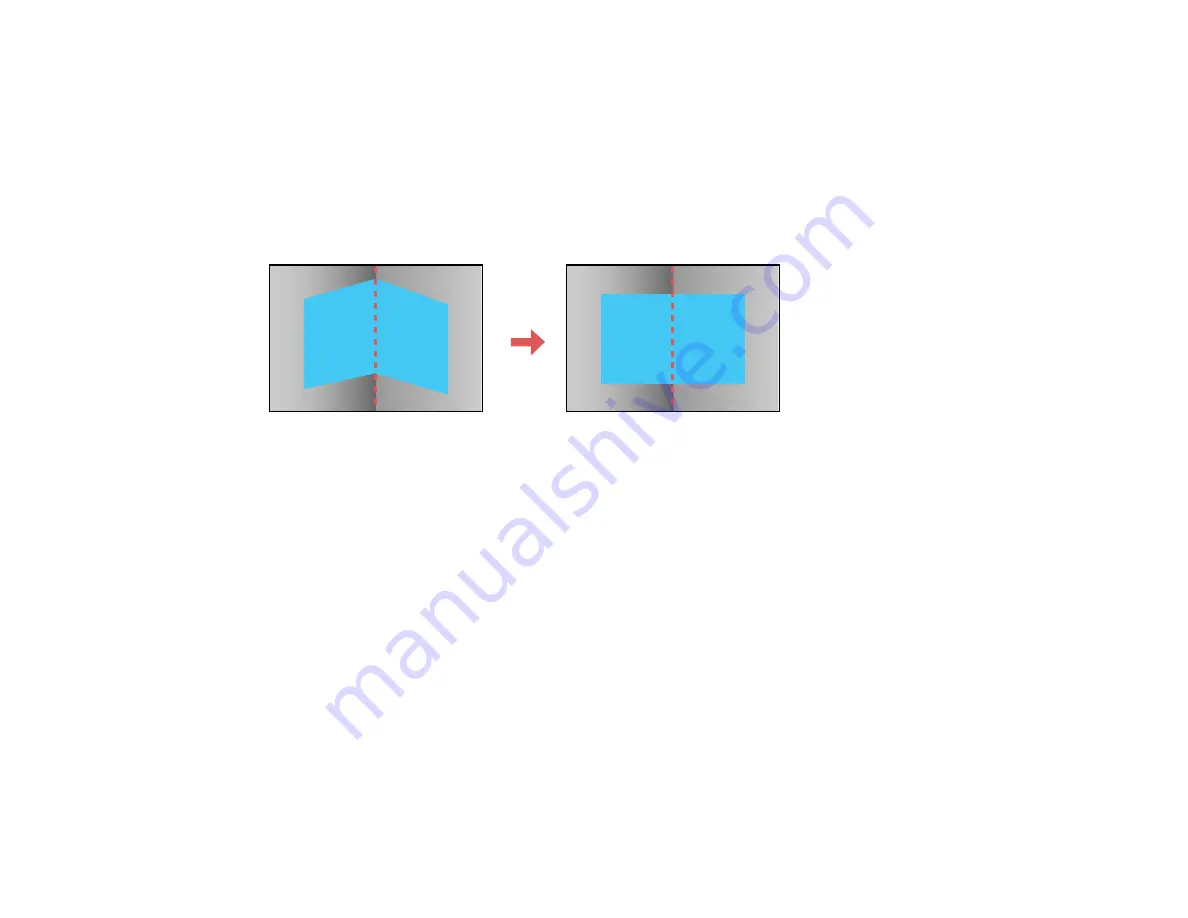
Correcting Image Shape with Corner Wall
You can use the projector's Corner Wall setting to adjust the shape of an image projected on a surface
with right angles, such as a rectangular pillar or the corner of a room.
Note:
For the best results, project from the front of the screen onto a right-angled surface and with the
lens in the home position. The image may not be evenly focused throughout even after performing the
steps here. If you see a 4K Enhancement message, select
Yes
to disable the 4K Enhancement feature
(Pro L1060U/L1060UNL/L1070U/L1070UNL/L1075U/L1075UNL only). Corner Wall is not supported for
the ELPLX01/ELPLX01W lens.
1.
Turn on the projector and display an image.
Note:
You can display a pattern to aid in adjusting the projected image using the Settings menu.
Note:
You can also display a pattern to aid in adjusting the projected image using the
Test Pattern
button on the remote control.
2.
Press the
Menu
button.
Summary of Contents for Pro L1060U
Page 2: ......
Page 10: ...10 A Note Concerning Responsible Use of Copyrighted Materials 315 Copyright Attribution 315 ...
Page 29: ...29 Rear Front ceiling Rear ceiling ...
Page 49: ...49 3 Pull the lens cover off of the projector 4 Remove the stopper if necessary ...
Page 252: ...252 Parent topic Adjusting the Menu Settings Related tasks Running Light Source Calibration ...


