18
Setting Up the Projector
Also keep these considerations in mind:
■
If you’re projecting from a table or other flat surface, make sure
the surface is sturdy and level.
■
Make sure there is plenty of space for ventilation around and
under the projector. Do not set the projector next to loose papers
that could block the vents on the sides of the projector.
■
Make sure the projector is within 6 feet (2 m) of a grounded
electrical outlet or extension cord.
■
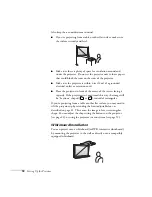
Place the projector in front of the center of the screen, facing it
squarely. If the projector isn’t positioned this way, the image will
be “keystone” shaped (
or
) instead of rectangular.
If you’re projecting from a table or other flat surface, you may need to
tilt the projector up by extending the front adjustable foot, as
described on page 41. This causes the image to lose its rectangular
shape. You can adjust the shape using the buttons on the projector
(see page 42), or using the projector’s menu system (see page 53).
Whiteboard Installation
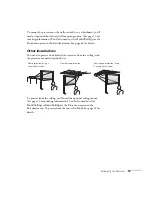
You can project onto a whiteboard (or IWB, interactive whiteboard)
by mounting the projector to the wall or directly onto a compatibly
equipped whiteboard.
Summary of Contents for PowerLite 400W
Page 1: ...PowerLite 400W Multimedia Projector User sGuide ...
Page 14: ...14 Welcome ...
Page 34: ...34 Setting Up the Projector ...
Page 52: ...52 Using the Remote Control ...
Page 104: ...104 Monitoring the Projector Over a Network ...
Page 114: ...114 Notices ...
Page 120: ......


