129
Chapter3 Handling
5
An adjustment start confirmation window appears. Click [Yes].
The second Media Feed Adjustment window appears.
6
In the same way as step 4, look at the print results and then select a setting value.
7
When adjustment is complete, a complete window appears. Click [OK].
8
Print the data prepared in step 1 again.
9
Check the print results.
If gaps are no longer conspicuous, the setting is complete.
To make further adjustment, repeat steps 3 to 9.
Print adjustment sheet
1
Load die-cut label, continuous paper, or full-page label paper with a length of 66.7
mm or more into the printer.
2
Select [Print adjustment sheet] from [Adjustment Method], and then click [Start
adjustment].
3
A confirmation window to print the adjustment sheet appears. Check that paper is
loaded in the printer and then click [OK].
The adjustment sheet is printed and the first Media Feed Adjustment window appears.
4
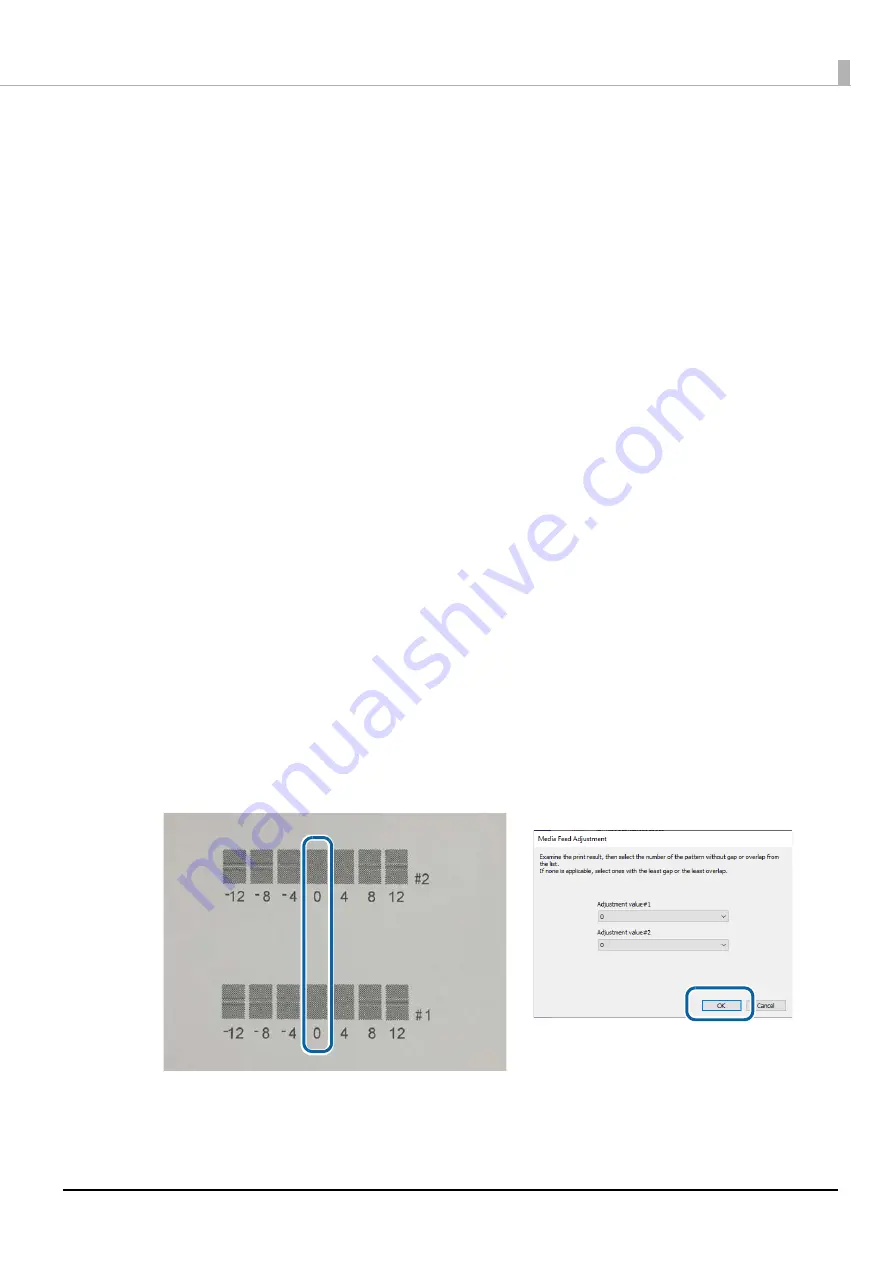
Check the sheet and then select the number for the pattern with the least gaps or
overlapping in each of #1 and #2 groups, and then click [OK].
Adjustment sheet print example (for this sheet, select “0” for both #1 and #2 groups.)
5
A confirmation window to print the adjustment sheet appears again. Click [Yes].
The adjustment sheet is printed and the second Media Feed Adjustment window appears.


