4
Server Name/IP Address
Enter the name or IP address of the FTP server or your computer.
The following are examples:
❏
For
Computer
:
Server name: myhost
IP address: 192.168.1.100
❏
For
Server
:
Server name: myhost.example.com
(myhost: host name, example.com: domain name)
IP address: 192.168.1.100
5
Share Name
For
Computer
only.
Enter the name of the shared folder on your computer.
6
Path
For
Computer
To store scanned documents simply in the shared folder specified for
Share
Name
, leave this box blank.
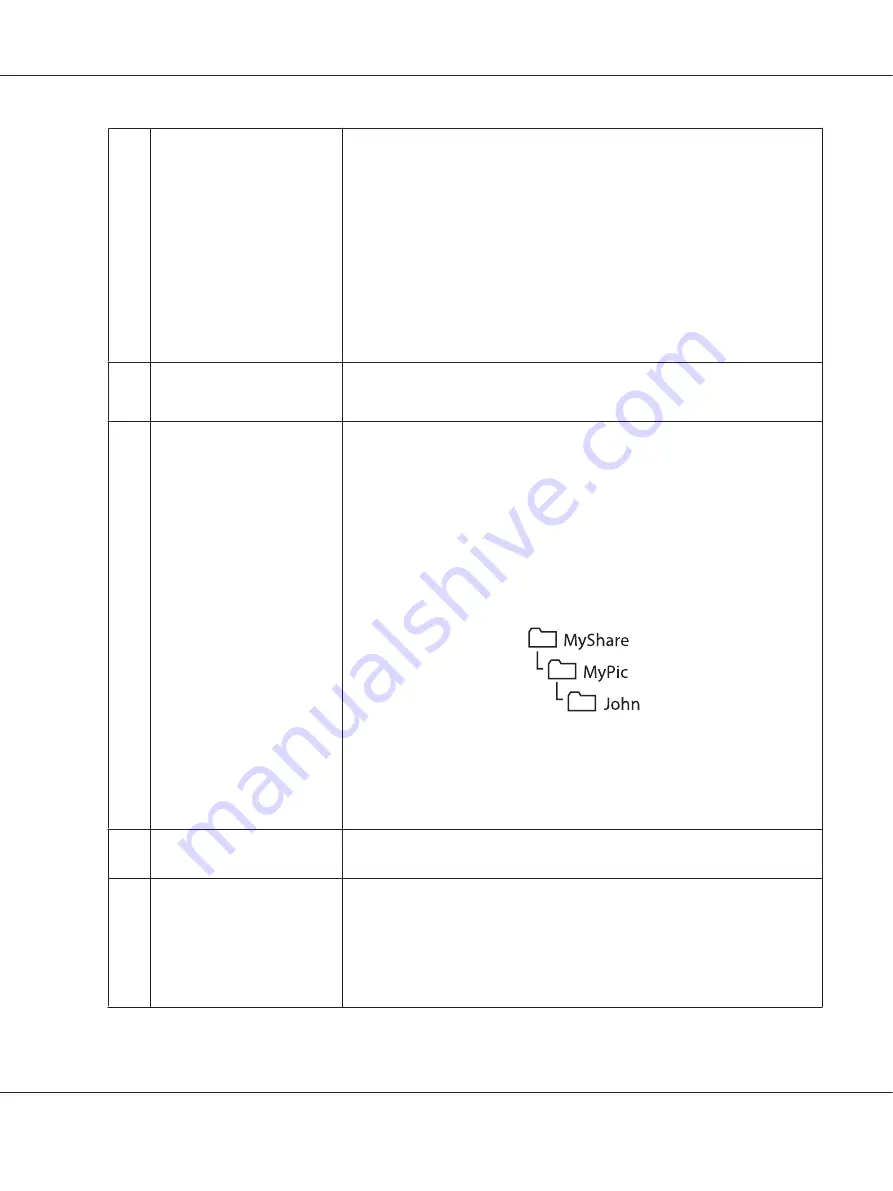
To store scanned documents in a subfolder within the shared folder, enter the
path to the subfolder as shown in the example below.
Example: Shared folder name:
MyShare
, Second-level folder name:
MyPic
,
Third-level folder name:
John
You should now see
MyShare\MyPic\John
in your directory.
In this case, enter for
Path
as follows:
\MyPic\John
For
Server
Enter the path to the FTP server where you want to store scanned documents.
7
Login Name
Enter the user account name that has access to the shared folder on your
computer or the FTP server.
8
Login Password
Enter the password for the above login name.
Note:
You cannot use an empty password for the Scan to Server/Scan to Computer
feature. Ensure that you have a valid password for the user login account. (See
“Confirming the Login name and the Password” on page 190 for details on how
to add a password for your user login account).
AL-MX200 Series User’s Guide
Scanning
209


