C
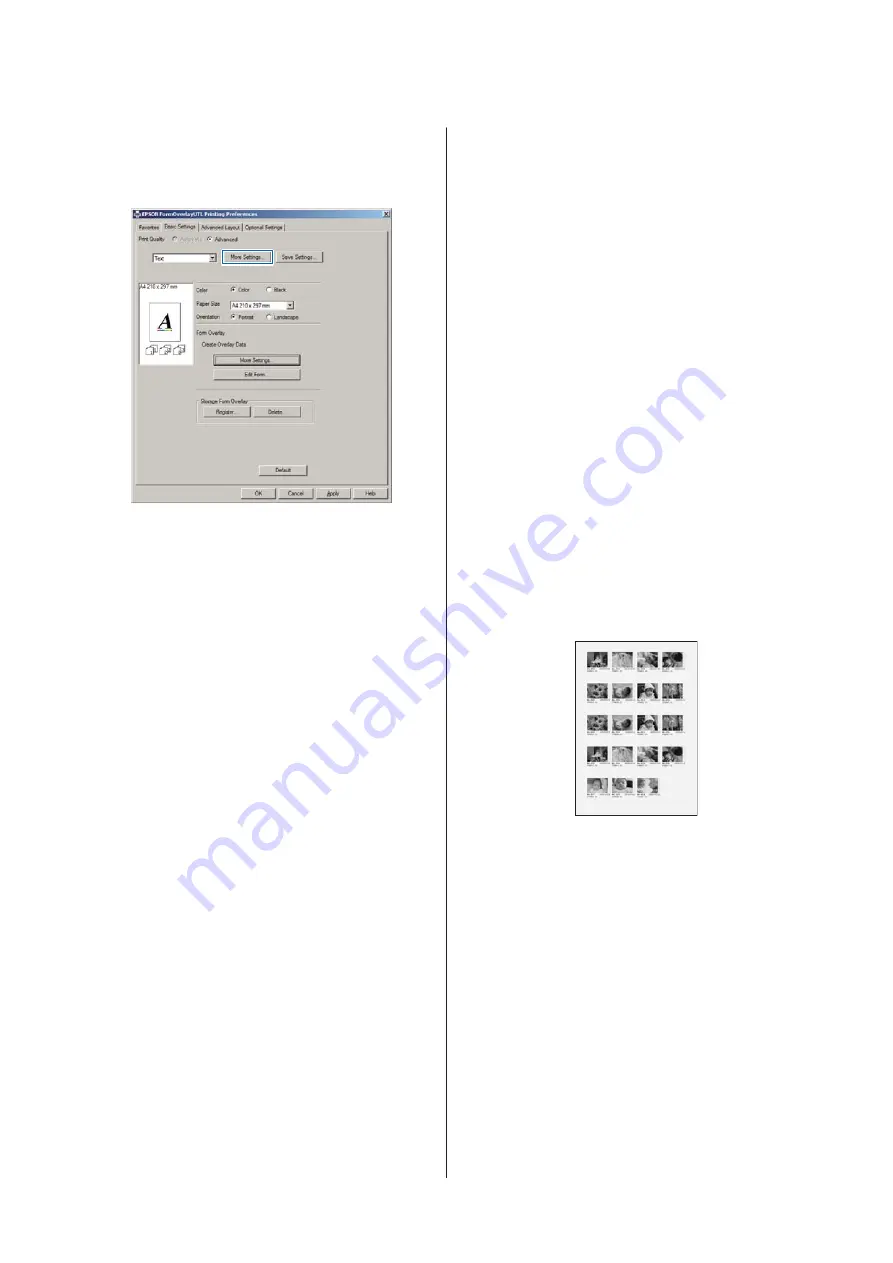
In the Basic Settings tab — Form Overlay —
Create Overlay Data, click
More Settings
. The
Create Form dialog box appears.
D
Type the form name in the Form Data box and its
description in the Description box.
Note:
The following 9 characters cannot be used for form names:
\ / : * ? " < > |.
E
Select
Foreground Document
or
Background
Document
to specify whether the overlay will be
printed as foreground or background of the
document, then click
OK
.
F
Make the appropriate settings for other settings
such as paper size, print quality or orientation.
G
Click
OK
.
H
Click
to create the form data.
Note:
To change the settings of the overlay form data you created,
after doing steps 1 and 2 and the settings in the Basic Settings
tab — Form Overlay — Create Overlay Data, click the
Edit
Form
.
Printing an overlaid document
A
Open the document on which you want to
overlay the form data.
B
Select
from the File menu, select your
printer name, then click
Preferences
.
C
In the More Options tab, check the
Form
Overlay
check box, and click
Settings
. The Form
Selection dialog box appears.
D
Select one form data in the Form data box, select
Overlay
or
Underlay
in the Layering list, then
click
OK
.
E
Click
OK
.
F
Click
to print the document with the form
data.
Printing directly from a
USB memory
You can print by connecting a USB memory directly to
the printer, as follows:
❏
Index Printing
Prints the list (index) of PS/PDF/JPEG/TIFF
format files stored on the USB memory.
❏
Image Printing
Prints images in JPEG/TIFF format files stored on
the USB memory.
❏
Document Printing
Prints the documents in PS/PDF/encrypted PDF,
high-compressed PDF format files stored on the
USB memory.
Follow the steps below to print the files stored on the
USB memory.
A
Confirm
USB Host
setting in
Common
Settings
is set to
On
.
Note:
The factory default is
On
.
AL-C300 Series User's Guide
Printing Tasks
52


