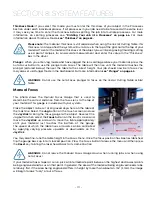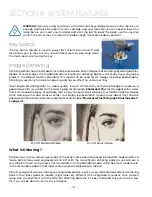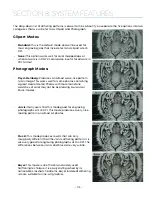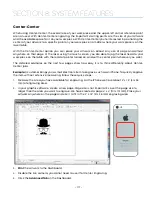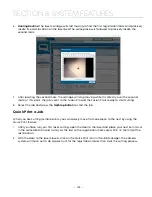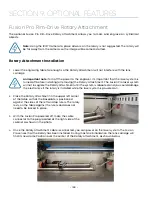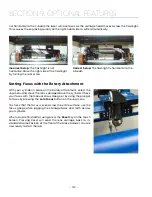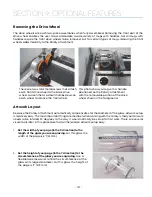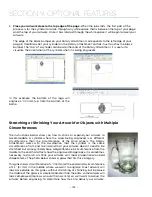
11. Once you are happy with the position of your artwork, select the job and press the Go/Stop button
to start the job.
12. After the job is complete, you can re-use the same center point for additional center-
engraving enabled jobs by long-pressing the Centering Point button, which returns the laser
head to the last center point that was set. You may also set a new center point for any future
jobs by jogging the laser and pressing the “Centering Point” button again.
While Center-Center is the most common use for the Center Engraving features, you can also use
Center-
Left
,
Center-Top, Center-Bottom, Center-Right
or
Custom
. Depending on the object you are engraving,
these options may be easier to find than the center point of the engraving area.
Registration Camera
The Registration Camera is a standard feature on the Fusion Pro. By printing registration marks on your
project, the camera system will align your artwork with the cut lines in your project file.
Setting Up the Print File
Start by printing your artwork on acrylic, paper, cardstock, etc.
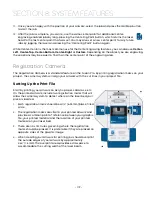
On the printed artwork, include two registration marks that will
allow the camera system to detect where on the laser bed your
piece is located.
1. Each registration mark should be a 1/4” (6.35 mm) black, filled
circle.
2. The registration marks are vital to your printed artwork and
provide a common point of reference between your graphic
file, your printed material and the location of your printed
material on your laser bed.
3. There are no strict rules governing where the registration
marks should be placed. It is preferable if they are placed on
opposite sides of the graphic image.
4. When creating your artwork for printing you should overprint
the outside edges of your artwork by approximately
.060” (1.5 mm). The overprint area provides extra space to
accommodate the cutting width of the laser beam.
- 119 -
SECTION 8: SYSTEM FEATURES
Summary of Contents for Fusion Pro 32
Page 2: ......
Page 6: ......
Page 14: ...Fusion Pro 48 8 SECTION 1 SAFETY ...
Page 15: ... 9 SECTION 1 SAFETY ...
Page 18: ......
Page 28: ......
Page 60: ......
Page 98: ......
Page 108: ......
Page 132: ......
Page 162: ......
Page 184: ......
Page 202: ......
Page 214: ......
Page 216: ......
Page 242: ......

