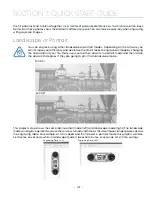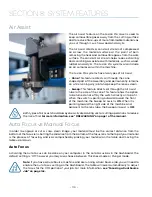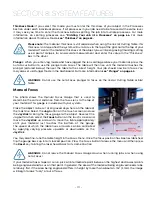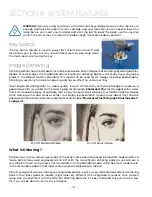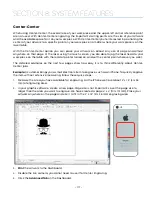
Center-Center
When using Center-Center, the overall size of your work piece and the upper-left corner reference point
are not used. With Center-Center engraving, the important starting points are the size of your artwork
and the available space for it on your work piece. With Center-Center you’re interested in positioning the
center of your artwork to a specific point on your work piece, no matter where your work piece is on the
laser table.
With the Center-Center option you can place your artwork on almost any size of page and almost
anywhere on that page. At the laser using the touch screen, you are able to jog the laser head to your
work piece on the table with the red dot pointer turned on, and set the center point wherever you want.
The detailed examples on the next few pages show how easy it is to think differently about Center-
Center jobs.
Example:
A customer brings you a small electronic item to engrave, such as an iPhone. To quickly engrave
the item without extensive measuring, follow these quick steps:
1. Measure the area you have available for engraving. For the iPhone we have about 2” x 1.5” (51 x 38
mm) of engraving area.
2. In your graphic software, create a new page. Page size is not important, so set the page size to
larger than the area you want to engrave. We have created a page 4” x 4” (101 x 101 mm). Place your
artwork anywhere on the page and size it to fit in the 2” x 1.5” (51 x 38 mm) engraving area.
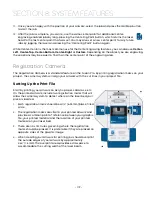
3.
the artwork to the Dashboard.
4. Disable the live camera, you do not need to use it for Center Engraving.
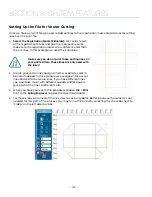
5. Click the
Advanced Tab
on the Dashboard.
- 117 -
SECTION 8: SYSTEM FEATURES
Summary of Contents for Fusion Pro 32
Page 2: ......
Page 6: ......
Page 14: ...Fusion Pro 48 8 SECTION 1 SAFETY ...
Page 15: ... 9 SECTION 1 SAFETY ...
Page 18: ......
Page 28: ......
Page 60: ......
Page 98: ......
Page 108: ......
Page 132: ......
Page 162: ......
Page 184: ......
Page 202: ......
Page 214: ......
Page 216: ......
Page 242: ......

