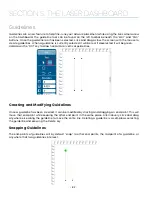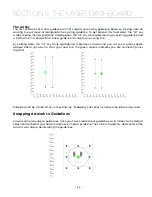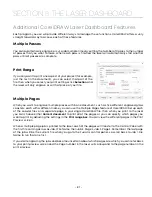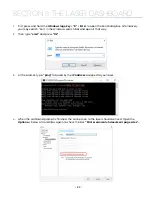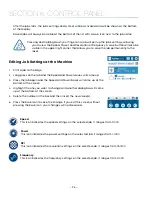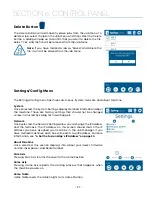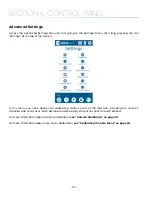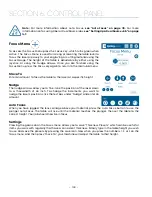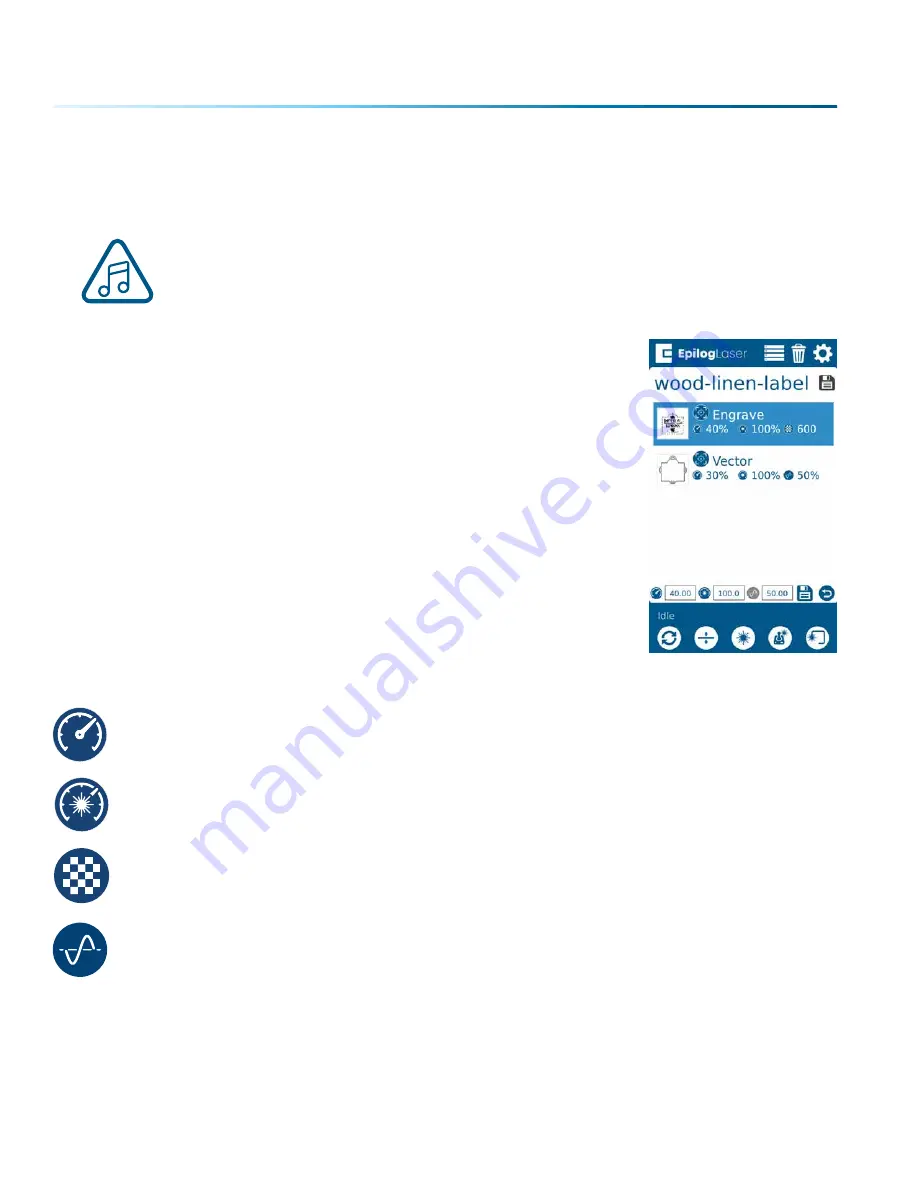
• After the job starts, the job’s settings and a timer will be activated and will be shown at the bottom
of the display.
• Saved jobs will always be visible at the bottom of the list with a save icon next to the job name.
•
Pressing and holding down your finger on a job will pull up the job’s settings, allowing
you to view the Speed, Power, and Resolution or Frequency. A save button will also be
visible in the upper right corner that allows you to save the job permanently to the
laser.
Editing Job Settings at the Machine
1. Print a job to the Edge
2. Long press on the job and the Speed and Power values will come up.
3. Press the job again and the Speed and Power boxes will come up at the
bottom of the screen
4. Highlight the one you want to change and another dialog box will come
up at the bottom of the screen.
5. Delete the number in the box and then insert the new value(s).
6. Press the Save icon to save the change. If you exit this screen without
pressing the Save icon, your changes will not be saved.
Speed
This icon indicates the speed settings on the selected job. It ranges from 1-100%.
Power
This icon indicates the power settings on the selected job. It ranges from 1-100%.
DPI
This icon indicates the resolution settings on the selected job. It ranges from 75-1200.
Frequency
This icon indicates the frequency settings on the selected job. It ranges from 1-100%.
- 96 -
SECTION 6: CONTROL PANEL
Summary of Contents for Fusion Pro 32
Page 2: ......
Page 6: ......
Page 14: ...Fusion Pro 48 8 SECTION 1 SAFETY ...
Page 15: ... 9 SECTION 1 SAFETY ...
Page 18: ......
Page 28: ......
Page 60: ......
Page 98: ......
Page 108: ......
Page 132: ......
Page 162: ......
Page 184: ......
Page 202: ......
Page 214: ......
Page 216: ......
Page 242: ......

