11g Wireless Client Bridge/AP
Version 1.36
35
Click on the
Save
button to save the current settings to a file on the local disk.
Click on the
Browse
button to select the settings file and then click on the Upload
button to load the previously saved settings.
Click on the
Reset
button to reset the device to its factory default settings. Click
Restart
to reboot the device.
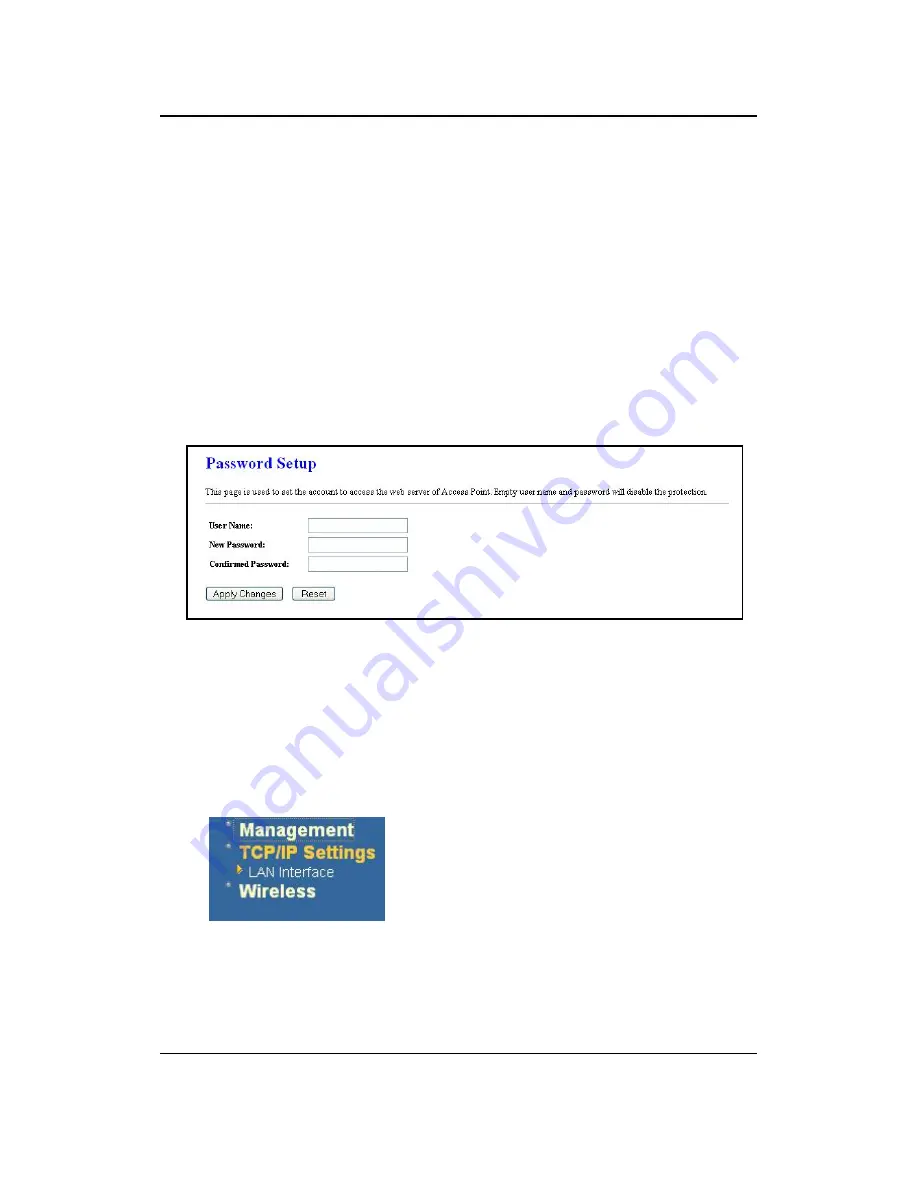
5.2.7 Password
Click on the
Password
link under the
Management
menu. This option allows you to
create a user name and password for the device. By default, this device is configured
without a user name and password. For security reasons it is highly recommended
that you create a user name and password.
Enter
a
user name
into the first field.
Enter a password into the
New Password
field and then re-type the password into
the
Confirmed Password
field. Then click on the
Apply Changes
button.
By clicking on the
Reset
button, the user name and password fields will become
blank indicating that the username and password has been disabled.
5.3 TCP/IP Settings
Click on the
TCP/IP Settings
link on the
navigation drop-down menu. You will then see
the LAN Interface option. This option is
described in detail below.
5.3.1 LAN Interface
Click on the
LAN Interface
link under the
TCP/IP Settings
menu. Using this option
you may change the IP address of the device as well as toggle the DHCP and
802.1d spanning tree feature.


