Network Communication Configuration
Eaton Advanced ePDU User’s Guide P-164000042—Rev 1
www.eaton.com/ePDU
30
10. Choose one of the following procedures:
- If your network is equipped with a DHCP server, type
1
and press [Enter] to enable DHCP. Continue
to Step 18.
- If your network is not equipped with a DHCP server, type
0
and press [Enter] to disable DHCP.
Continue to Step 11.
11. Type
0
(Network Settings) and press [Enter].
12. Type
1
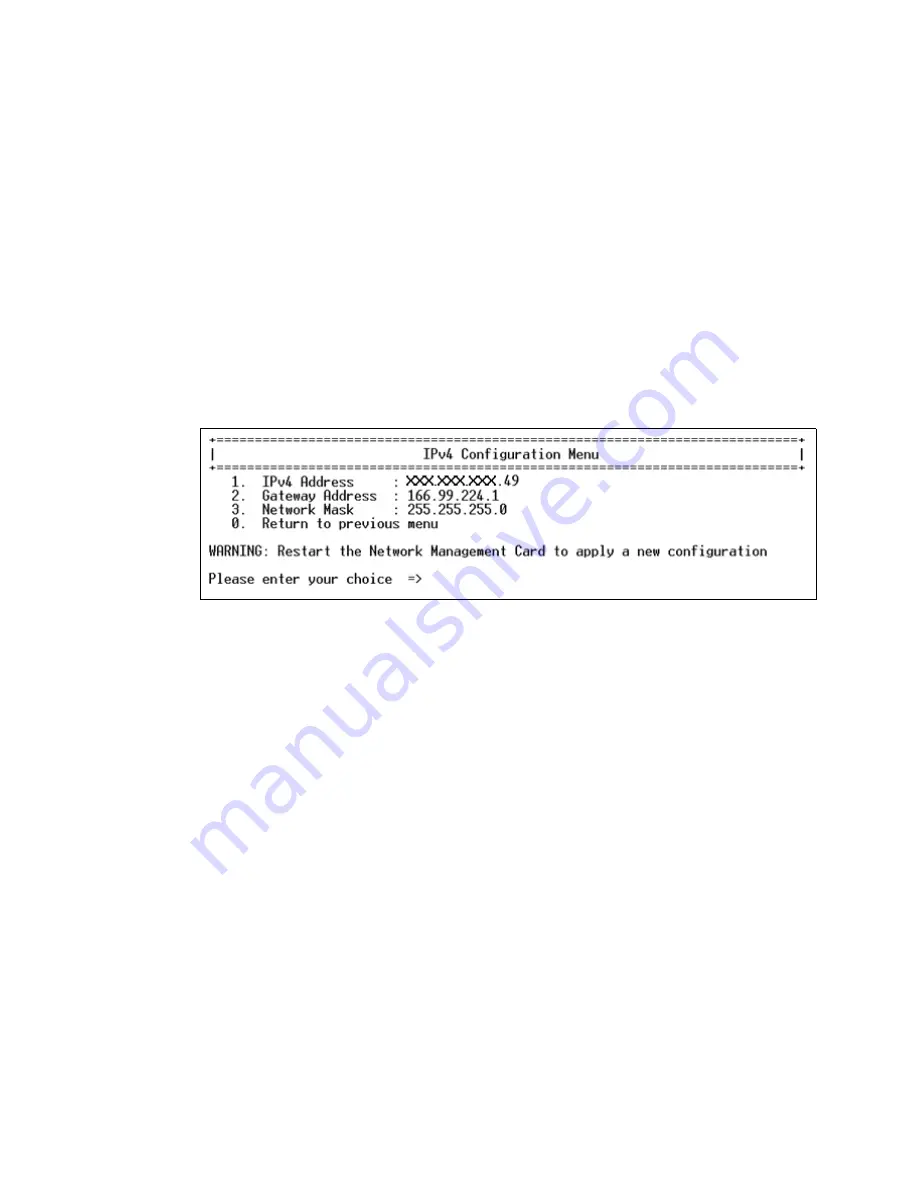
(IPv4 Configuration) and press [Enter]. The default settings display (see Figure 25).
13. Type
1
(IPv4 Address) and press [Enter].
14. Type the IPv4 address and press [Enter].
15. Type
2
(Gateway Address) and press [Enter].
16. Type the IPv4 address of the gateway (if any) and press [Enter].
17. Type
3
(Network Mask) and press [Enter]. Type the subnet mask and press [Enter].
Figure 25. IPv4 Configuration Menu
18. Type
0
(Return to previous menu) and press [Enter].
19. Type
0
(Return to previous menu) and press [Enter].
20. Type
0
(Return to previous menu) and press [Enter].
21. Type
3
(Restart Network Management Card) and press [Enter]. The Network Management Card restarts
with the new IP settings after approximately 30 seconds.
Retrieve the IPv4 Address
1.
Verify that the serial cable is connected between the ePDU Serial (RS-232) port and the PC COM port.
2.
Use a PC terminal emulator program such as HyperTerminal with the following settings:
- Baud rate (bits per second) = 9600
- Data bits = 8
- Stop bits = 1
- Parity = None
- Flow control = None
3.
Disable the “Echo typed characters locally” option.
4.
Press [Enter]. The Login menu displays.
5.
Type
admin
. The Eaton ePDU Configuration Utility menu displays.
6.
Type
1
(Network Management Card Settings) and press [Enter].


