33
XTL
™
500
User Guide
To edit a barcode
1
Tap to select the barcode and press
.
2
Select the property you wish to change.
3
Change the settings.
4
When finished editing the barcode, select
Done
.
Inserting a Shape
You can add shapes to your label. Layering shapes with text or images can
produce highly customized designs. See
Arranging Objects
on page 34 for an
example.
To add a shape
1
From the edit screen, tap
and then tap
Shape
.
2
Tap a shape to add to the label.
3
Move and resize the shape as desired.
To change a shape
1
Tap to select a shape on the label and press
.
2
Tap a different shape.
Manipulating Objects
You use the touch screen to select, resize, move, copy, align, arrange, position,
and delete objects.
Selecting an Object
A blue border appears around the object when an object is selected. If the label
contains more than one object, you can use the Object Selection tool to move the
focus to each object on the label.
To select an object
Tap once on any object.
The object is selected and the object selection tool appears.
If objects are small or layered, tap
or
in the Object Selection tool to
select the object you want.
To select more than one object, press
and select the additional objects.
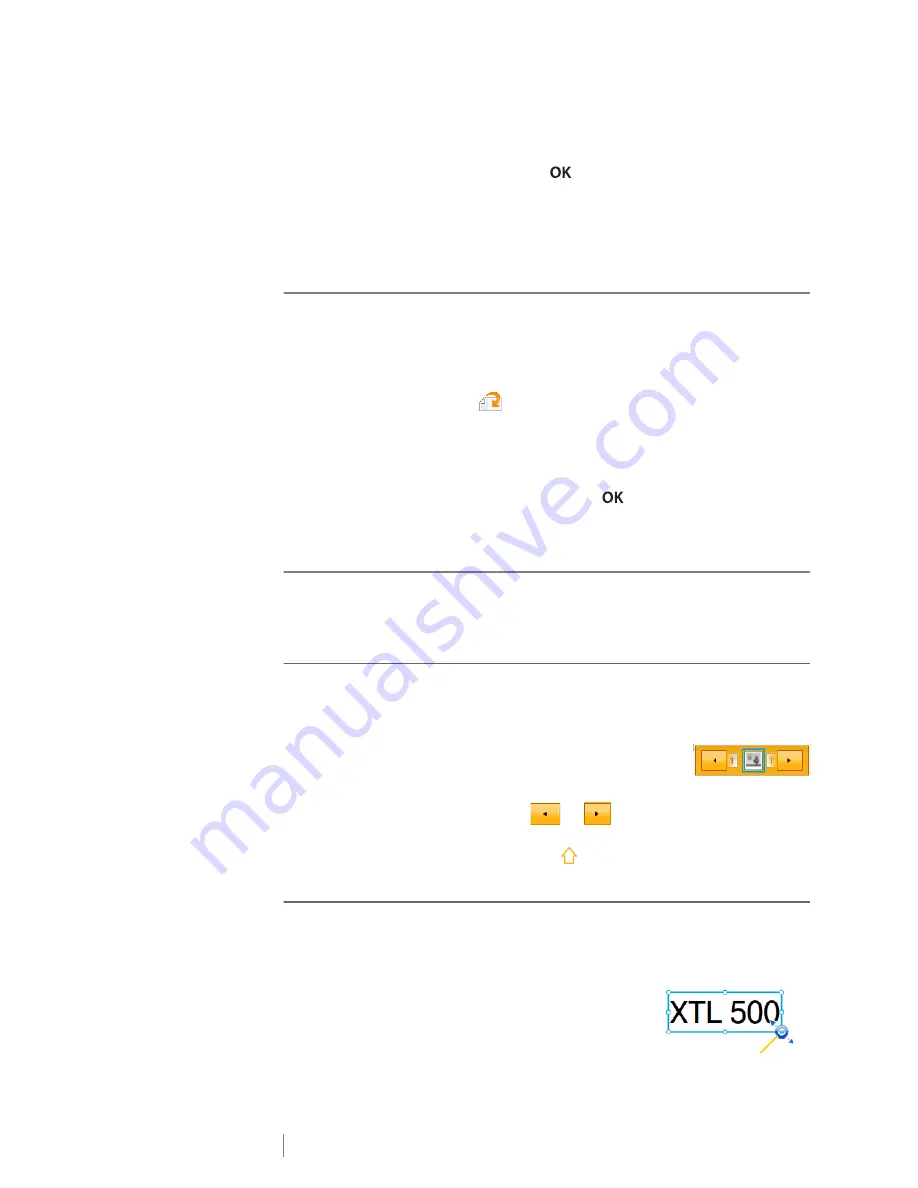
Resizing an Object
You can resize an object by dragging or by using the navigation keys. Resizing a
text box will only change the text size if you have selected
Auto fit text
. Resizing a
barcode object will not change the barcode size.
To resize an object
1
Select the object.
2
Do one of the following:
Resize handle


