Operation
Operating Instructions 512/532 - 05.0 - 04/2018
27
7.
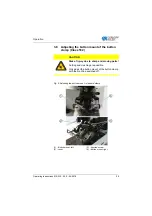
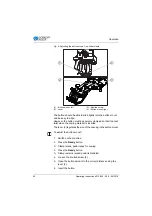
Tighten the knurled screw (3).
8.
Remove the button.
9.
Adjust the button mount so that the button is securely held,
by loosening the knurled nut (3) and lightly adjusting the
lever (2).
3.9
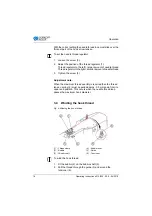
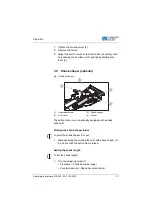
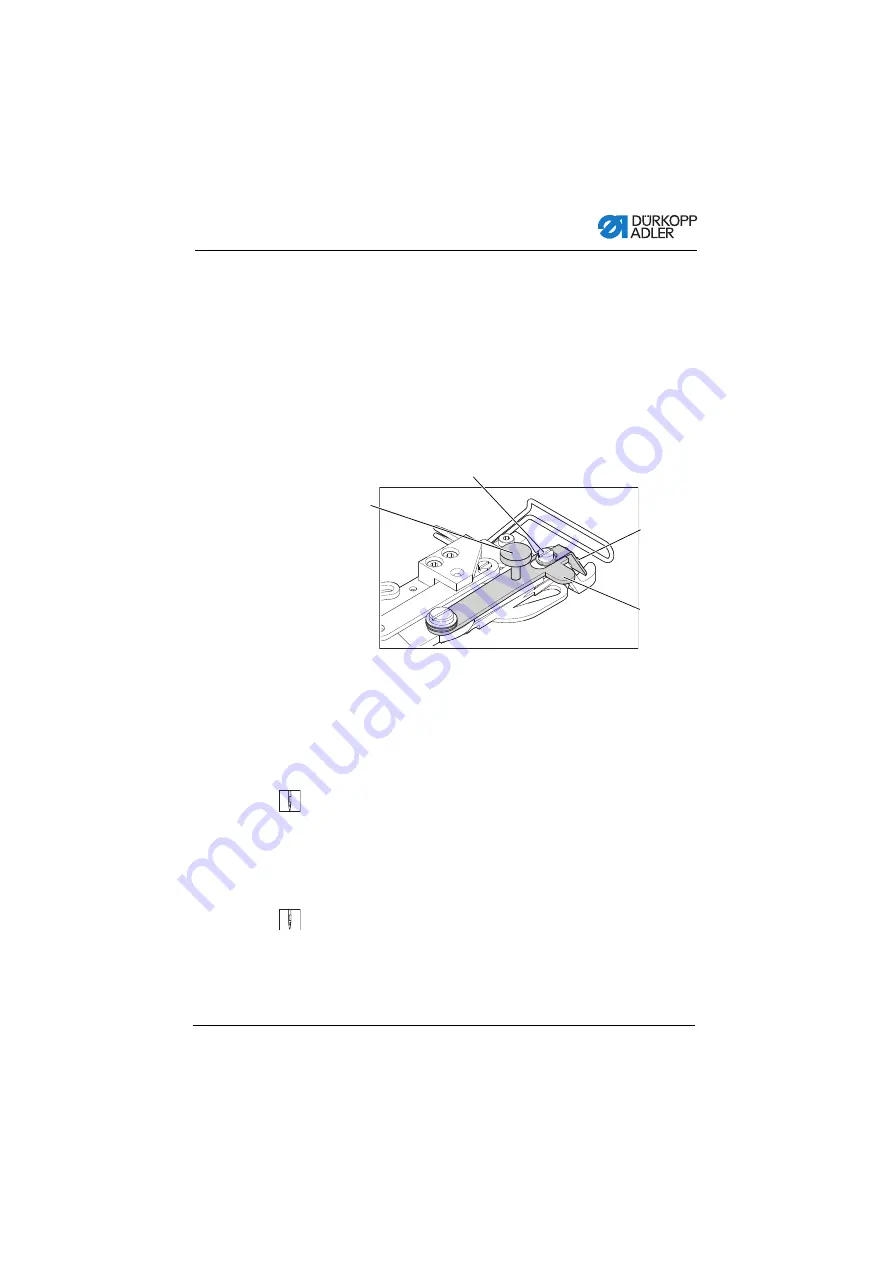
Shank shaper (optional)
Fig. 10: Shank shaper
The button clamp can be optionally equipped with a shank
shaper (3).
Pivoting the shank shaper in/out
To pivot the shank shaper in or out:
1.
Manually swing the pivoting lever (2) with shank shaper (3)
in and out, with the button clamp raised.
Setting the shank length
To set the shank length:
1.
Turn the adjusting screw (1):
• Clockwise = Shank becomes longer.
• Counterclockwise = Shank becomes shorter.
(1) - Adjustment screw
(2) - Pivot lever
(3) - Shank shaper
(4) - Screw
①
③
②
④
Summary of Contents for 512/532
Page 1: ...Operating Instructions 512 532 ...
Page 6: ...Table of Contents 4 Operating Instructions 512 532 05 0 04 2018 ...
Page 16: ...Safety 14 Operating Instructions 512 532 05 0 04 2018 ...
Page 60: ...Programming 58 Operating Instructions 512 532 05 0 04 2018 ...
Page 70: ...Maintenance 68 Operating Instructions 512 532 05 0 04 2018 ...
Page 86: ...Decommissioning 84 Operating Instructions 512 532 05 0 04 2018 ...
Page 88: ...Disposal 86 Operating Instructions 512 532 05 0 04 2018 ...
Page 97: ...Appendix Operating Instructions 512 532 05 0 04 2018 95 11 Appendix ...
Page 98: ...Appendix 96 Operating Instructions 512 532 05 0 04 2018 ...
Page 99: ......

