VigorIPPBX 2820 Series User’s Guide
105
A
A
d
d
d
d
i
i
t
t
i
i
o
o
n
n
a
a
l
l
C
C
o
o
n
n
f
f
i
i
g
g
u
u
r
r
a
a
t
t
i
i
o
o
n
n
f
f
o
o
r
r
V
V
o
o
i
i
c
c
e
e
M
M
a
a
i
i
l
l
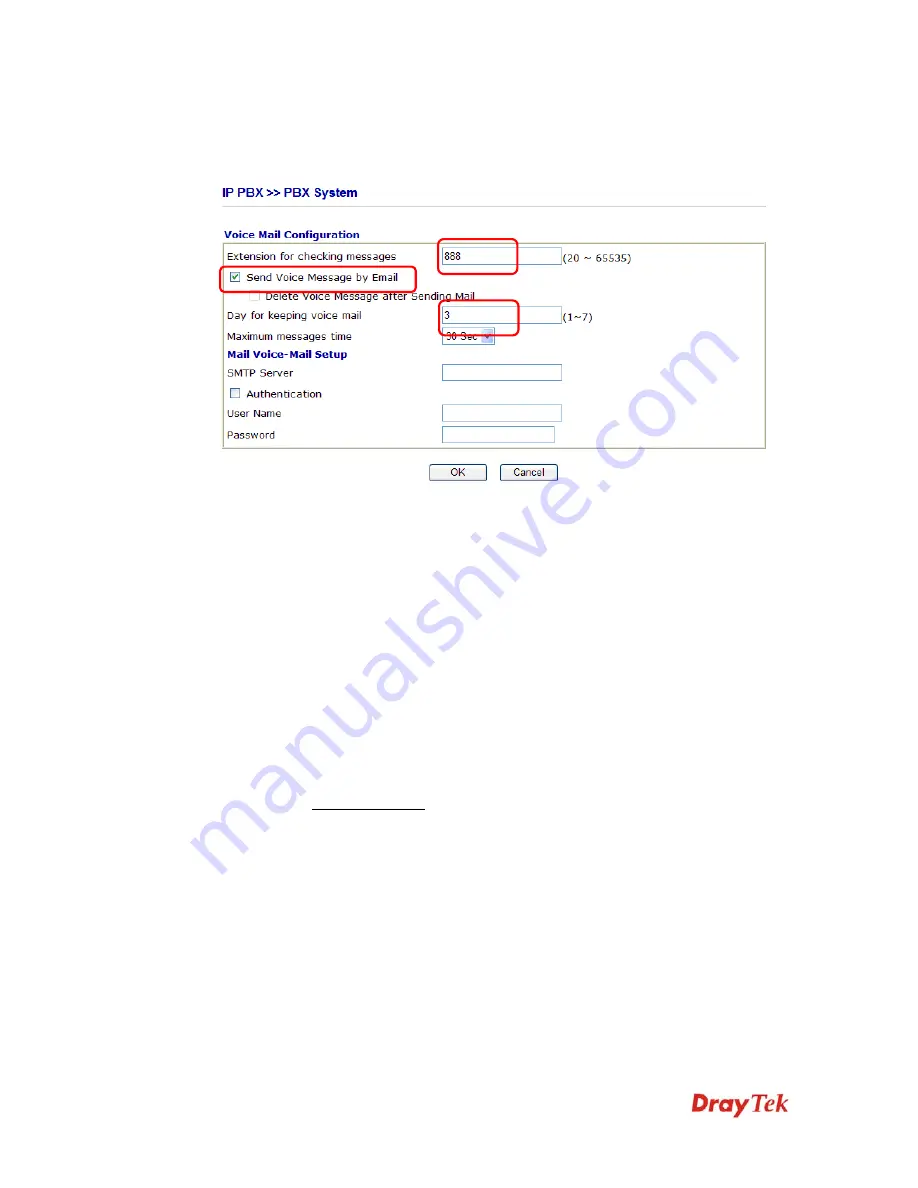
Go to the
IP PBX >> PBX System >> Voice Mail
Configuration page and configure the
following items.
Extension for checking messages:
If you want to listen to a voice mail, you need to dial the number which is set in the field of
Extension for checking messages. The default value is 888. You can change it manually.
Day for keeping voice mail:
It means the time for keeping a voice mail in Vigor
IPPBX
2820. The default value is 3
(days). After the time, this message will be deleted automatically.
Send Voice Message by Email:
Tick it to enable the voice mail function.
Delete Voice Message after Sending Mail:
If you are using MWI, do not enable such option. No MWI notification will be sent after a
voice message is deleted.
E
E
x
x
a
a
m
m
p
p
l
l
e
e
E
E
x
x
p
p
l
l
a
a
n
n
a
a
t
t
i
i
o
o
n
n
1.
Mike calls [email protected] and dials extension number 211.
2.
Jacky is not available at that time.
3.
Mike leaves a message to Jacky, then hands up the phone.
4.
Jacky is free and picks up his phone.
5.
Instead of the normal dial tone, Jacky hears a special tone (MWI tone) which implies
that he has a voice message. After listening the special tone, Jacky will hear the normal
dial tone.
6.
Jacky dials
888
and input the voice mail password to hear his voice message.
Summary of Contents for VigorIPPBX 2820 Series
Page 1: ......
Page 2: ......
Page 10: ......
Page 24: ...VigorIPPBX 2820 Series User s Guide 14 This page is left blank ...
Page 44: ...VigorIPPBX 2820 Series User s Guide 34 This page is left blank ...
Page 58: ...VigorIPPBX 2820 Series User s Guide 48 This page is left blank ...
Page 79: ...VigorIPPBX 2820 Series User s Guide 69 11 Now the firmware update is finished ...
Page 146: ...VigorIPPBX 2820 Series User s Guide 136 This page is left blank ...
Page 283: ...VigorIPPBX 2820 Series User s Guide 273 ...
Page 370: ...VigorIPPBX 2820 Series User s Guide 360 This page is left blank ...


