l
Page 37
Using Locks
W
HEN
Y
OU
H
AVE
L
OCKED
THE
R
ECEIVER
If you try to access a locked item or open the
Parental and System Locks
menu, the receiver displays a message prompting you to enter the password.
The receiver allows you three tries to enter the correct password. If you fail
to enter the correct password, the receiver does not allow more tries for
several minutes.
If you enter the correct password, you can access the locked item or open
the
Parental and System Locks
menu.
If you exit a locked item or close the
Parental and System Locks
menu,
you must enter the password again to access the item or open the menu
again.
If you forget your password, you will need to speak with
a Customer Service Representative and may need to
provide some information related to your account including
a Personal Identification Number (PIN), if used. See
page 44 for information on PINs.
C
REATING
A
P
ASSWORD
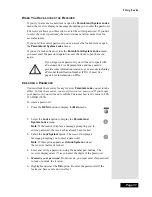
You must lock the receiver for any receiver
Parental Locks
you set to take
effect. To lock the receiver, you must first create a password. If you forget
your password, you will need to call the Customer Service Center at 1-800-
333-DISH (3474).
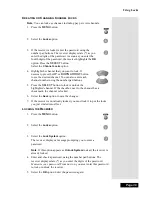
To create a password:
1.
Press the
MENU
button to display the
Main
menu.
2.
Select the
Locks
option to display the
Parental and
System Locks
menu.
Note
: If the receiver displays a message prompting you to
enter a password, the receiver has already been locked.
3.
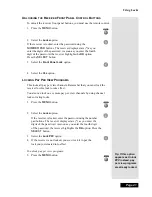
Select the
Lock System o
ption. The receiver displays a
message prompting you to enter a password.
Note
: If this option appears as
Unlock System
instead,
the receiver is already locked.
4.
Enter and verify a password, using the number pad buttons. The
receiver displays stars (*) as you enter the digits of the password.
5.
Memorize your password. From now on, you must enter this password
to lock or unlock the receiver.
6.
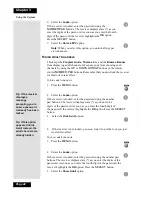
Highlight and select the
OK
option. Re-enter the password. All the
locks you have set are now in effect.
Summary of Contents for DP111
Page 21: ...Page 16 Chapter 2 Parts of the System Notes...
Page 75: ...Page 70 Chapter 4 Installation Instructions Notes...
Page 104: ...Page 99 Index Notes...
Page 105: ...Index Page 100 Notes...


