4 - 4
How Do I ...?
DigiGate-700
for Windows
™
®
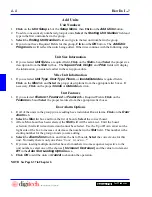
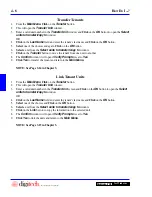
1.
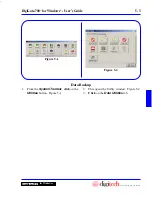
Click
on the
Unit Setup
tab of the
Setup Menu
, then
Click
on the
Add Units
button.
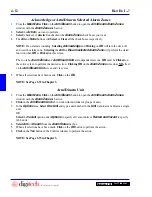
2. To add a consecutively numbered group of units,
Select
the
Starting Unit Number
field and
type in the first unit number in the group.
3.
Select
the
Ending Unit Number
field and type in the last unit number in the group.
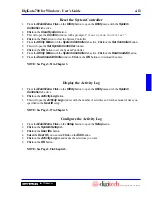
4. If you do not have Required Fields for this group,
Click
on the
OK
button. The
Add Unit
Progress
bar will reflect the units being added. Otherwise continue with the following steps.
Add Units
Unit Numbers
Unit Size Information
Misc Unit Information
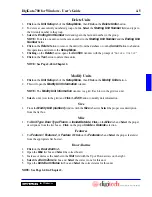
1. If you selected
Unit Size
as a required field,
Click
on the
Size
tab and
Select
the proper size
description from the
Size
list box. The
Square Feet
,
Height
, and
Price
fields will display
the information you entered earlier in the set up procedure.
1. If you selected
Unit Type
,
Door Type
,
Floors
, or
Inside/Outside
as required fields,
Click
on the
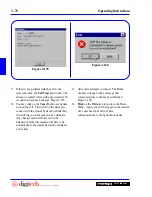
Misc
tab and
Select
the proper descriptions from the appropriate list boxes. If
necessary,
Click
on the proper
Inside
or
Outside
selection.
Unit Features
Door Alarm Options
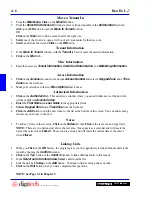
1. If you selected
Feature 1
,
Feature 2
,
or
Feature 3
as Required Fields,
Click
on the
Features
tab and
Select
the proper features from the appropriate list boxes.
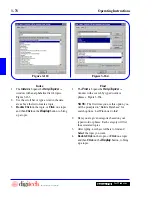
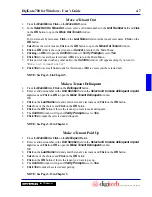
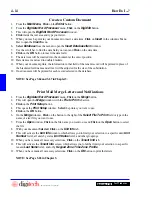
1. If all of the units in the group you are adding have individual Door Alarms,
Click
on the
Door
Alarm
tab.
2.
Select
the
Mux
list box and from the list of boards,
Select
the correct board.
3. After a Mux board has been selected, the
Slot
field will be activated. Until the board
selection, this field is deactivated and cannot be selected. Use the Up or Down arrows at the
right side of the box to increase or decrease the number in the
Slot
field. This number is the
starting number for the group of units you are adding.
4.
Select
the
Alarm Zone
list box and from the list of boards,
Select
the correct zone for this
unit. Normally there is only one Zone “
Door Alarms.
”
5. If you are loading multiple units that have slot numbers in some sequence respective to the
unit numbers, select one of the choices
{
Increase | Decrease }
and the value to increment
BY
in the
Auto Slot Loading Options
area.
6.
Click
OK
to add the units or
Cancel
to abandon the operation.
NOTE: See Page 2-37 in Chapter 2.
Summary of Contents for DigiGate-700
Page 1: ...World Class Security Solutions DigiGate User s Guide ...
Page 2: ......
Page 3: ...User s Guide DigiGate 700 ...
Page 166: ...This Page Left Blank Intentionally 3 86 Operating Instructions DigiGate 700 for Windows ...
Page 202: ...This Page Left Blank Intentionally B 8 Appendix Title DigiGate 700 for Windows ...
Page 224: ...This Page Left Blank Intentionally G 6 DigiGate 700 for Windows Program Error Codes ...
Page 244: ...This Page Left Blank Intentionally K 8 DigiGate 700 for Windows Program Registration Codes ...
Page 262: ...X 10 Index DigiGate 700 for Windows This Page Left Blank Intentionally 2 3 ...
Page 263: ......
Page 264: ......
Page 265: ......
Page 266: ...DigiGate User s Guide Digitech International Inc 800 523 9504 toll free www digitech intl com ...

