


Page 3.2
Rev C April 2011
3. Getting Started
Digital Projection
TITAN sx+ 3D, Dual 3D, Ultra Contrast
User Manual
Selecting an input or test pattern
Input
Press
or
to change to the next input up or down the following list:
1. RGB1
2. RGB2
3. DVI (Single)
4. SDI
5. Composite Video
6. S-Video
7. Component
8. DVI (Single/Dual/Twin pixel-mapped)
Or press the numbered keys
1–8
to change directly to the input:
Test pattern
If you have no video source connected to the projector, then you can display a test
pattern as follows:
Press
on the remote control, to select a test pattern.
•
•
•
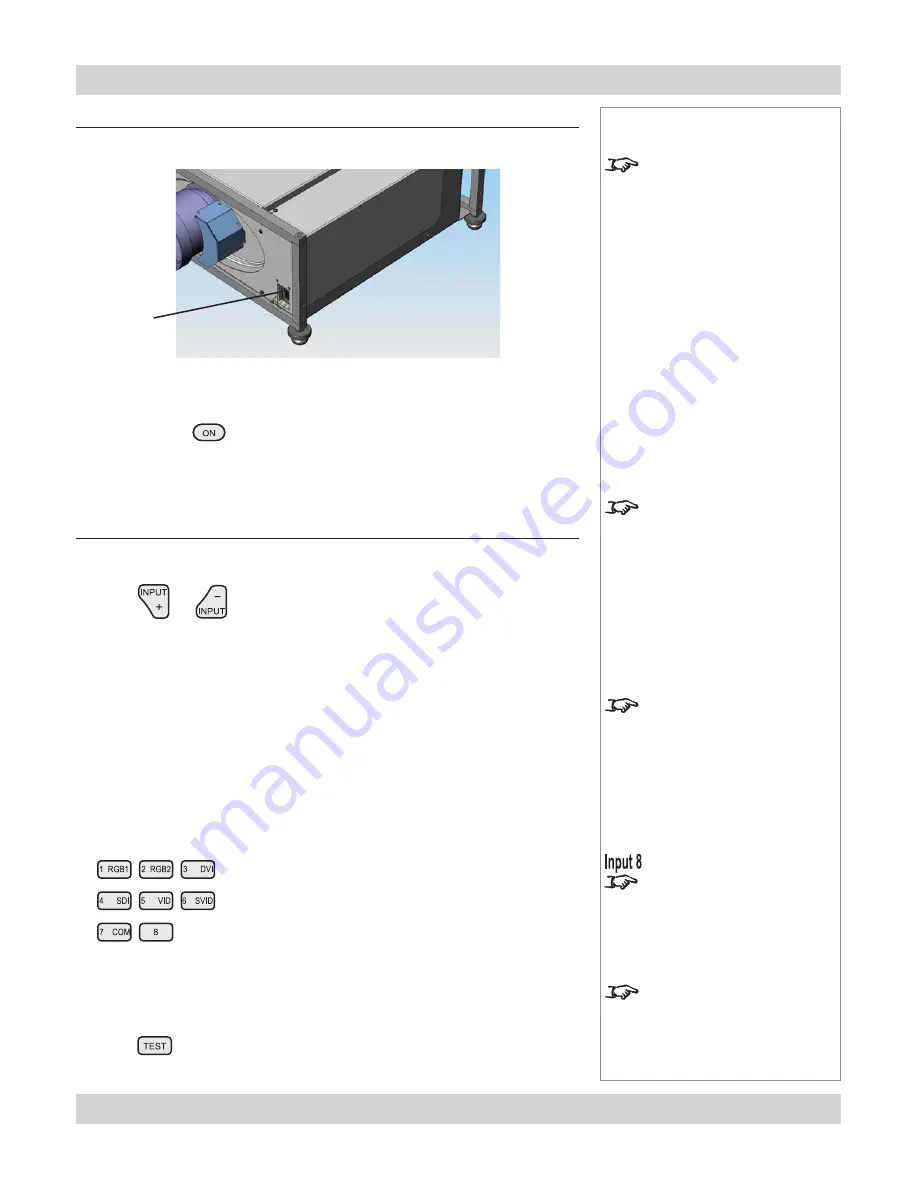
Switching the projector on
Connect the power cable between the mains supply and the projector.
Wait until the self-test has completed and the power indicator on the control
panel shows amber. The lamp will be off, the shutter closed, and the projector
will be in STANDBY mode.
Press POWER
on the remote control or the keypad, and hold for about 3
seconds to switch the projector ON. The power indicator on the control panel will
show green, the lamp will light and the shutter will open.
•
•
Notes
For more information about
connecting the power cable,
see Power Connections, in
section 2. Installation.
For more detailed information
about:
- using the control keys on the
remote control or keypad,
- using the menus,
see the next section:
Controlling the projector.
3D images will be displayed in
3D, only if 3D Mode is set to on:
see section 4.Controlling the
projector, Setup Menu, 3D.
3D WUXGA images are
possible only on Input 8.
For important information about
how Input 8 is used, see INPUT
8 in the Notes column, and also
Section 4, Overview.
Only the Corrected White test
pattern on Input 8 will fill the
full height of the DMD, using all
1200 pixels. All other patterns
will be 1080 pixels high.
Power
connection


