MIL-3000FTX Series of FastPort Print Servers
4-6
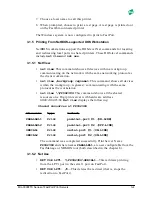
4.3.2.2Creating a New Printer
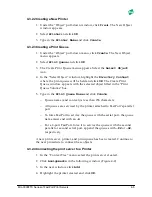
1. Under the “Object” pull-down window, click Create. The New Object
window appears.
2. Select
Printer
and click
OK
.
3. Type in the
Printer Name
and click
Create
.
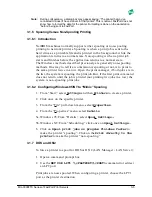
4.3.2.3Creating a Print Queue
1. Under the “Object” pull-down menu, click
Create
. The New Object
menu appears.
2. Select
Print Queue
and click
OK
.
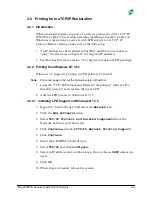
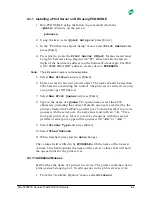
3. The Create Print Queue menu appears. Select the
Select Object
icon.
4. In the “Select Object” window, highlight the
Directory Context
where the print queue will be held and click
OK
. The Create Print
Queue window appears with the selected object filled in the “Print
Queue Volume” box.
5. Type in the
Print Queue Name
and click
Create
.
– Queue name (and context) is less than 256 characters
– All queues are serviced by the printer attached to FastPort’s parallel
port
– To force FastPort to service the queue with the serial port, the queue
name must end with an
-S
.
– For a 4-port FastPort, force it to service the queue with the second
parallel or second serial port, append the queues with
-P2
or
-S2
,
respectively.
A new print server, printer, and print queue has been created. Continue to
the next procedure to connect these objects.
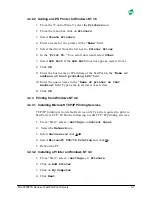
4.3.2.4Connecting the print server to a Printer
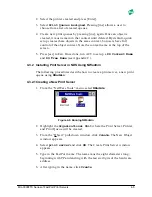
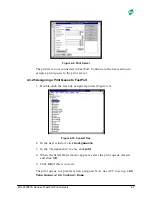
1. In the “Context Tree” menu, select the print server created.
2. Click
Assignments
in the following window (Figure 4-2).
3. In the next window, click
Add
.
4. Highlight the printer created and click
OK
.

