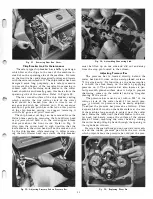
Fig.
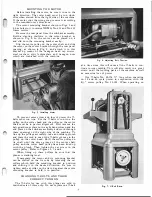
21.
Removing Gear Box Cover.
Chip Breaker And Its Maintenance
!
he safety type c
?
ip breaker has a baffle type design
wh1ch forces the ch1ps to the rear of the machine in
stead of on the operating side of the machine. It pivots
on the front tie bar and automatically raises and lowers
with the serrated in-feed roll. The chip breaker has been
designed extra long purposely, as a safety measure,
to prevent the fingers of the onerator from coming in
contact with the revolving knife blades in the cutter
head, should he accidentally grasp this devise from the
operating side of the machine. Refer to Figure 40.
The rear curved surface of the chip breaker casting
which encircles the true cutting circle of the cutter
head should be checked from time to time to see if
any gum and pitch has collected on it. If an excessive
amount o
�
gum and pitch has collected on this portion
of the ch1p breaker casting, we suggest removing it
with Delta gum and pitch remover.
The chip breaker casting can be removed from the
Delta planer easily bv removing the four fillister head
cap sc�ews which hold it to the two support blocks
that plvot about the front tie rod. Refer to Fig. 13.
Also turn the cutter head to such nosition that the
knife blades in the cutter head will not be nicked or hit
?
y the chip breaker while removing it. After remov
mg the four fillester head cap screws, the chip breaker
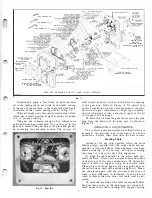
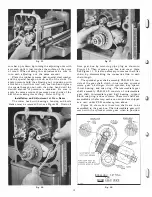
Fig.
22.
Adjusting Pressure Pad on Pressure Bar.
11
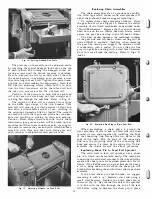
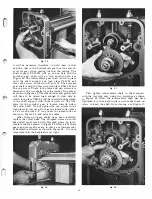
Fig.
23.
Assembling Connecting Link.
must be lifted up on one side and slid out and away
from the stop pin located in the column.
Adjusting Pressure Bar
The pressure bar is located directly behind the
cutter head and it rides on the newly planed surfaces
?f the stock only. Its function, as the name implies,
1S to hold th.e stock firmly on the table by applying
pressure on 1t. The pressure bar also insures a per
fectly smooth planed surface since it helps to prevent
chattering, waves in the material and any irregular
planing of the stock.
The pressure bar must be set within .002" of the
cutti�g cir�le of. the cutter head. If too much pres
sure 1� noticed 1tS pressure may be easily adjusted.
To adjust the pressure bar proceed as follows: Place
a square block of wood on the table surface at the rear
of the machine long enough to project past the cutter
head. Raise the table until the knife blades in the cut
ter head just barely scrape the surface of the square
block of wood, revolving the cutter head by turning
the cutter head pulley by hand through the opening in
the right-hand column.
Remove the special hexagon nut, special steel wash
er and the rubber pressure pad from the two studs
which project above the pressure bar. Adjust the pres-
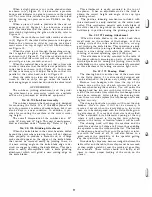
Fig.
24.
Replacing Shear Pin.
Summary of Contents for Milwaukee PM-1738
Page 1: ...13x5 INCH DELTA MILWAUKEE 7 7 1M rJ6fiUAKJ PM 1738 ...
Page 2: ......
Page 27: ......
Page 28: ......


