Installing System Components
67
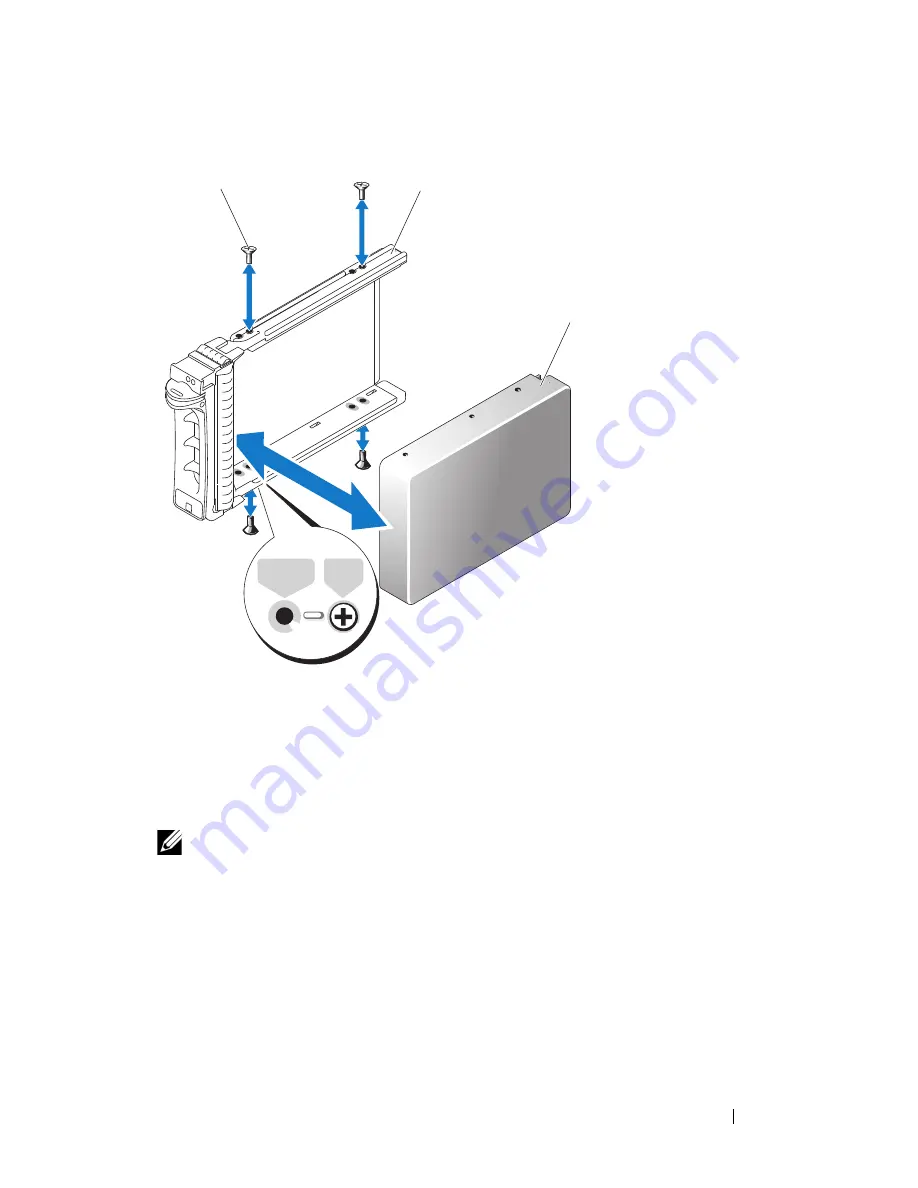
Figure 3-5. Installing a SAS Hard Drive Into a SATAu Drive Carrier
Installing a SATA Hard Drive Into a SATAu Hard Drive Carrier
NOTE:
The SATAu drive carrier is labeled "SATAu" and also has marks indicating
the SAS and SATA mounting screws.
1
Insert the SATA hard drive into the SATAu hard drive carrier with the
connector end of the drive at the back. See Figure 3-5.
2
Viewing the assembly as shown in Figure 3-5, align the bottom back screw
hole on the hard drive with the hole labeled "SATAu" on the hard drive
carrier.
3
Attach the four screws to secure the hard drive to the hard drive carrier. See
Figure 3-5.
1
Screw (4)
2
Drive carrier
3
Hard drive
SATAu SAS
1
2
3
Summary of Contents for PowerEdge R900
Page 1: ...Dell PowerEdge R900 Systems Hardware Owner s Manual ...
Page 10: ...10 Contents Glossary 171 ...
Page 40: ...40 About Your System ...
Page 56: ...56 Using the System Setup Program ...
Page 126: ...126 Installing System Components ...
Page 164: ...164 Jumpers and Connectors ...
Page 190: ...190 Index ...


