302
Installing Enclosure Components
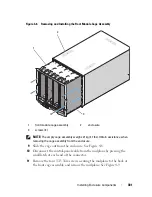
Figure 4-9. Removing and Installing the Midplane
Installing the Midplane and Front Module Cage Assembly
CAUTION:
Many repairs may only be done by a certified service technician. You
should only perform troubleshooting and simple repairs as authorized in your
product documentation, or as directed by the online or telephone service and
support team. Damage due to servicing that is not authorized by Dell is not covered
by your warranty. Read and follow the safety instructions that came with the
product.
1
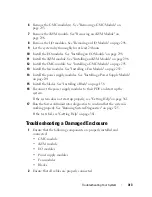
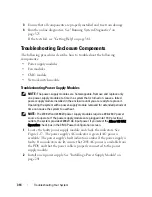
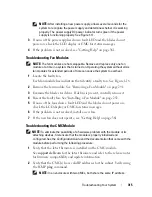
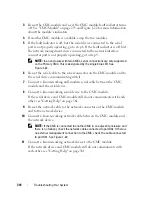
Attach the midplane to the front module cage assembly and secure it with
the four Torx screws. See Figure 4-8.
2
Connect the control-panel cable to the midplane.
3
Carefully slide the front module cage assembly into the enclosure. See
Figure 4-9.
1
front module cage assembly
2
midplane
3
screws (4)
1
2
3
Summary of Contents for PowerEdge M620
Page 1: ...Dell PowerEdge Modular Systems Hardware Owner s Manual ...
Page 60: ...60 About Your System Figure 1 24 Example of PowerEdge M610x Port Mapping of Blade 2 ...
Page 68: ...68 About Your System Figure 1 26 Example of Half Height Blade Port Mapping ...
Page 136: ...136 About Your System ...
Page 286: ...286 Installing Blade Components ...
Page 308: ...308 Installing Enclosure Components ...
Page 330: ...330 Running System Diagnostics ...
Page 360: ...360 System Board Information ...
Page 362: ...362 Getting Help ...
Page 368: ...Index 368 V video controller installing 273 ...


