


458
Configuring a Captive Portal
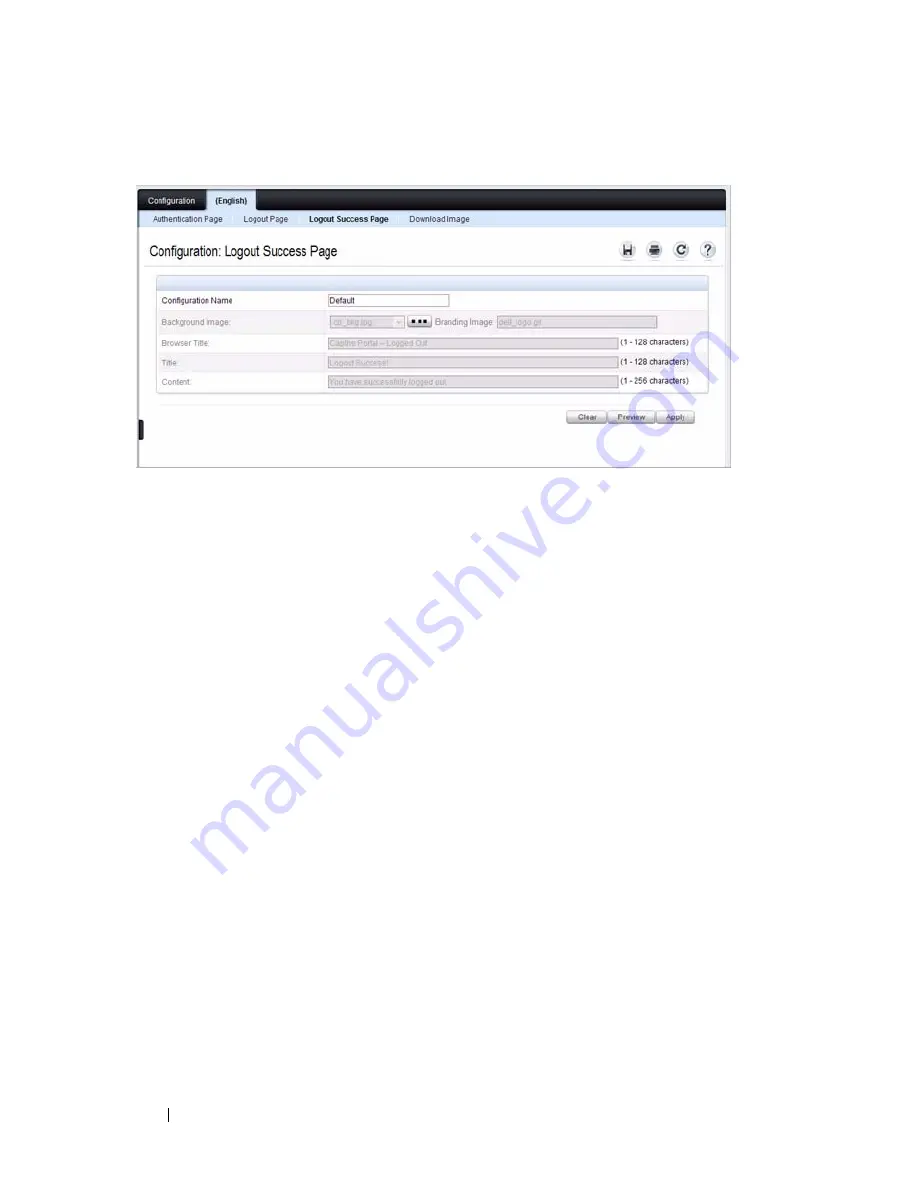
Figure 17-11. Captive Portal Logout Success Page
13
Customize the look and feel of the Logout Page, such as the background
image and successful logout message.
14
Click
Apply
to save the settings to the running configuration or click
Preview
to view what the user will see. To return to the default views, click
Clear
.
Local User
You can configure a portal to accommodate guest users and authorized users.
Guest users do not have assigned user names and passwords. Authorized users
provide a valid user name and password that must first be validated against a
local database or RADIUS server. Authorized users can gain network access
once the switch confirms the user’s credentials.
By default, each Captive Portal instance contains the default group. The
default group can be renamed, or a different group can be created and
assigned to each Captive Portal instance. A Captive Portal instance can be
associated to one user group only. A user, however, can be assigned to multiple
groups.
The
Local User
page allows you to add authorized users to the local database,
which can contain up to 128 user entries. You can also add and delete users
from the local database from the
Local User
page.
To display the
Local User
page, click
System
→
Captive Portal
→
Local User.
Summary of Contents for PowerConnect 7024
Page 134: ...134 Setting Basic Network Information ...
Page 290: ...290 Managing General System Settings Figure 11 14 SNTP Servers Table ...
Page 348: ...348 Configuring SNMP ...
Page 430: ...430 Monitoring Switch Traffic ...
Page 444: ...444 Configuring iSCSI Optimization ...
Page 538: ...538 Configuring 802 1X and Port Based Security ...
Page 594: ...594 Configuring VLANs Figure 21 16 GVRP Port Parameters Table ...
Page 600: ...600 Configuring VLANs Figure 21 23 Double VLAN Port Parameter Table ...
Page 658: ...658 Configuring the Spanning Tree Protocol ...
Page 693: ...Configuring Port Based Traffic Control 693 Figure 24 3 Storm Control 5 Click Apply ...
Page 780: ...780 Configuring Connectivity Fault Management ...
Page 804: ...804 Snooping and Inspecting Traffic Figure 27 17 DAI Interface Configuration Summary ...
Page 818: ...818 Snooping and Inspecting Traffic ...
Page 836: ...836 Configuring Link Aggregation ...
Page 882: ...882 Configuring DHCP Server Settings ...
Page 916: ...916 Configuring L2 and L3 Relay Features Figure 33 3 DHCP Relay Interface Summary ...
Page 924: ...924 Configuring L2 and L3 Relay Features Figure 33 12 IP Helper Statistics ...
Page 930: ...930 Configuring L2 and L3 Relay Features ...
Page 1004: ...1004 Configuring OSPF and OSPFv3 ...
Page 1044: ...1044 Configuring VRRP ...
Page 1057: ...Configuring IPv6 Routing 1057 Figure 37 9 IPv6 Route Preferences ...
Page 1064: ...1064 Configuring IPv6 Routing ...
Page 1084: ...1084 Configuring DHCPv6 Server and Relay Settings ...
Page 1091: ...Configuring Differentiated Services 1091 Figure 39 5 DiffServ Class Criteria ...
Page 1114: ...1114 Configuring Differentiated Services ...
Page 1130: ...1130 Configuring Class of Service ...
Page 1136: ...1136 Configuring Auto VoIP ...
Page 1216: ...1216 Managing IPv4 and IPv6 Multicast ...


